Here you can find all step-by-step guidelines for Arc Raiders quests.
P.S. The page is still updating with quests.
Press Ctrl+F and search for the guide you need.
CELESTE
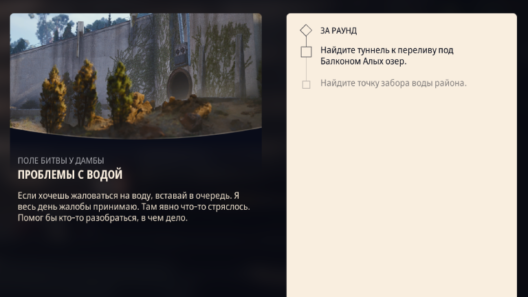
Arc Raiders – Water Troubles / “Проблемы с водой”
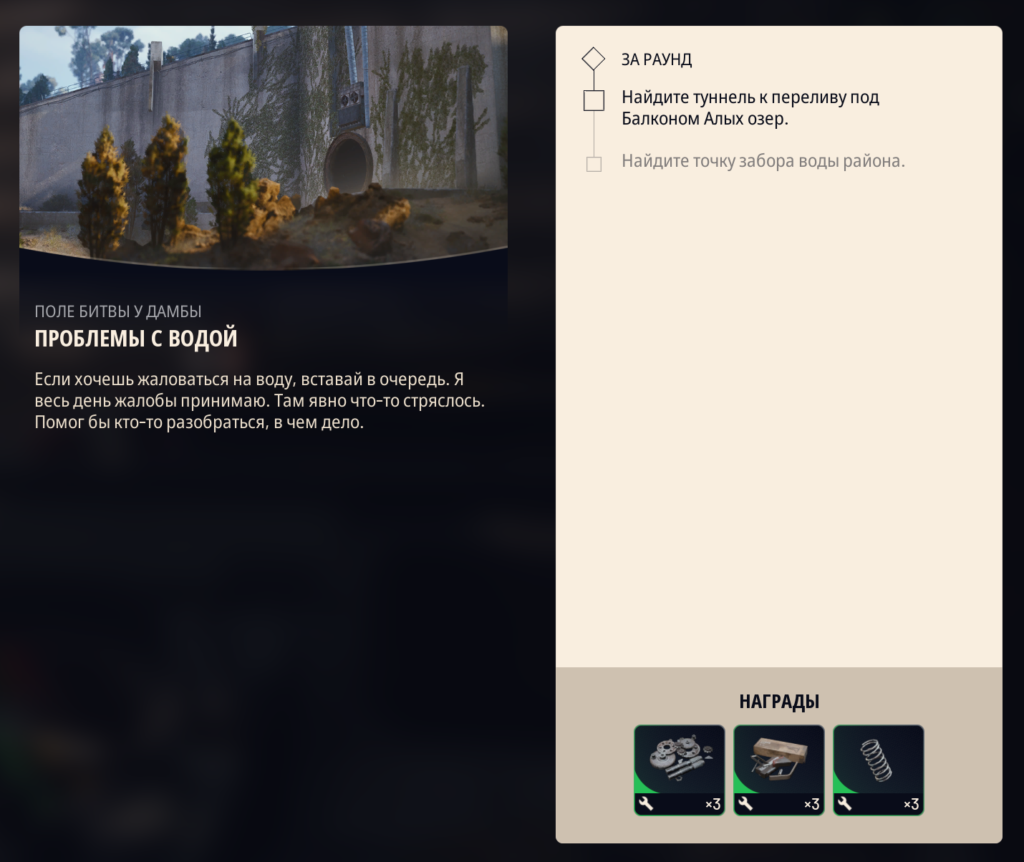
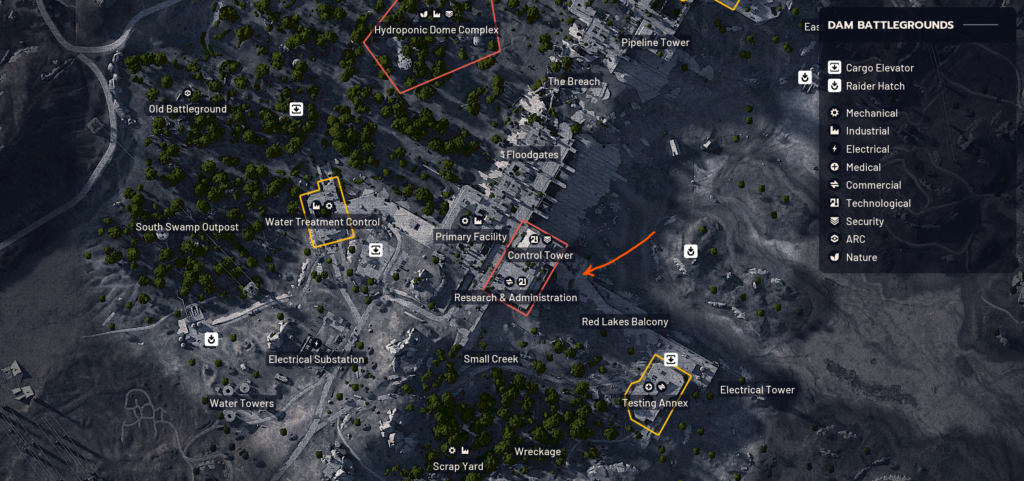
Локация: Поле Битвы у Дамбы
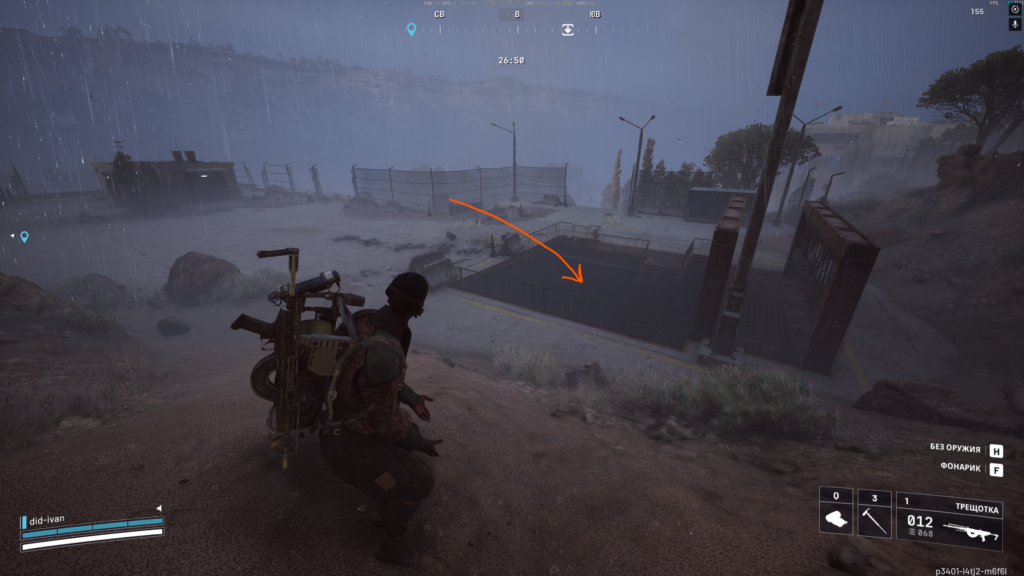
Бежим к диспетчерской вышке со стороны Алых озер (красная вода)
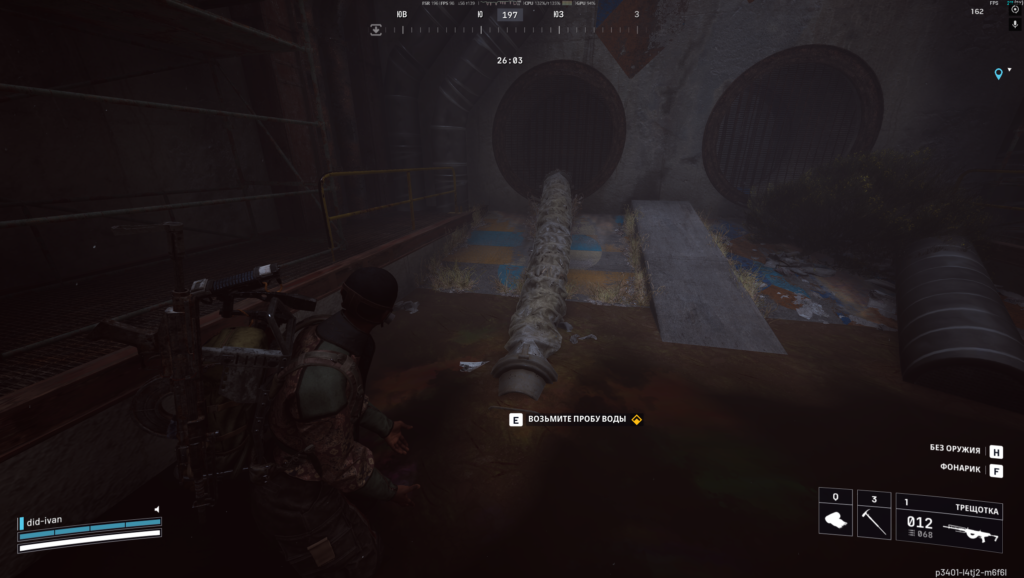
Спустится к точке забора воды можно двумя способами
1. Это по лестнице у входа в диспетчерскую
2. Через слив внизу Алых Озер.
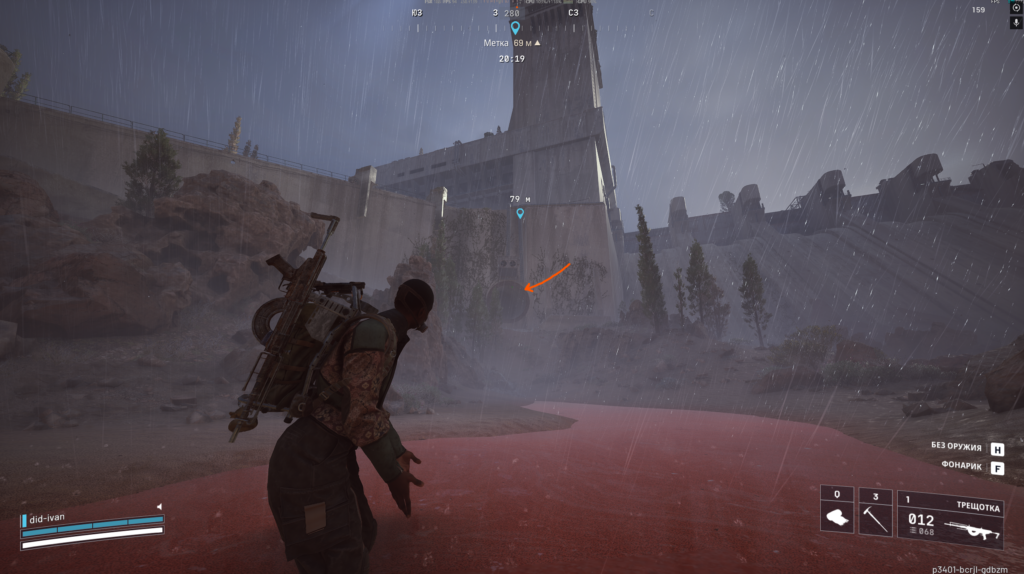
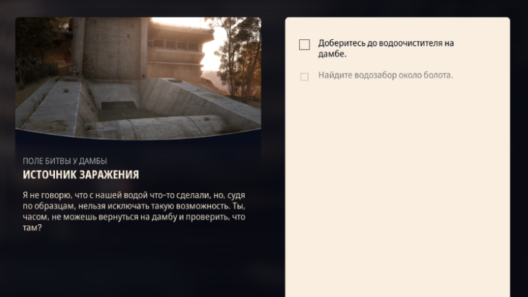
Arc Raiders – Source of the Contamination / “Источник заражения”
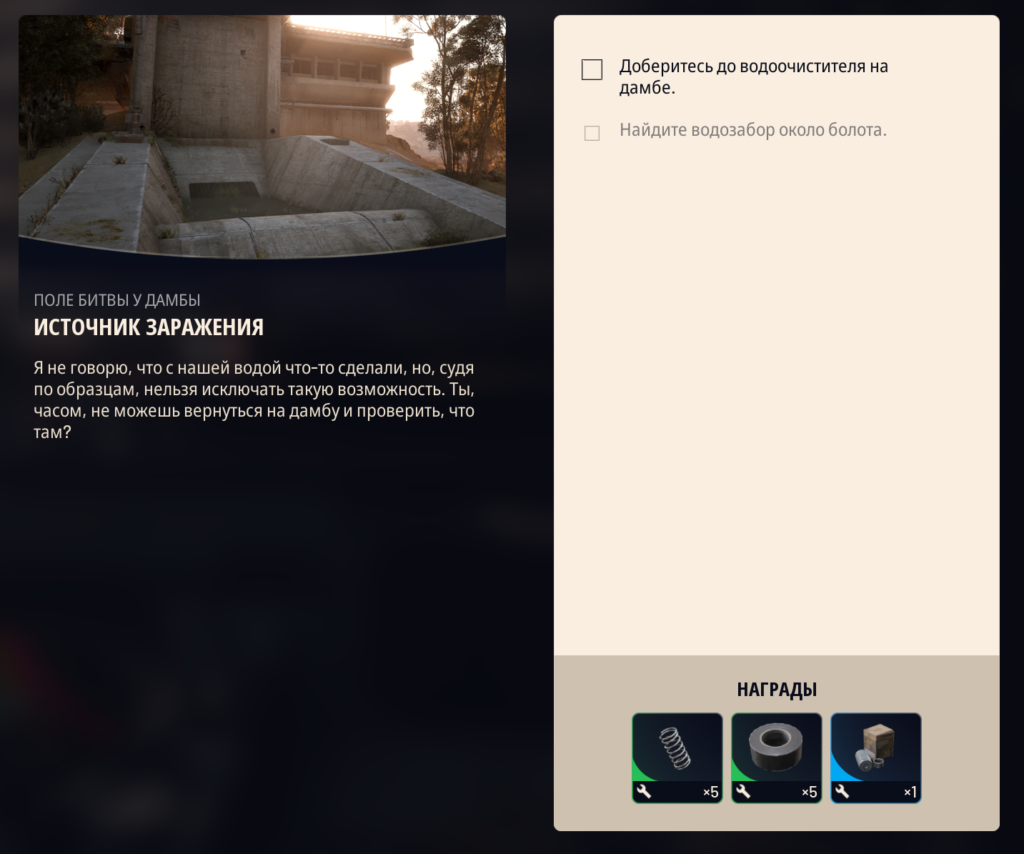
Цель: Доберитесь до водоочистителя на Дамбе\
Локация: Поле Битвы у Дамбы

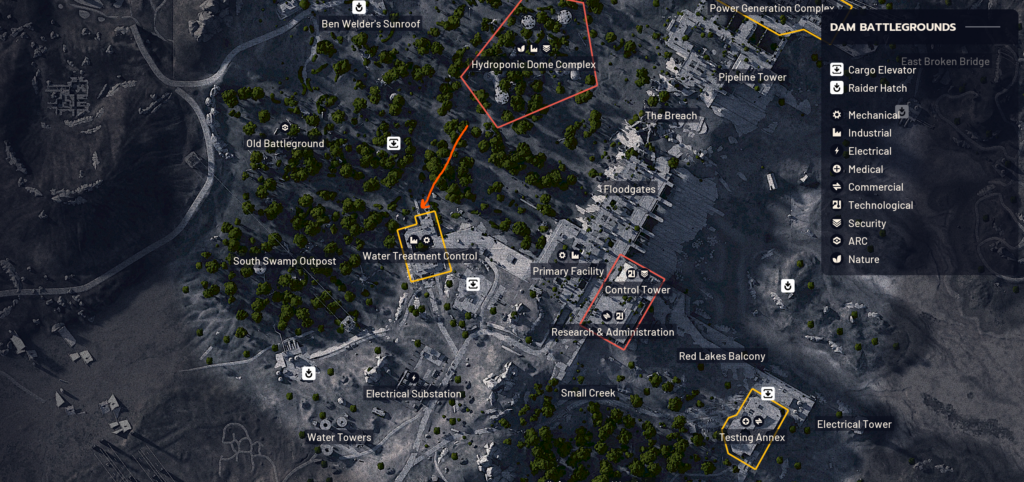
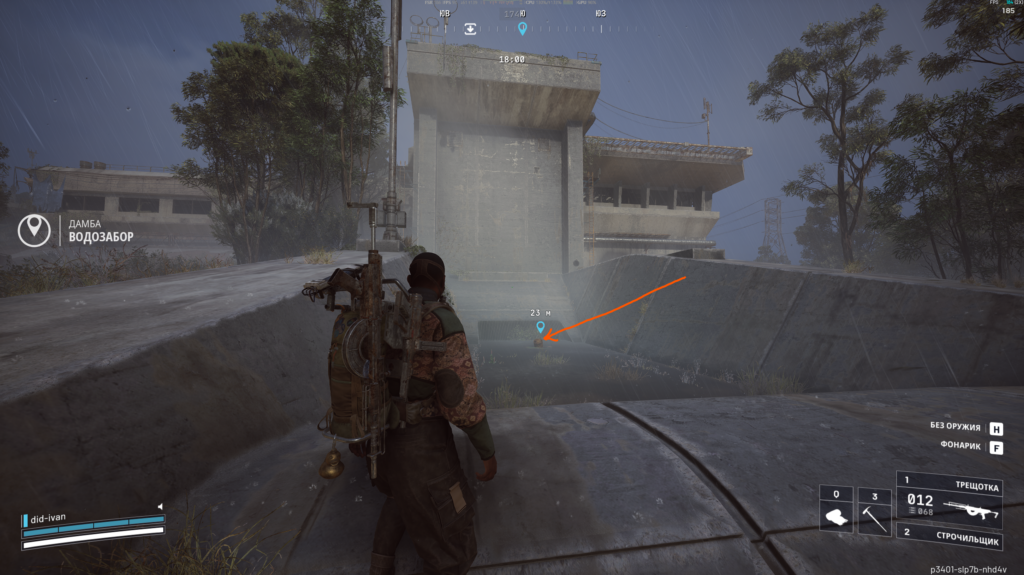
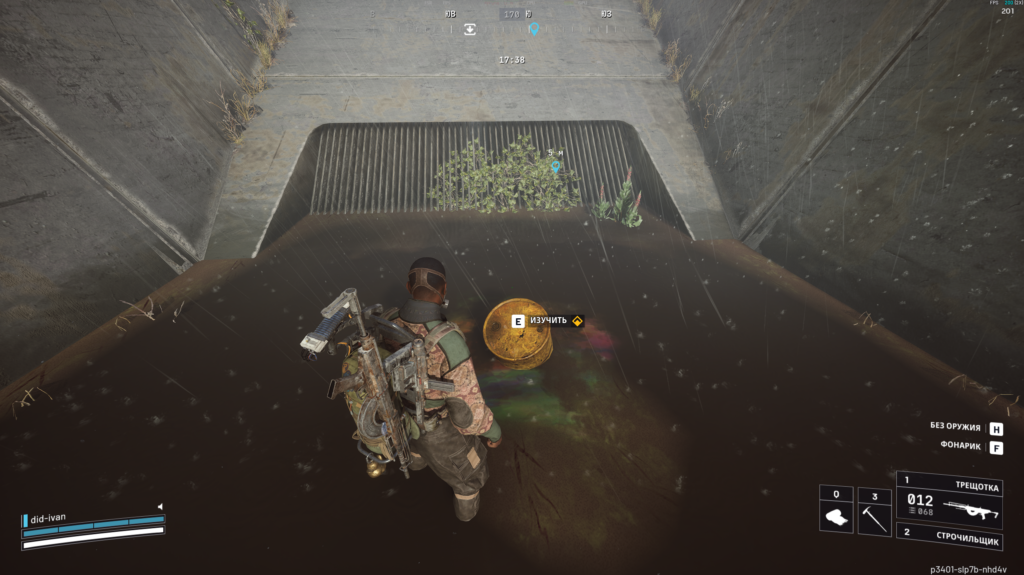
Со стороны болота возле "Диспетчерская водоочистителя", нас интересует слив со стороны "Гидропоники" (смотрите скрин ниже)

Подходим к бочке которая плавает в воде и взаимодействуем с ней, после чего квест будет завершен.
Arc Raiders – Combat Recon / Разведка Боем
Цель: Помочь Шани, с подготовкой к охоте на Бомбардира.
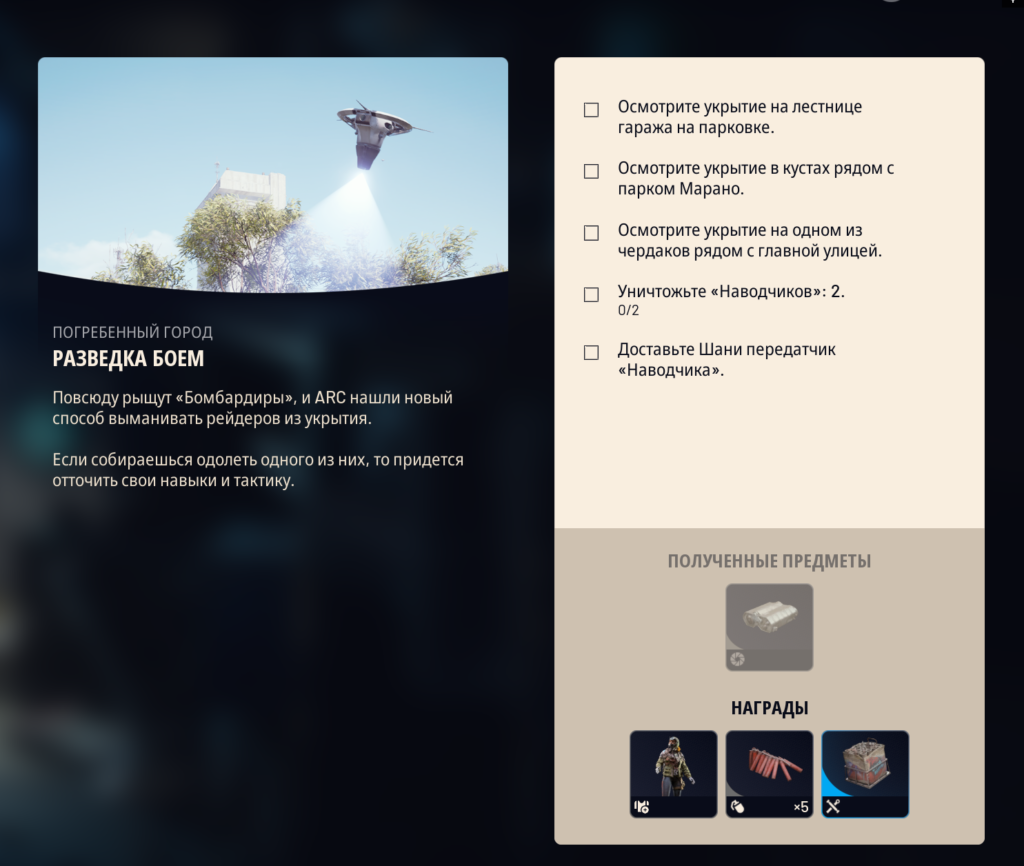
Локация: Погребенный город (Красная вышка)

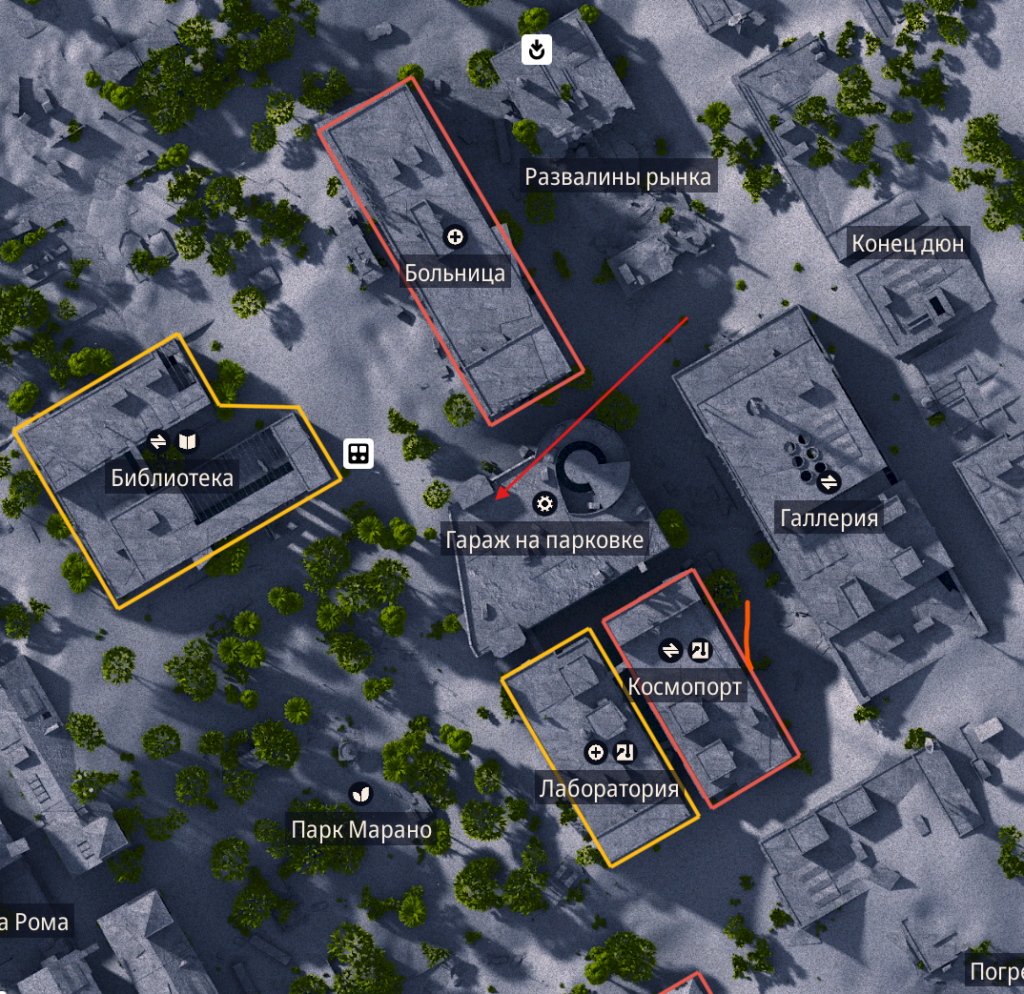
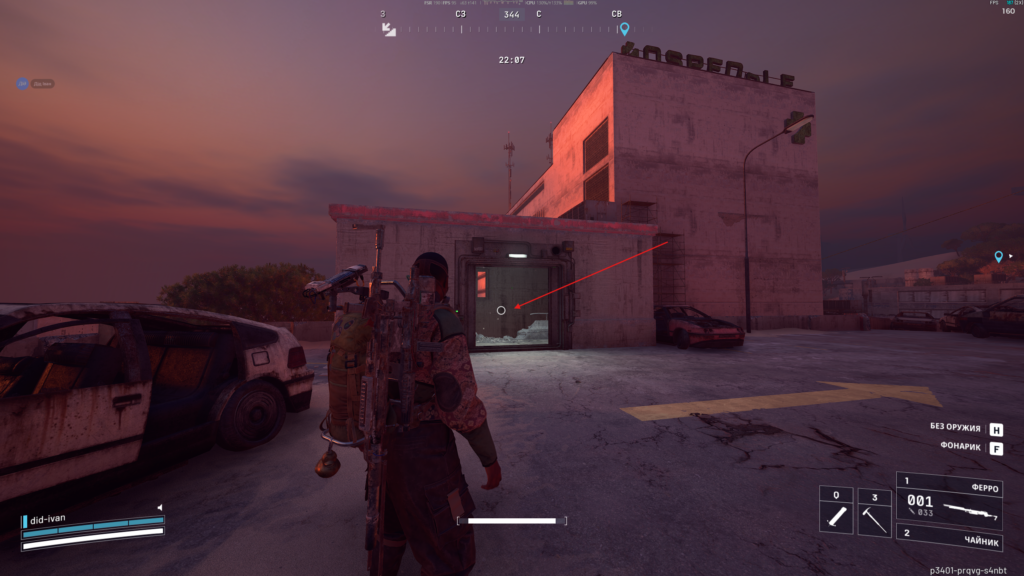
1. Укрытие на Парковке - На верхнем этаже парковки, зайти в на лестничную клетку и сканировать.
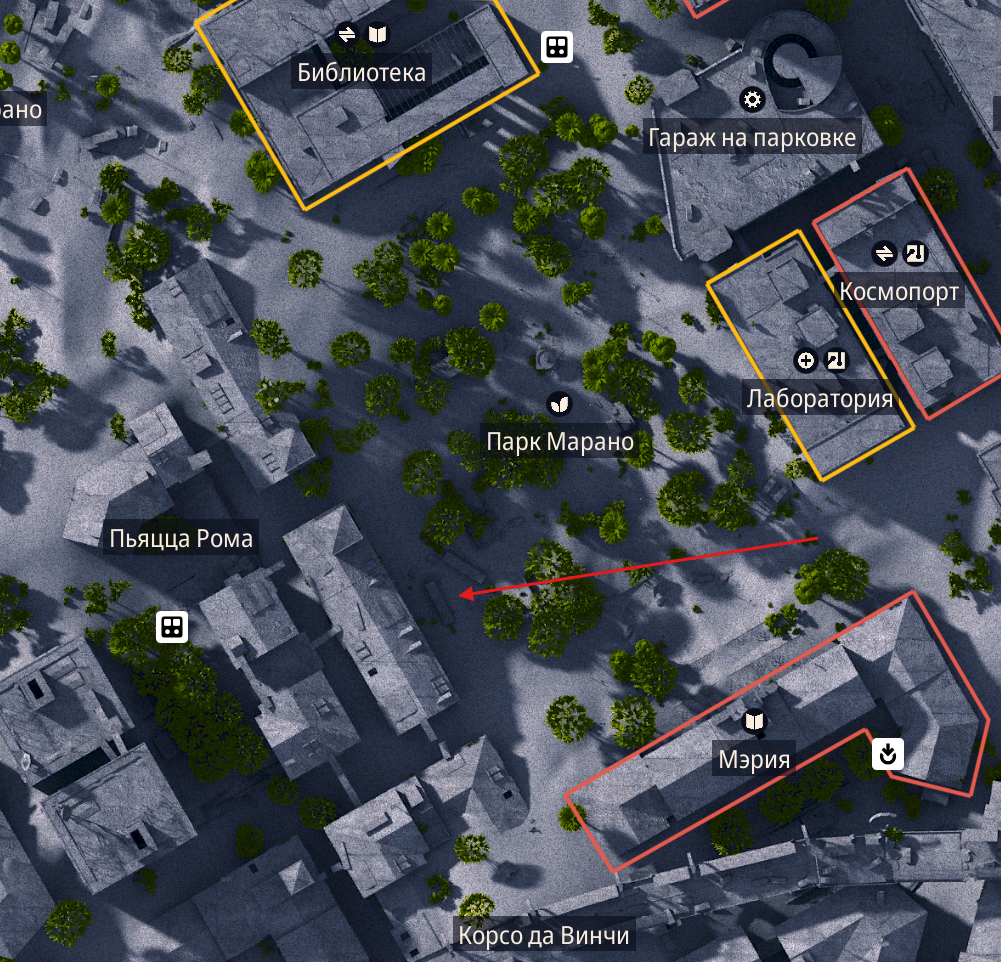
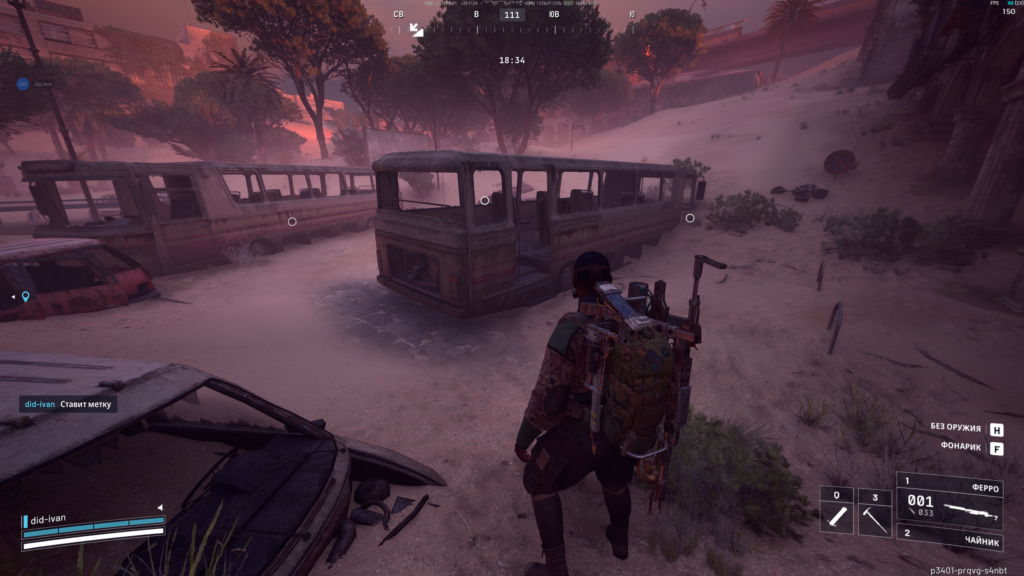
2. Укрытие в Парке Марано - рядом с парковкой бижим в парк к двум автобусам помеченым на карте, подойдя к ним сканируем любое место.
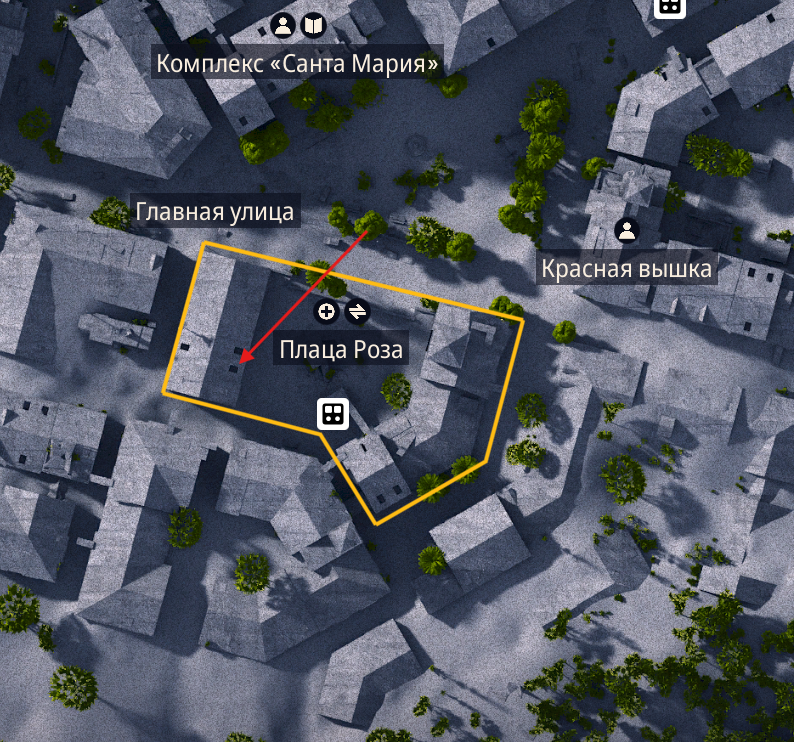
3. Укрытие на Главной улице - залезаем на чердак дома Плазы Росы, там внутри сканируем точку.
4. Дальше ищим бомбардира, а точне двух роботов наводчиков летающих над ним, убиваем наводчиков, с них лутаем сканер снитча.
5. Выносим сканеры наводчиков в сперанзу!
Укрытие на Парковке
Укрытие в Парке Марано
Укрытие на Главной улице
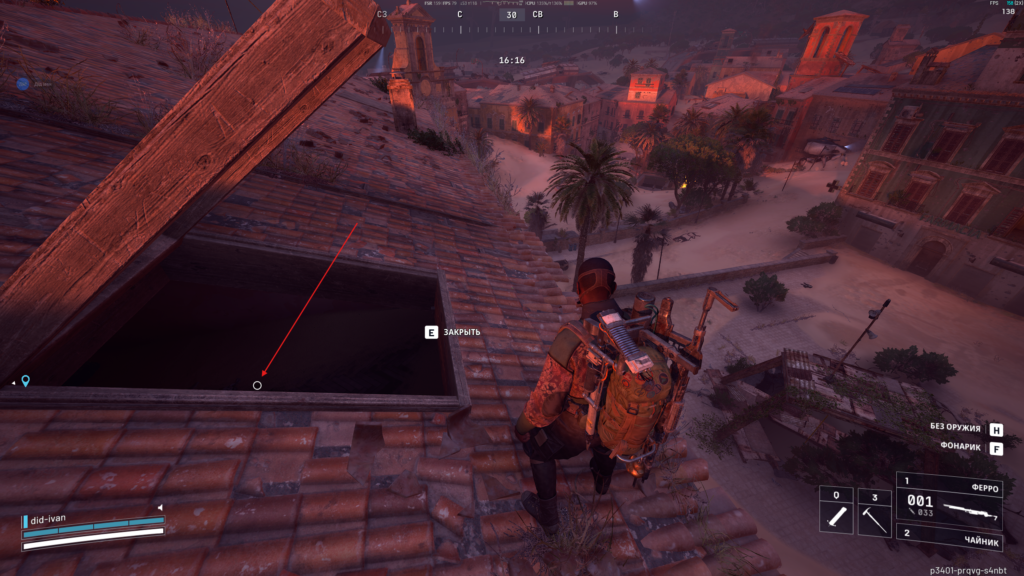
Дальше ищим бомбардира, а точне двух роботов наводчиков летающих над ним, убиваем наводчиков, с них лутаем сканер наводчика. Выносим сканеры наводчиков в сперанзу!
Arc Raiders – Power Out / Отключение энергии
Quest: Find the power substation south of the spaceport
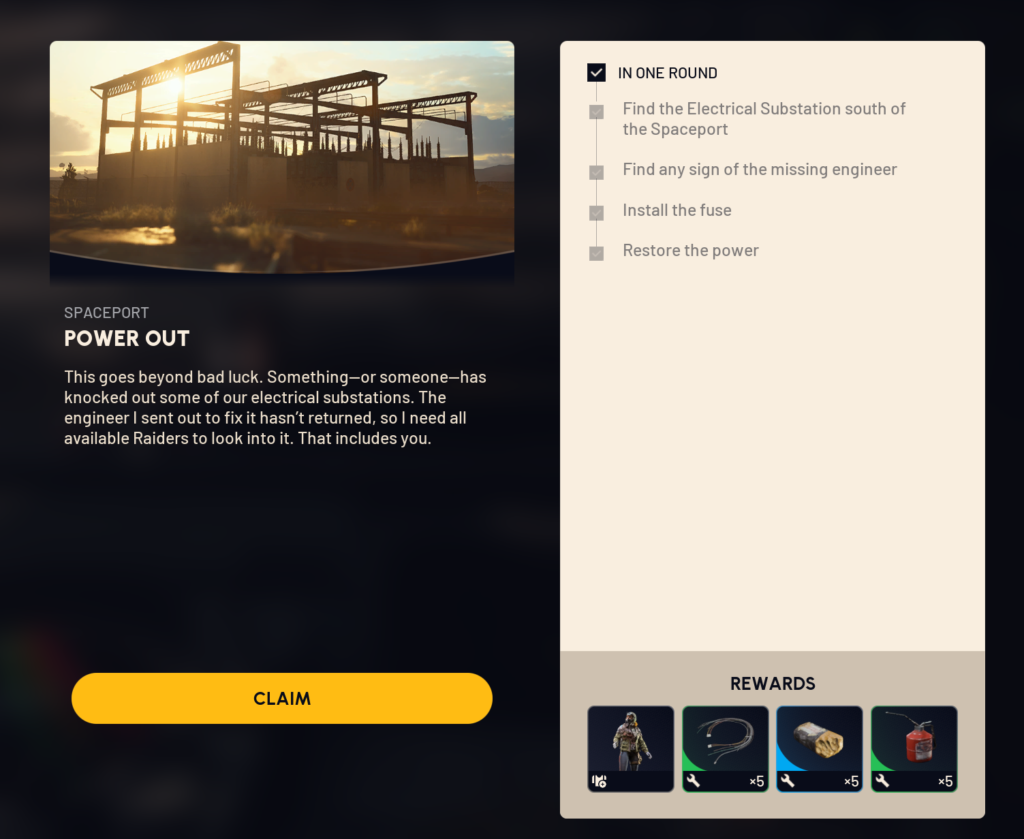
Location: Spaceport (Electrical Substation)
- Find the Electrical Substation south of the Spaceport
- Find any sign of the missing engineer
- Install the fuse
- Restore the power
Evacuation required: YES
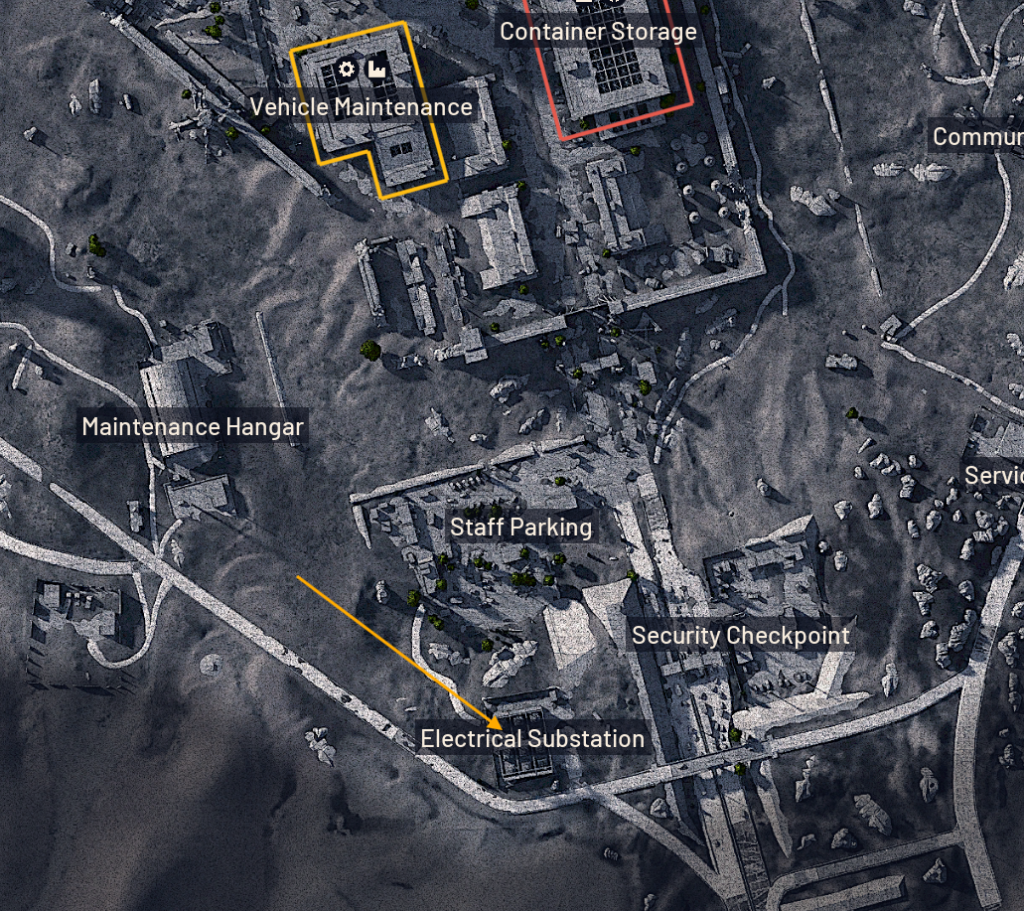
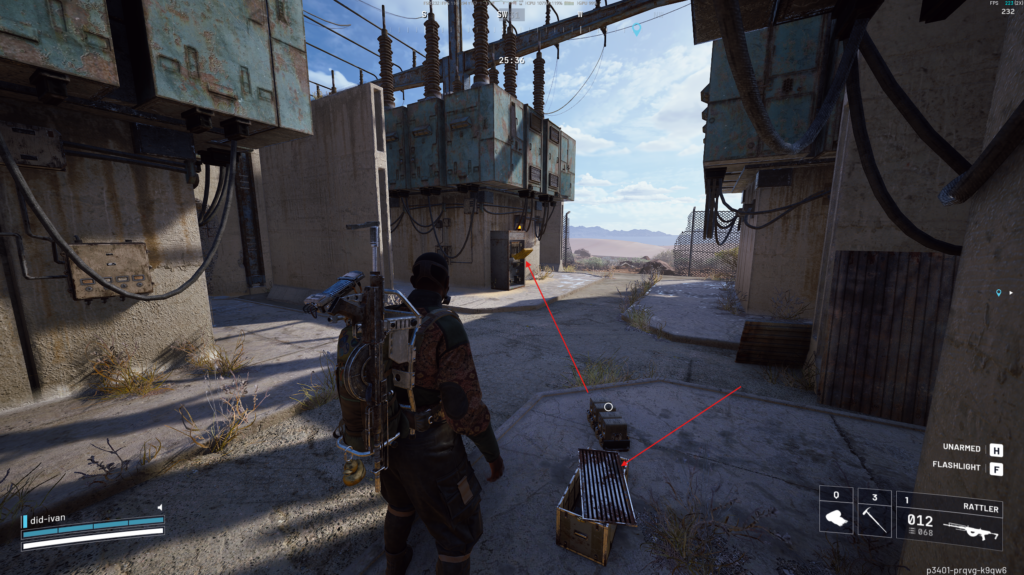
Electrical Substation
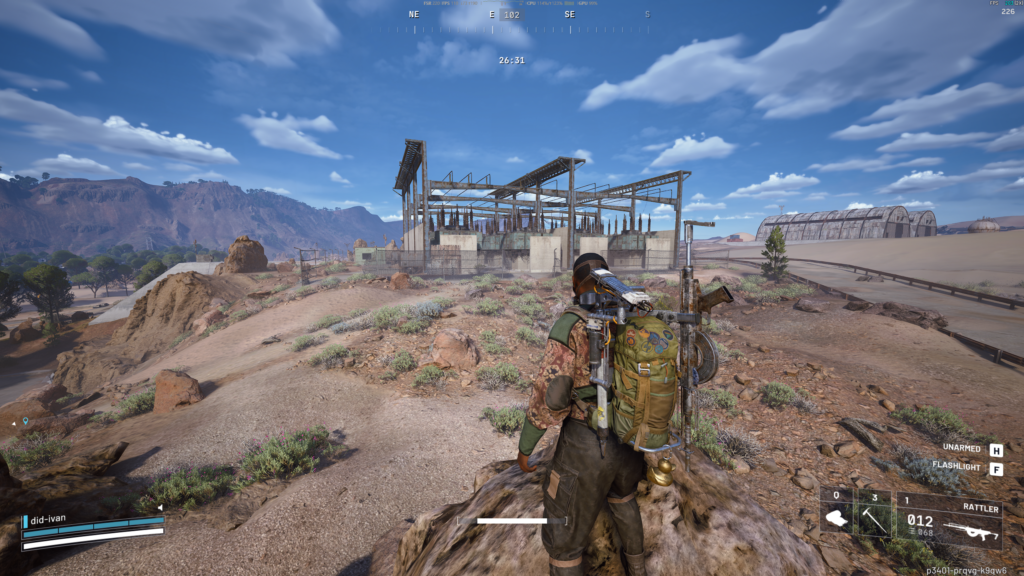
Take the fuse from the box, install the fuse, and restore the power
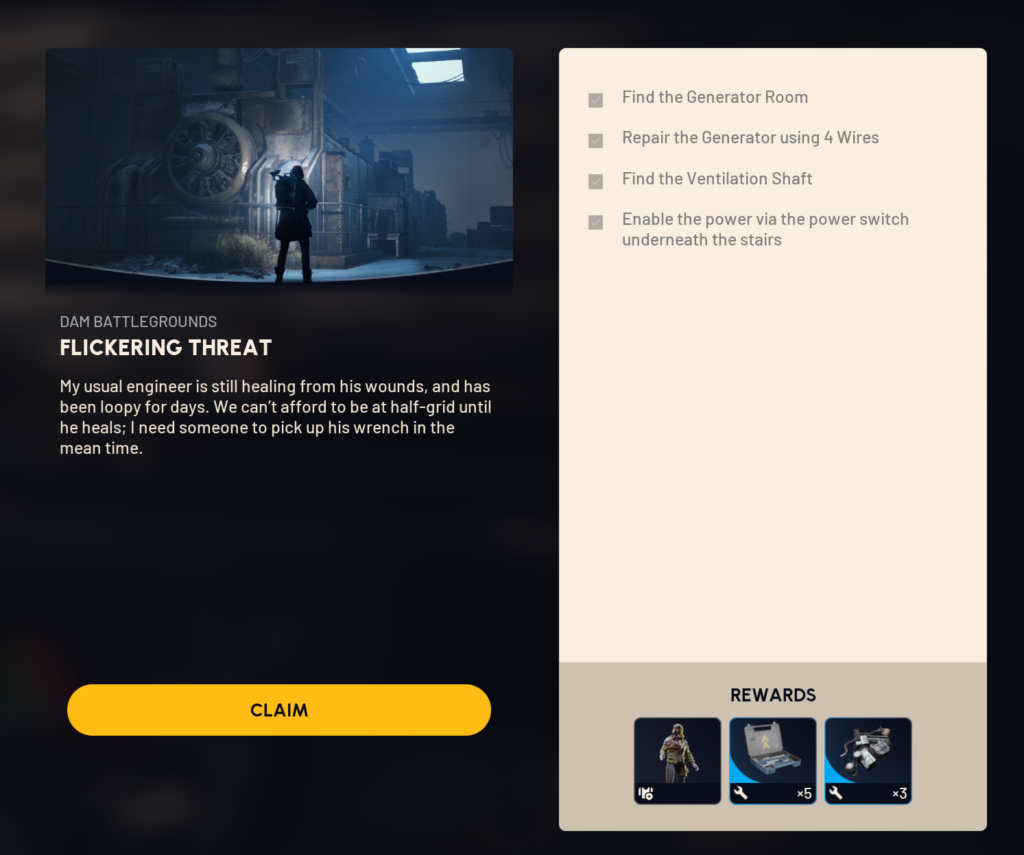
Arc Raiders – Flickering Threat / Мерцающая угроза
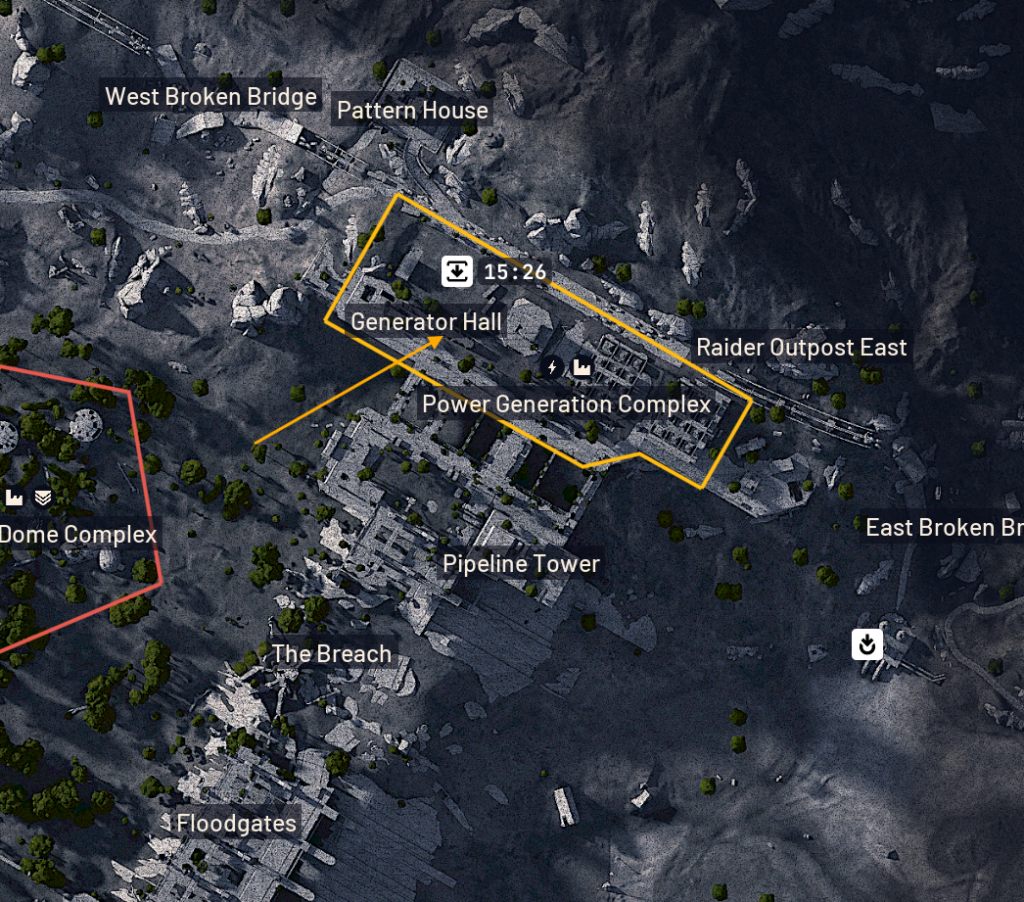
Quest: Find the room with the generator and repair it
Location: Dam Battlegrounds

Objective: Find the room with the generator and repair it

Evacuation required: No

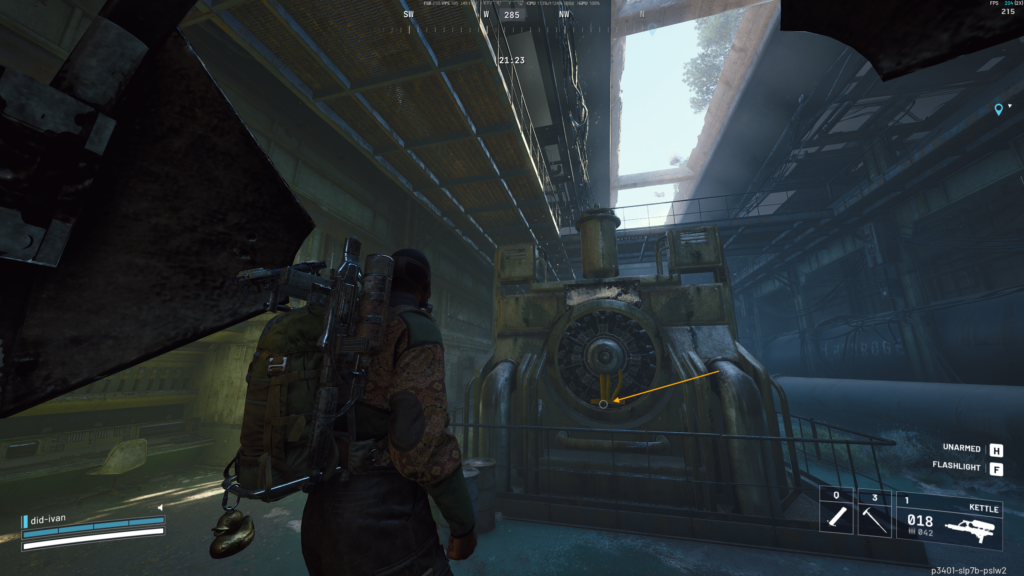
1. Find the Generator Room

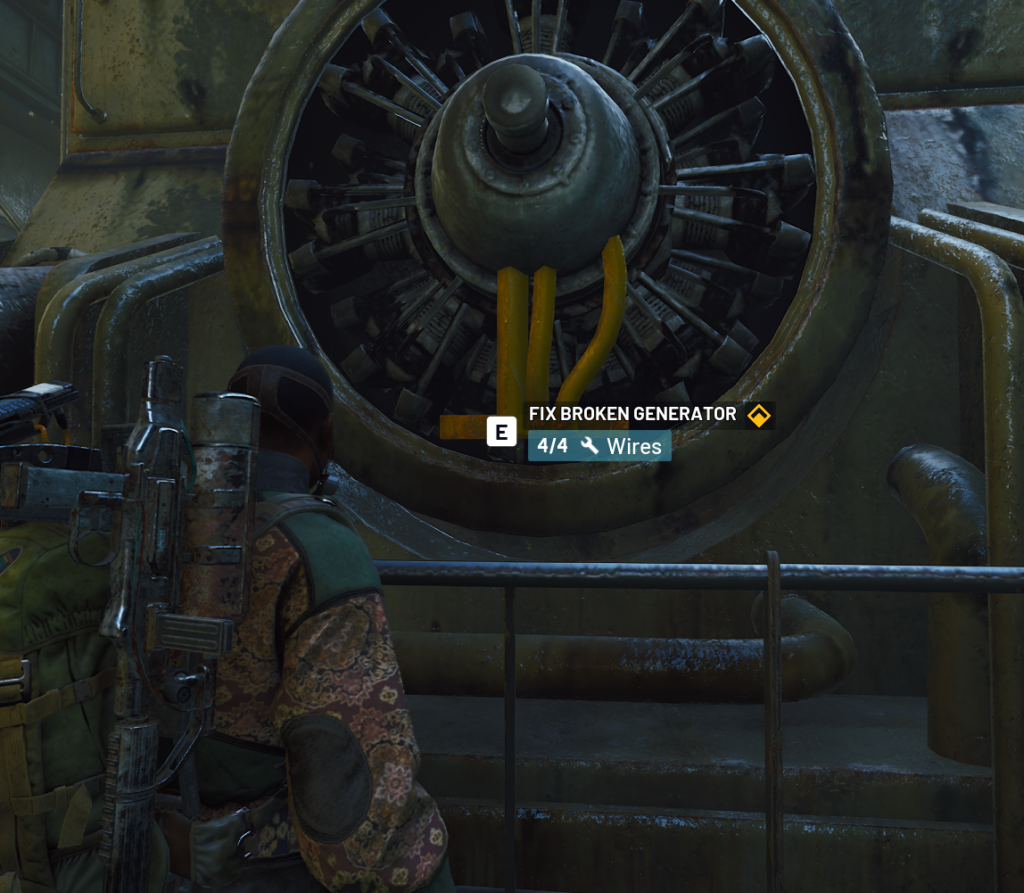
2. Repair the Generator
- Requires 4 Wires

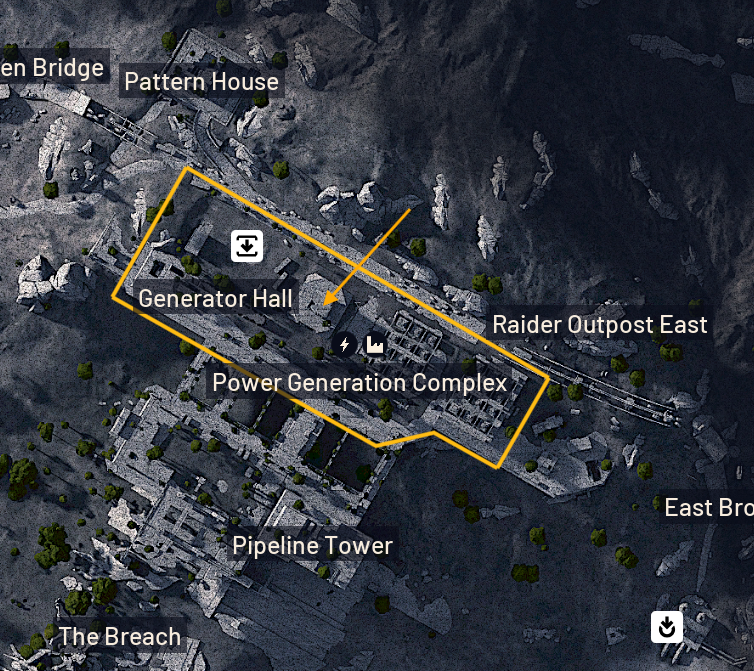
3. Find the Ventilation Shaft
(It is the tall building to the West of the elevator, accessible via the SE door of the Generator Room)

4. Enable the power via the power switch underneath the stairs
Go to the underground Generator Hall
Find the Ventilation Shaft (Enable the power via the power switch)
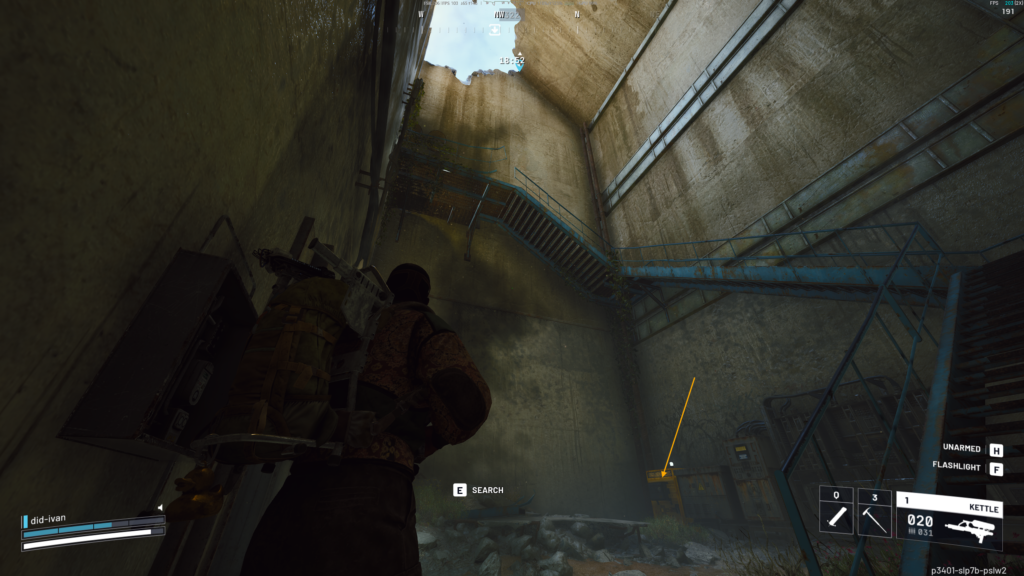
Arc Raiders – BEES! / Пчёлы
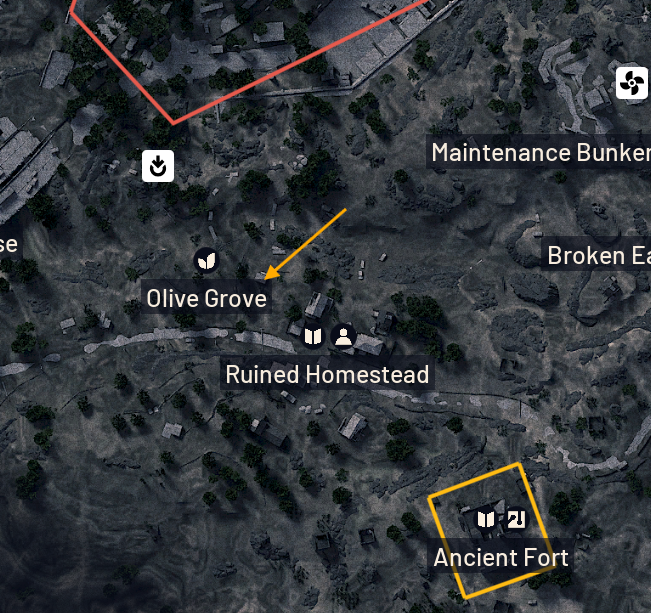
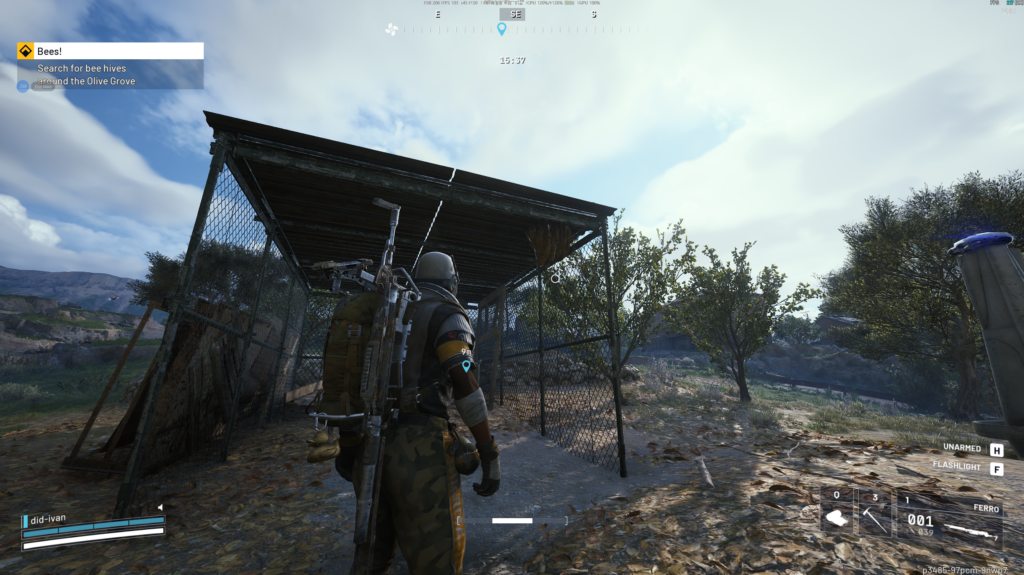
Find the bee hive in the east of the Olive Grove
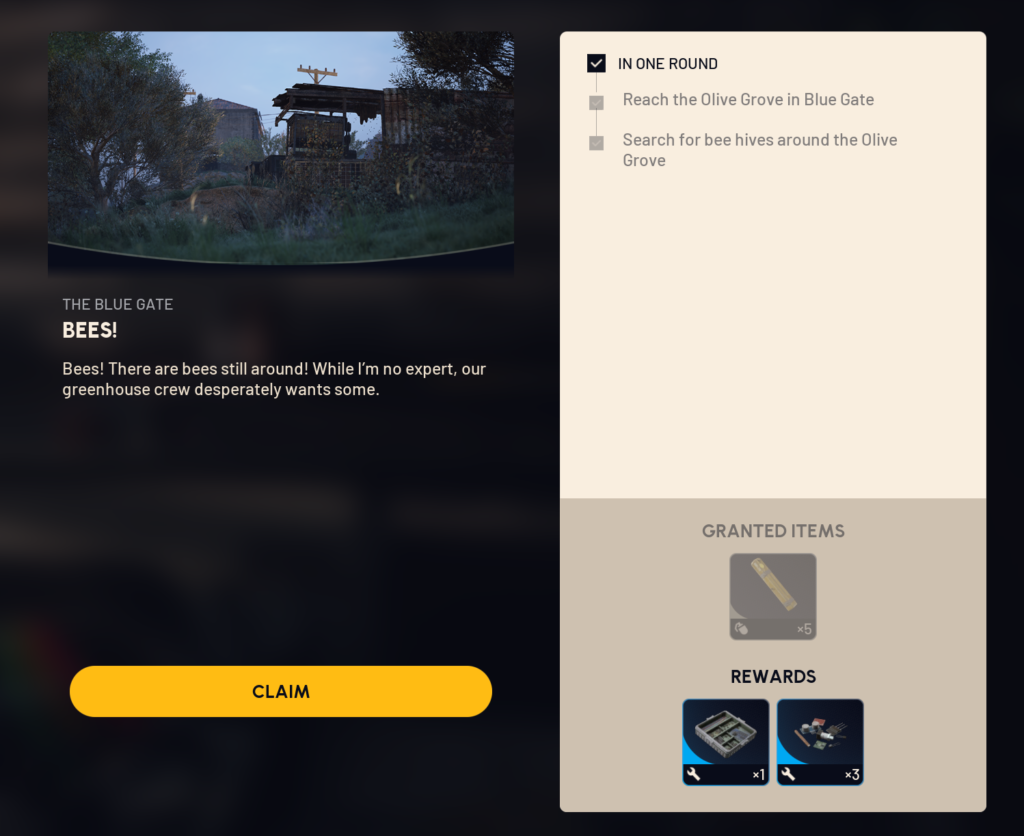
Location: The Blue Gate (Olive Grove)

Objective: Find the bee hive in the east of the Olive Grove

Evacuation required: Yes

1. Go to The Blue Gate (Olive Grove)

2. The bee hive is hanging fron the roof in the entrance to a wire-mesh shed-like structure.

3. Evacuation required
Olive Grove
Arc Raiders – Tribute to Toledo
Celeste ask as to get her a Power Rod.
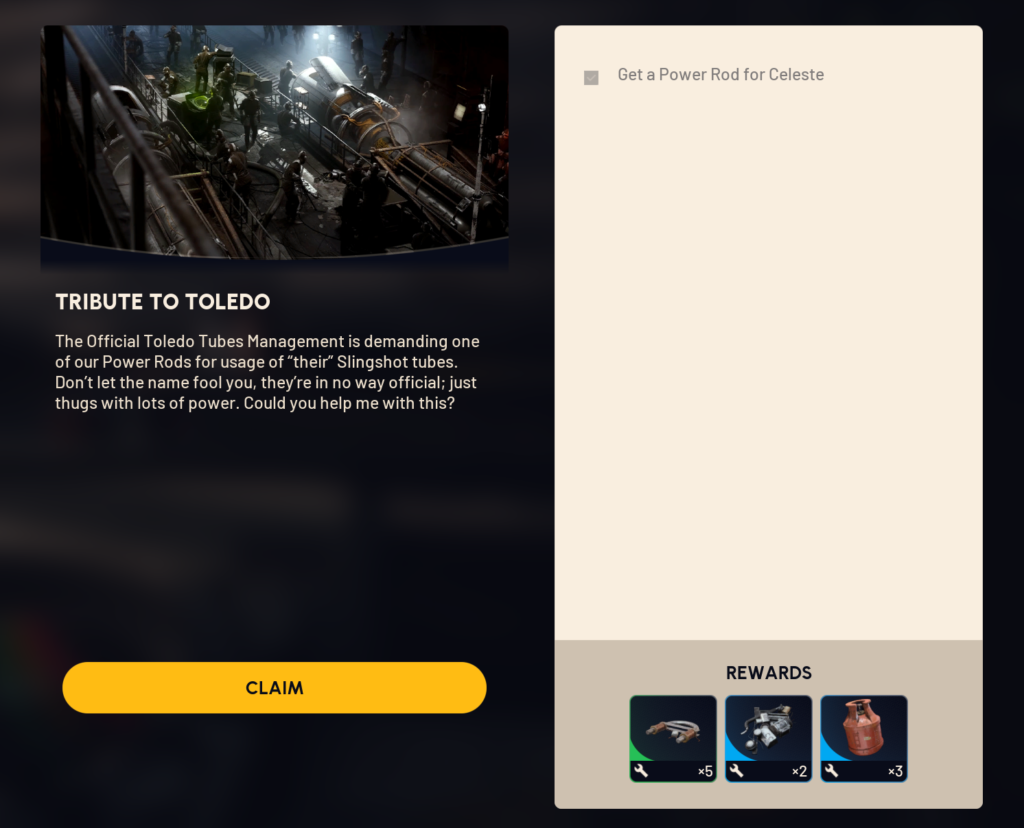
Location: no map required

Objective: Celeste ask as to get her a Power Rod.

Evacuation required: No

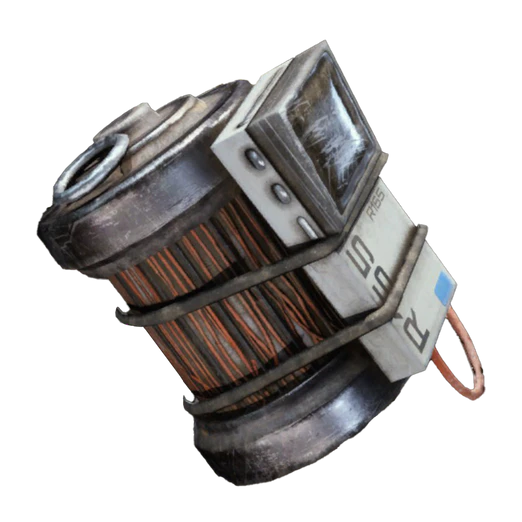
Since Power Rods fall under the "Exodus" loot type, they are ultra-rare items to find. But you can craft them at Workshop. For this you need:
- Advanced Electrical Components x2
- Arc Circuitry x2

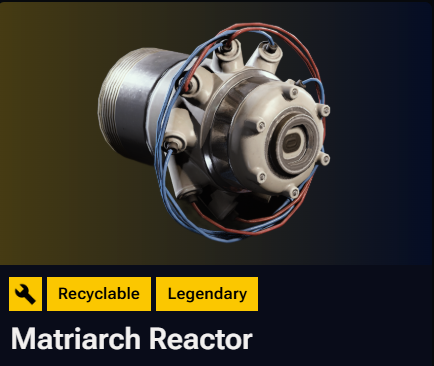
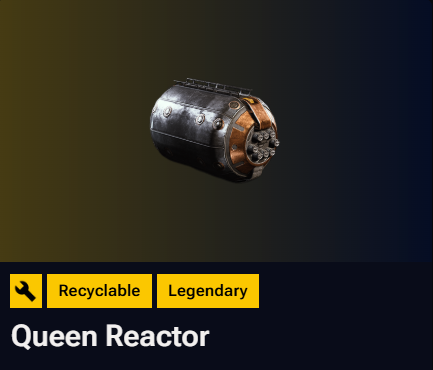
or just can be recycled from:
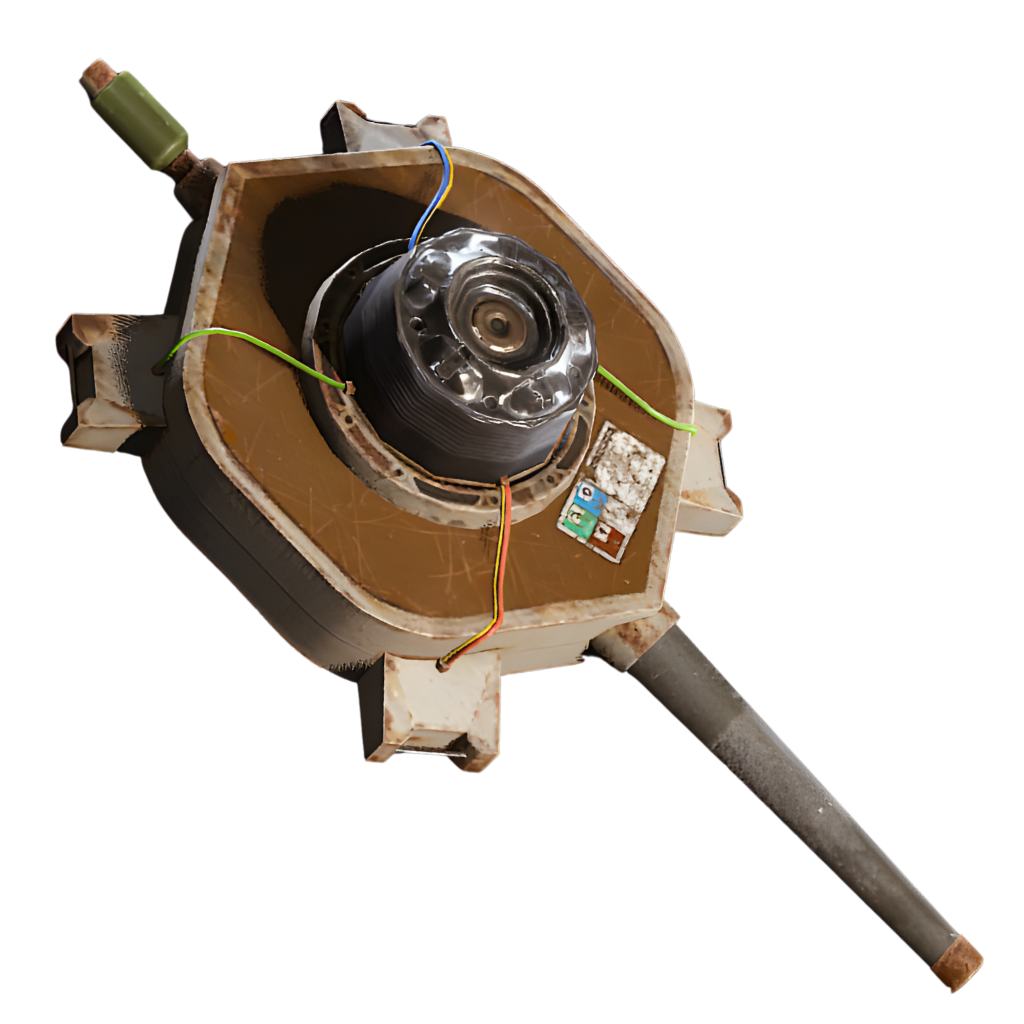
- Matriarch Reactor
- Queen Reactor
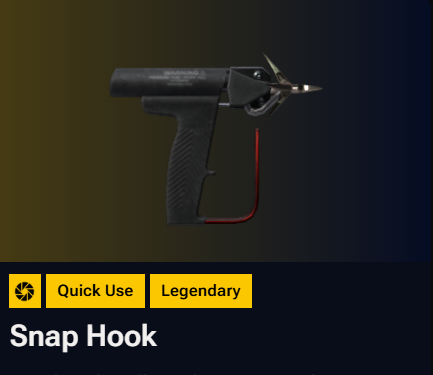
- Snap Hook
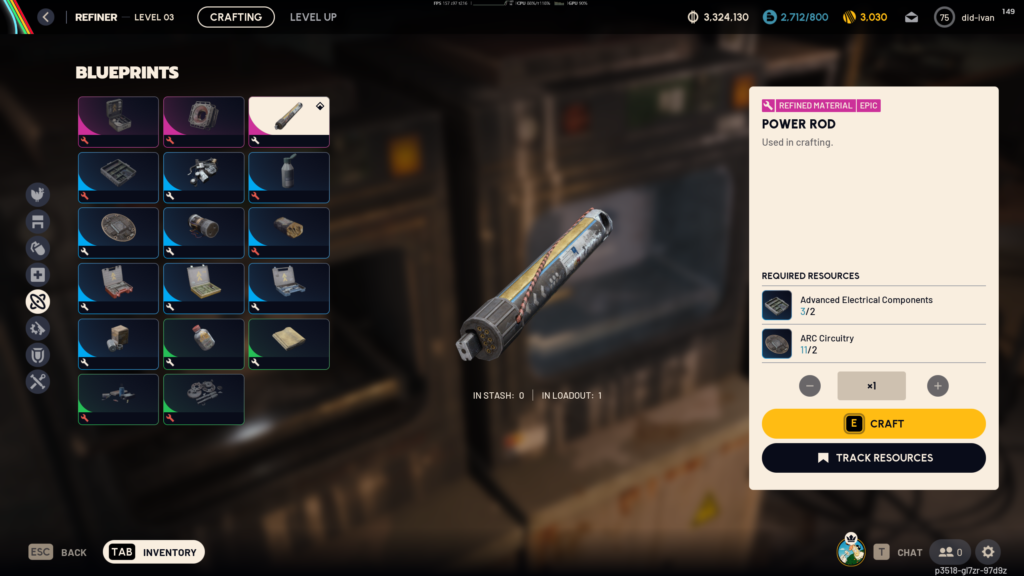
Can be recycled from:
Arc Raiders – Digging Up Dirt Quest Guide
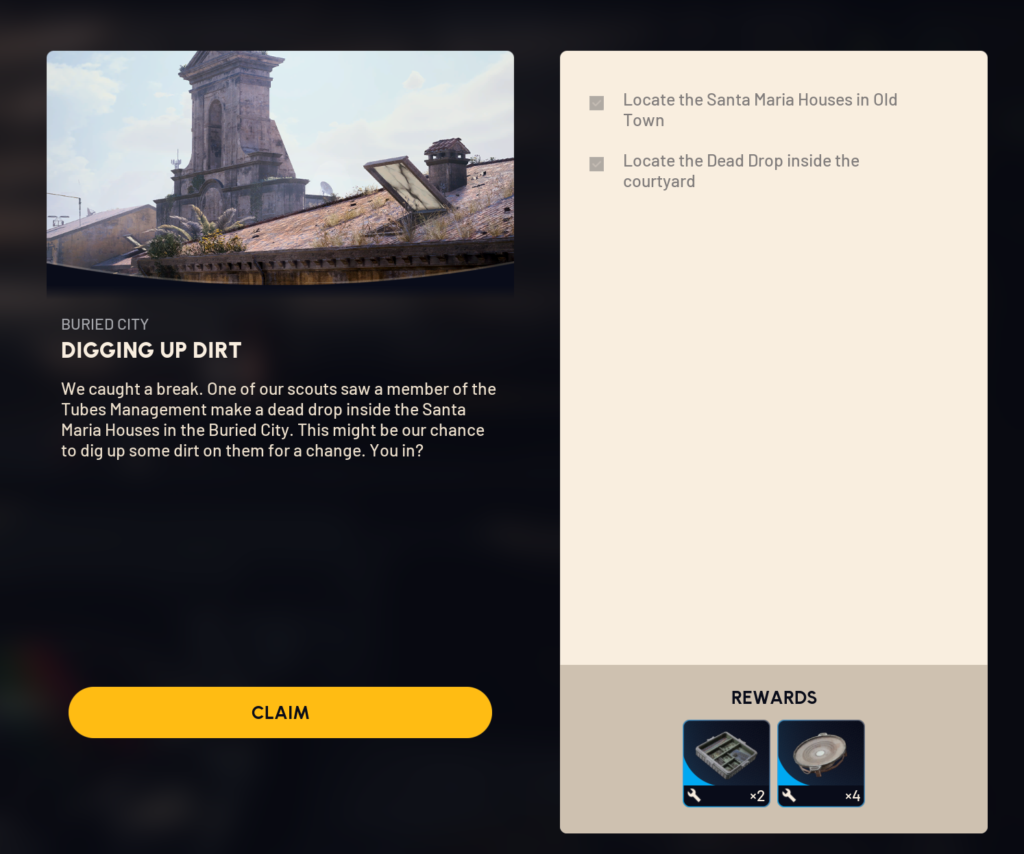
Location: Buried city

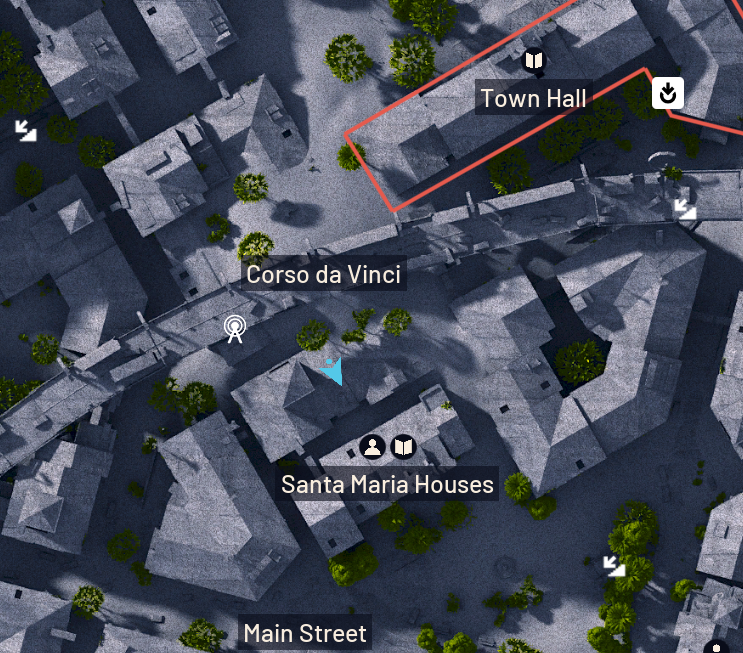
Objective: The dead drop Celeste wants you to find is located at the Santa Maria Houses POI in the southern portion of Buried City.

Evacuation required: No

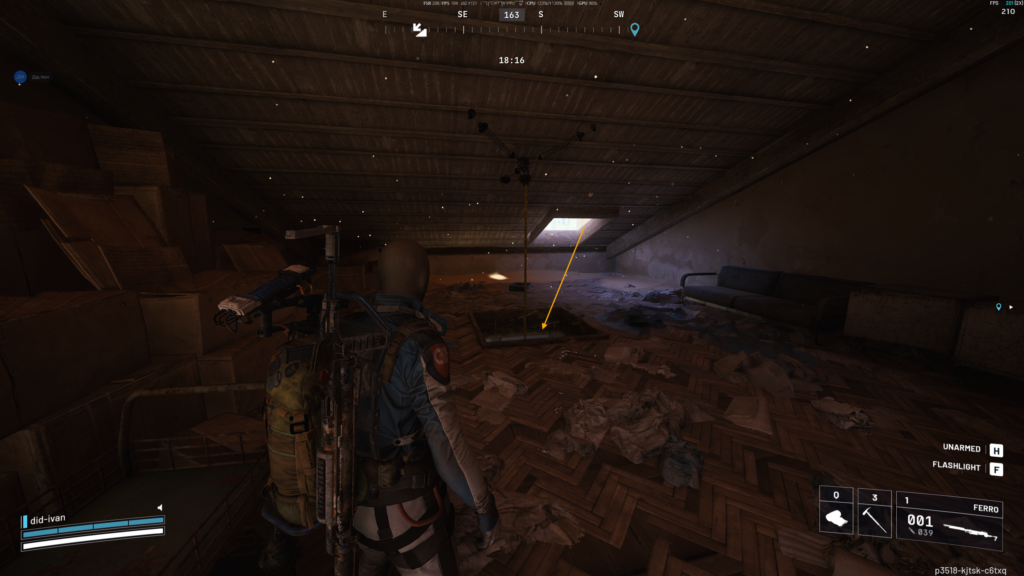
1. Locate the Santa Maria Houses in Old Town
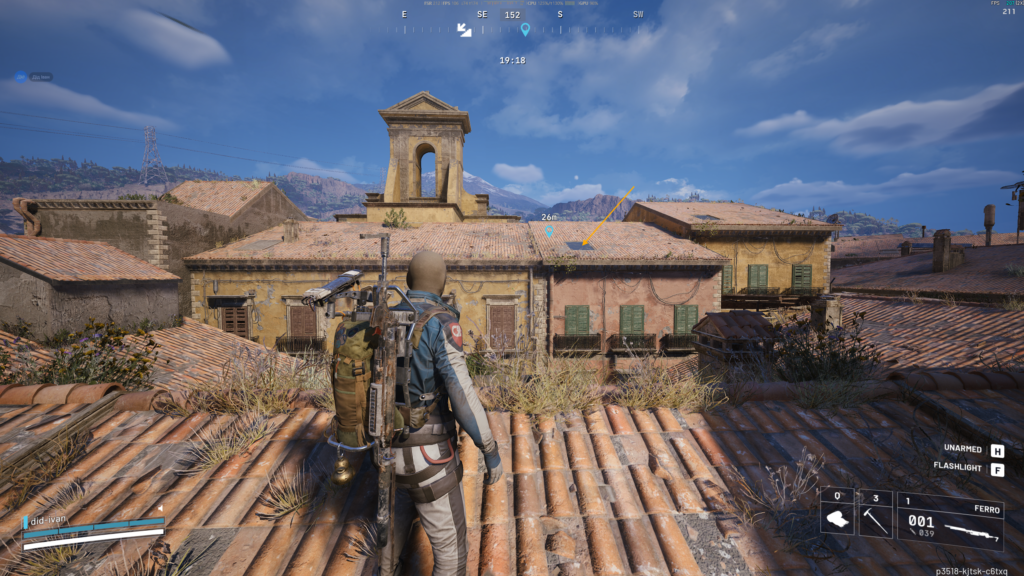
The easiest way to get inside is through the roof. We climb through the skylight, descend the zip line, and find what we need in the next room.

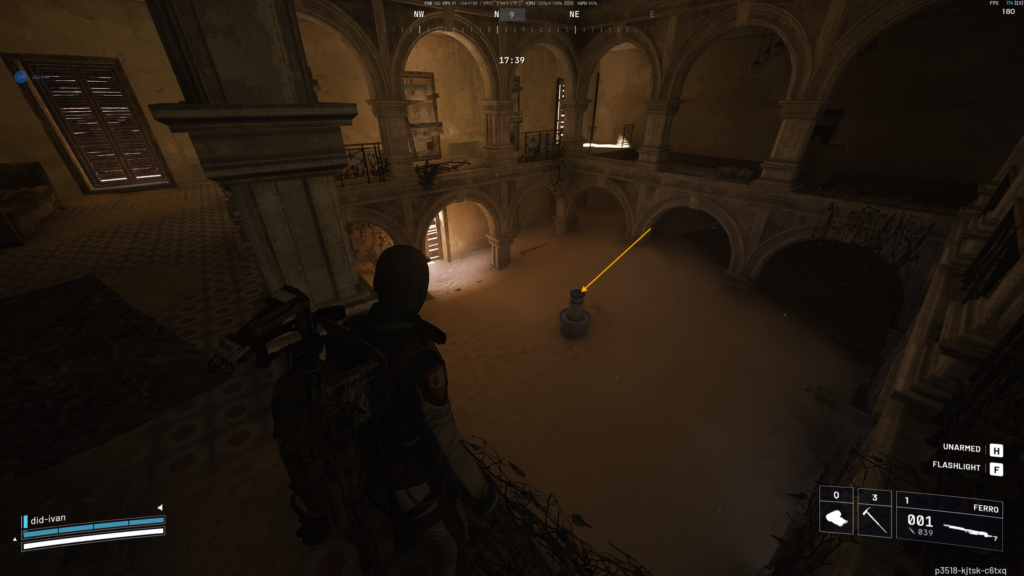
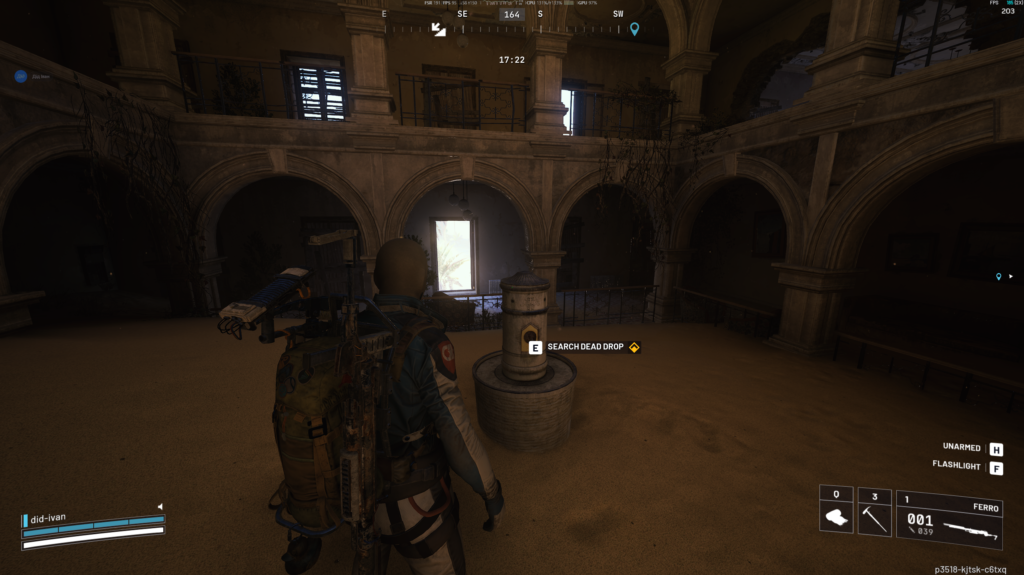
2. Locate the Dead Drop inside the courtyard
Arc Raiders – Turnabout Quest Guide
Location: Spaceport

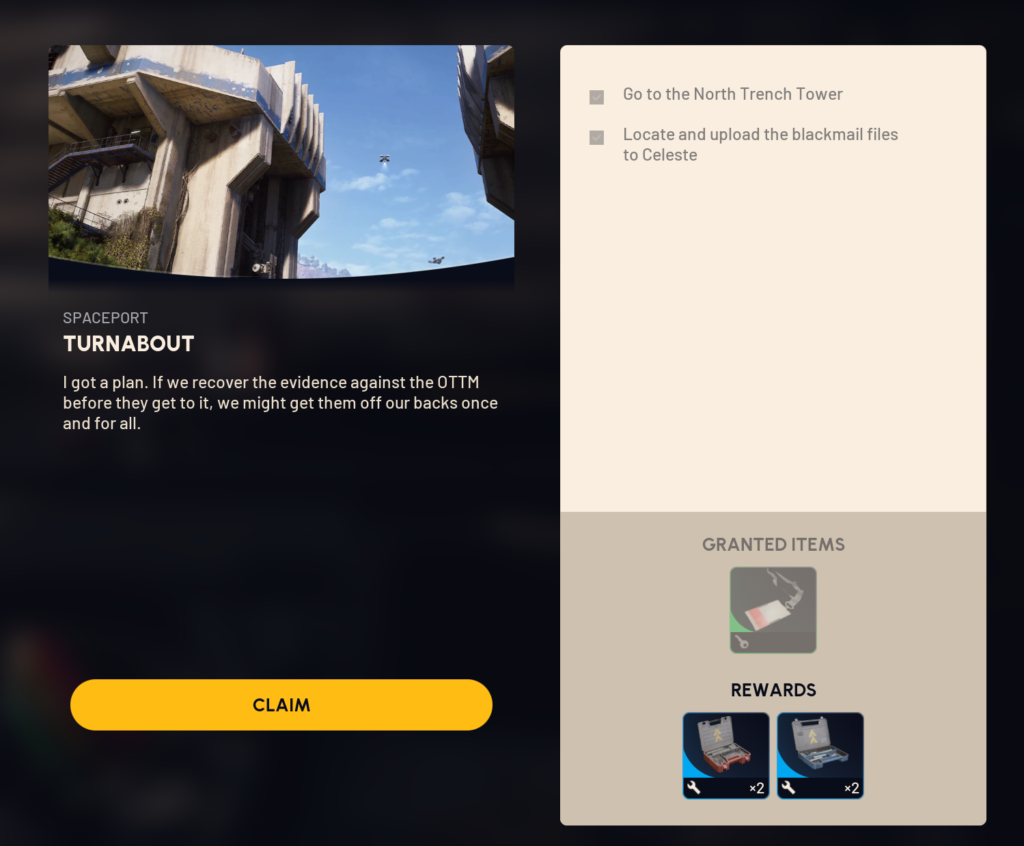
Objective: Upload the blackmail files at terminal at North Trench Tower.

Evacuation required: No

1. Go to the North Trench Tower (Key is Required)
2. Locate and upload the blackmail files at terminal on second flor.
The North Trench Tower is located at the very northern tip of the Spaceport map. Be certain you’re at the North Trench Tower before using the key, as the Spaceport Trench Tower Key can also open the South Trench Tower, which could waste your key!
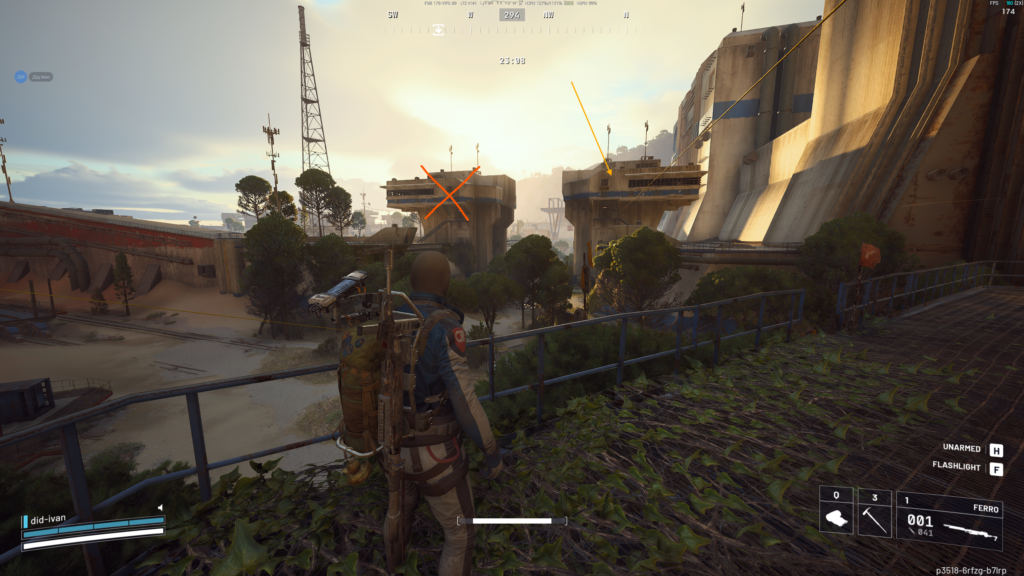
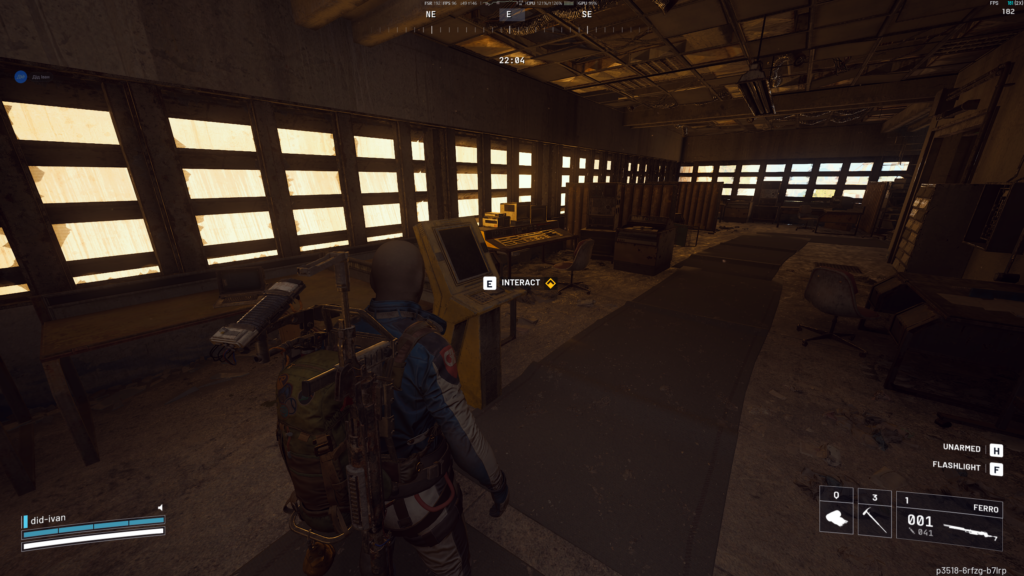
Arc Raiders – Worth Your Salt Quest Guide
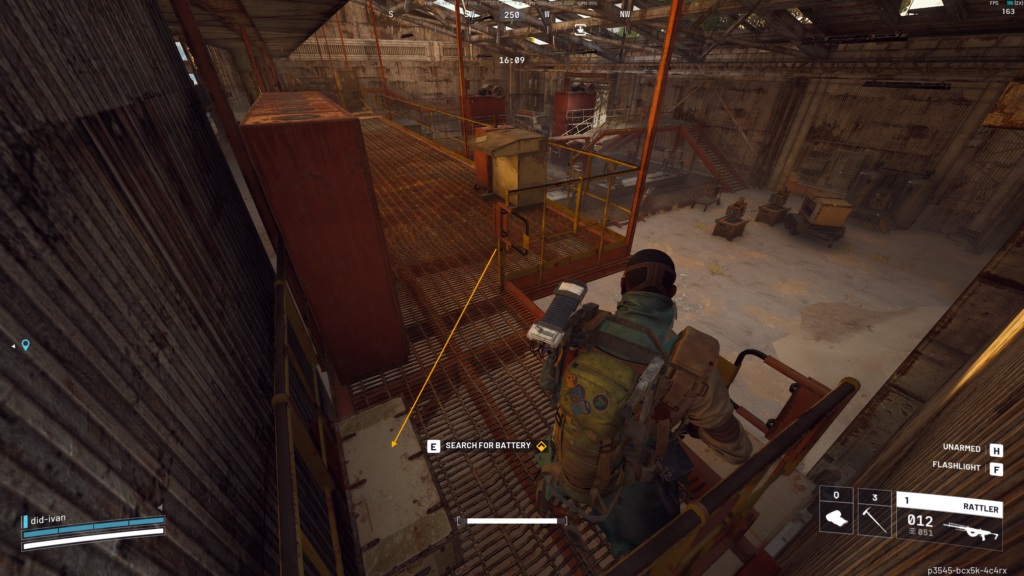
Find, charge, and deliver the battery to the drop-off point.
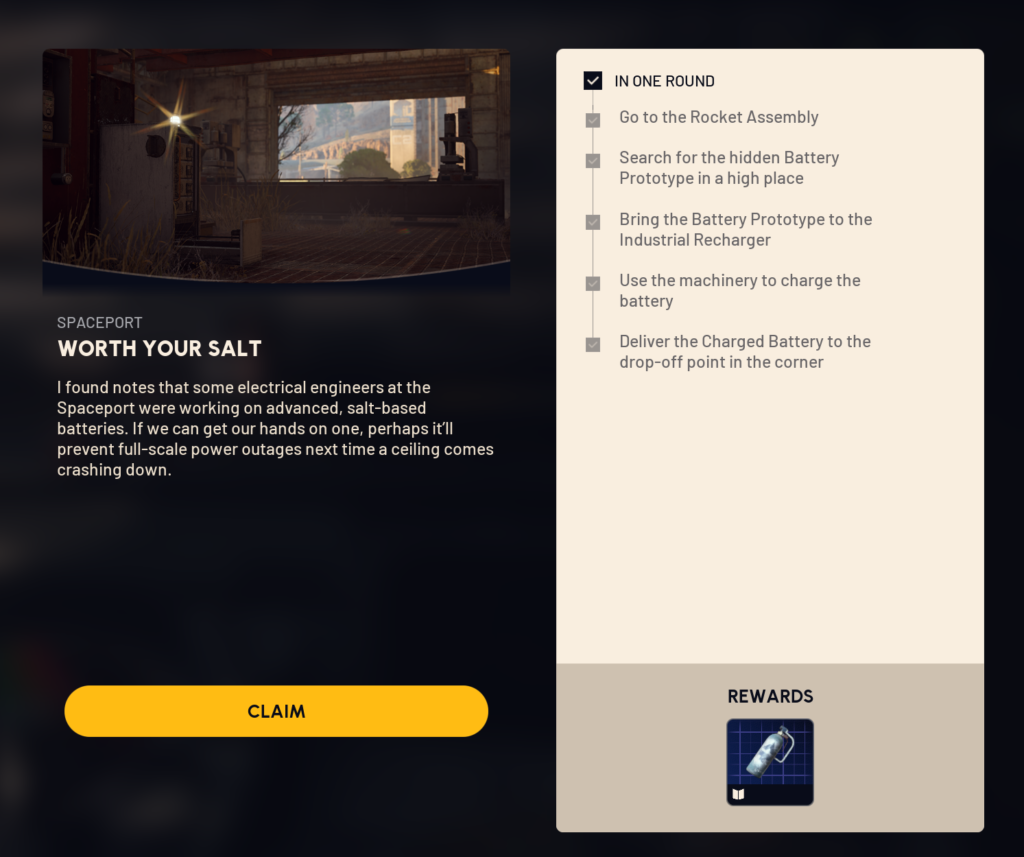
Location: Spaceport

Objective: Find, charge and deliver battery to the drop-off point.

Evacuation required: Yes

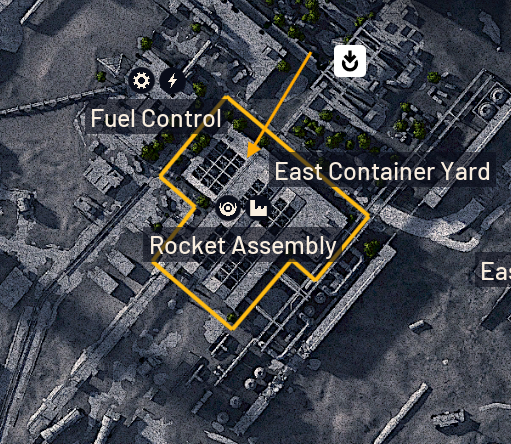
1. Go to the Rocket Assembly
2. Search for the hidden Battery Prototype in a high place
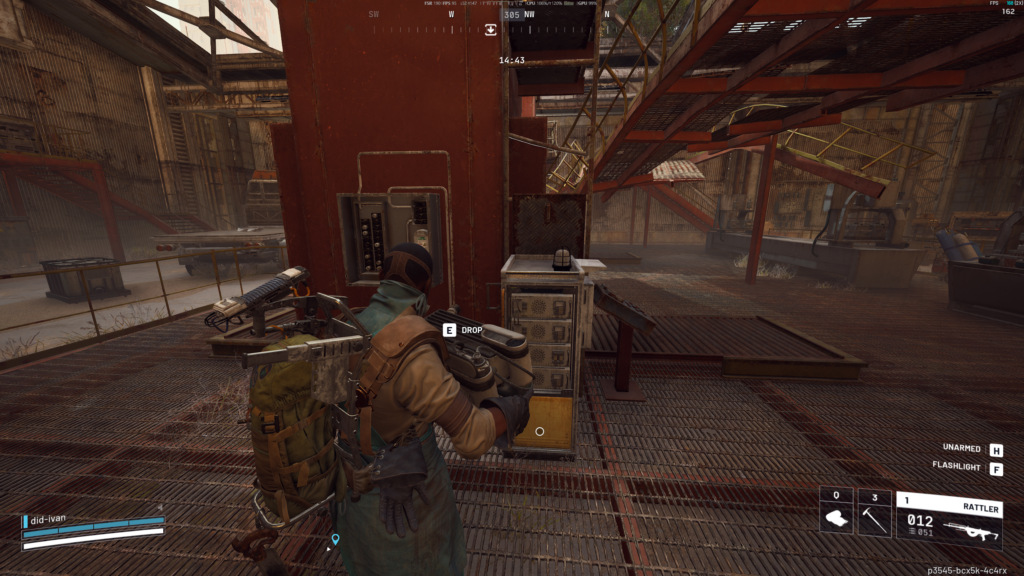
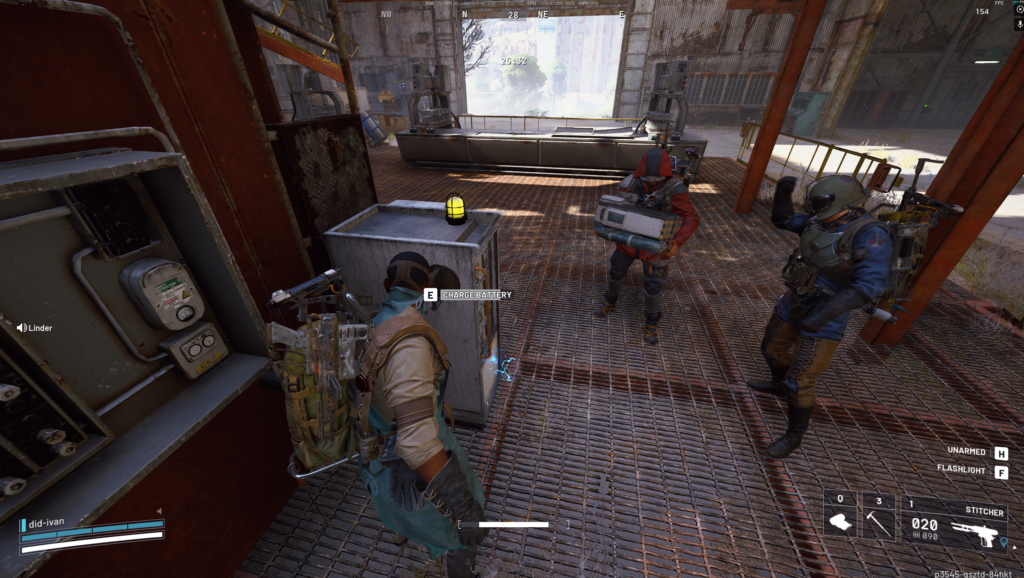
3. Brin the Battery Prototype to the Industrial Recharger near you find battery.
4. Use the machinery to charge the battery (on left side)
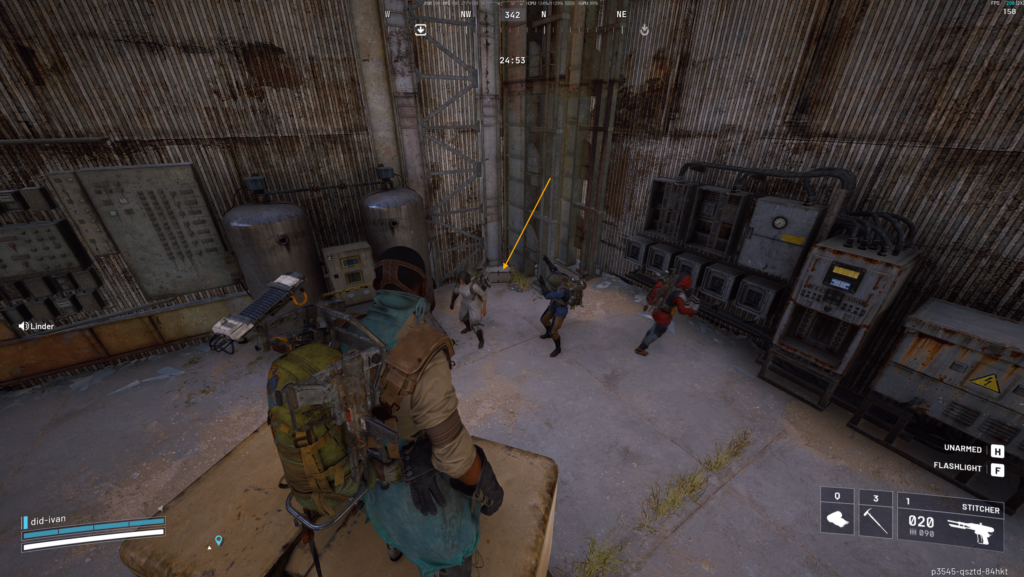
5. Deliver the Charged Battery to the drop-off point in the corner (if someone already put battery there, you can't finish quest)
6. You need to extract to finish quest.
Arc Raiders – A rising Tide
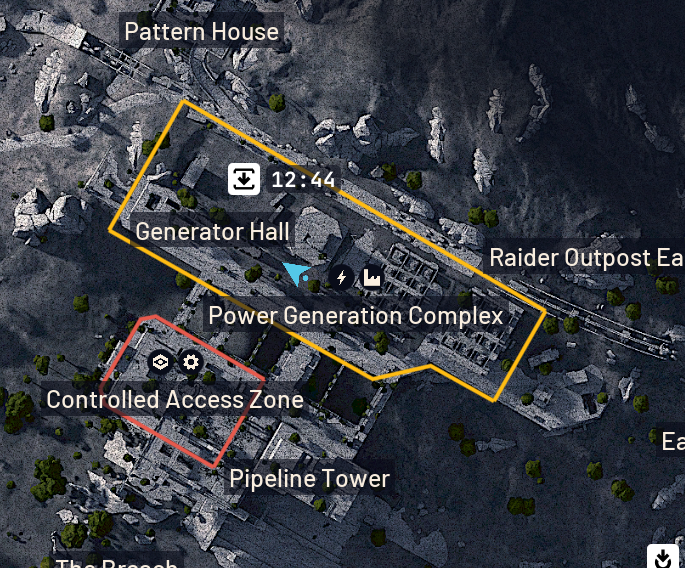
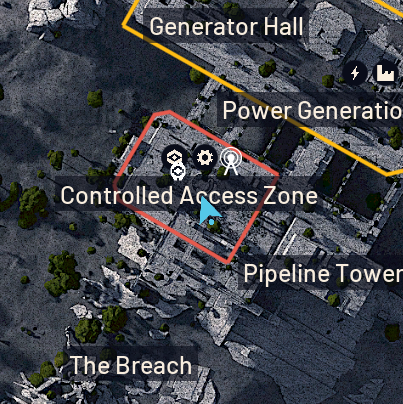
Get access to the digital logbook on Buried City, and take a photo of the dock at Controlled Access Zone at Dam Battlegrounds.
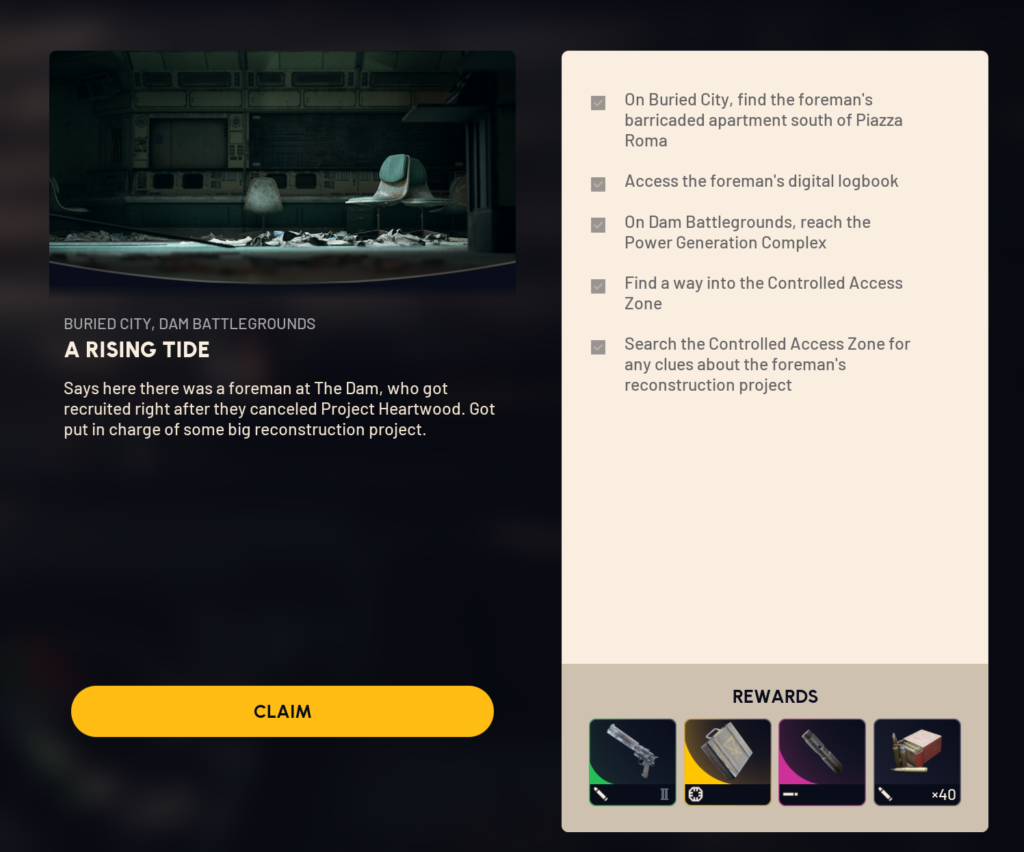
Location: Buried City, Dam Battlegrounds

Objective: Get access to digital logbook on Buried City, and take a photo of the dock at Controlled Access Zone at Dam Battlegrounds.

Evacuation required: No

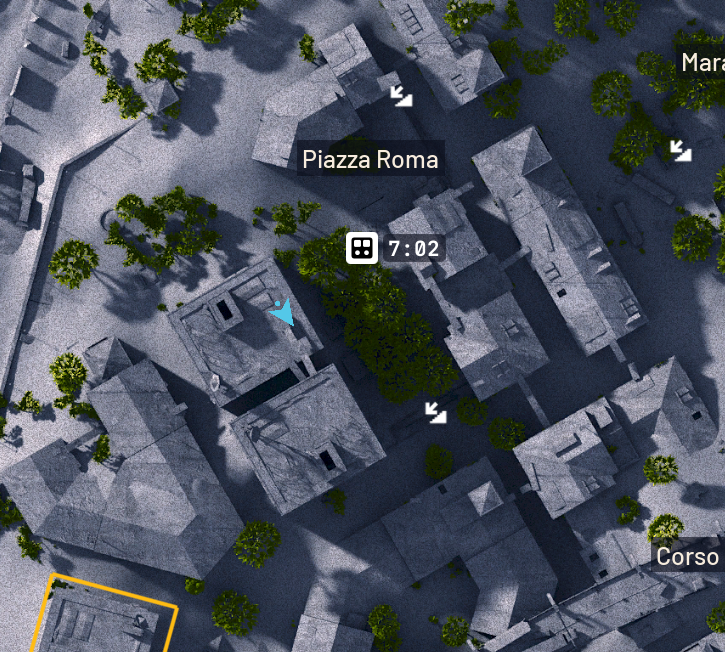
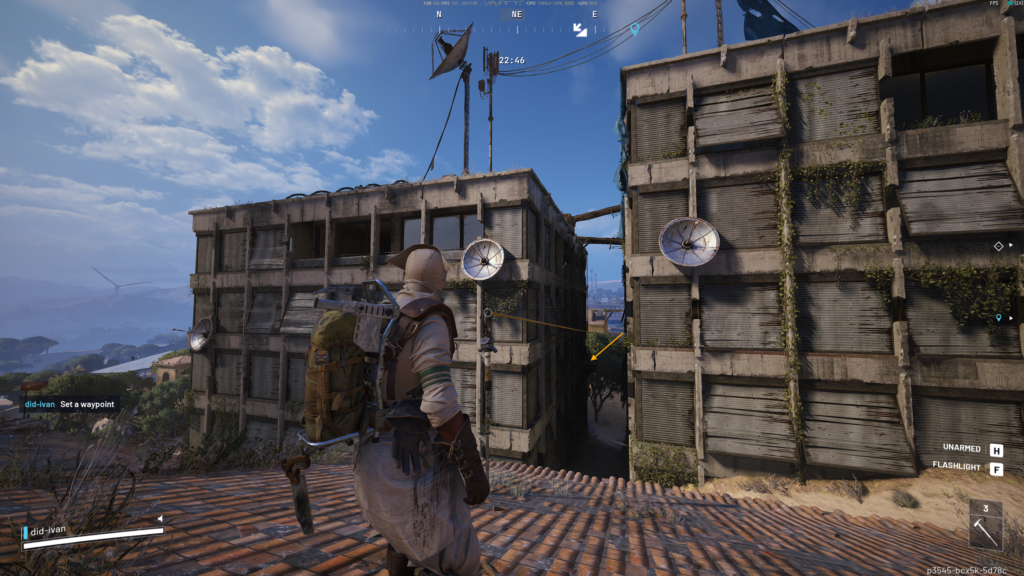
1. On Buried City, find formans's barricaded apartment south of Piazza Roma.
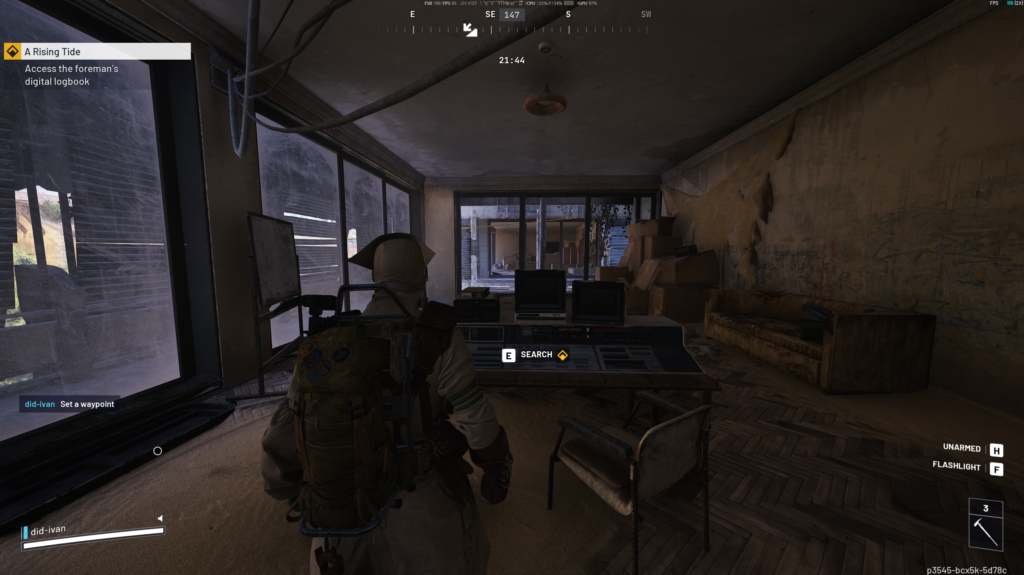
2. Acess the foreman's digital logbook and extract.
3. On Dam Battlegrounds, reach the Power Generation Compalex area.
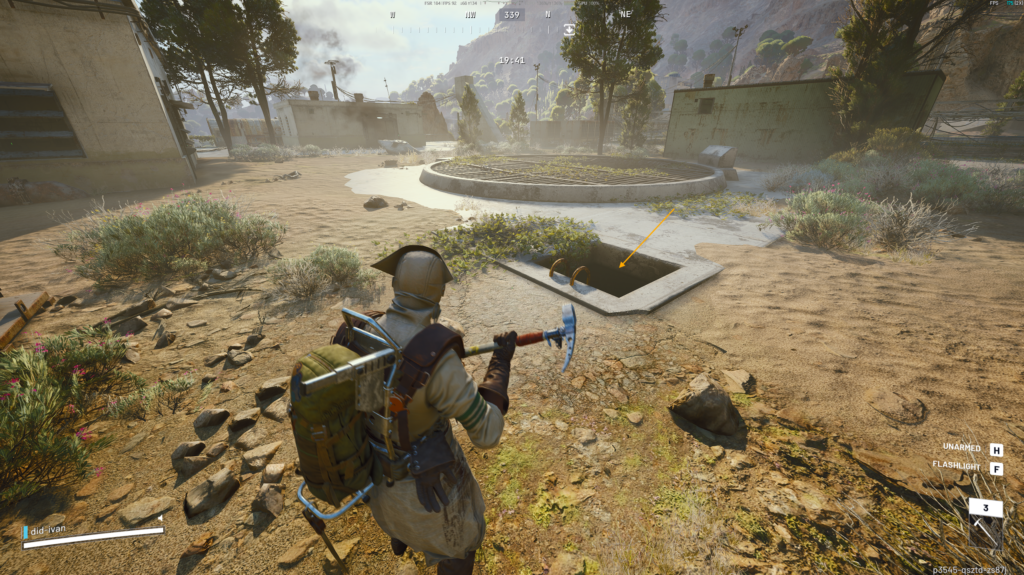
4. Find a way into the Controlled Access Zone, there will be ladder down.
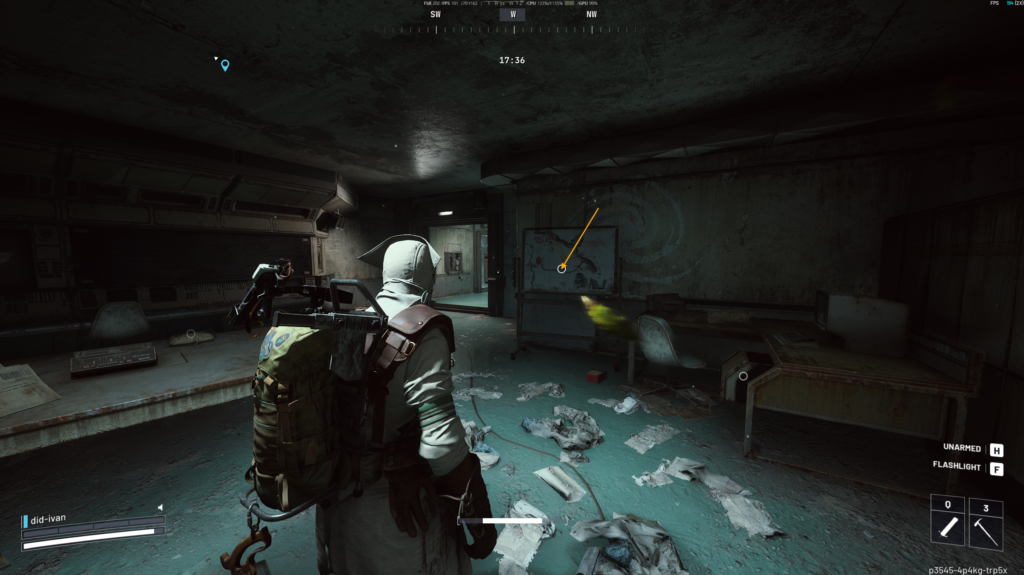
5. Go down to Controlled Access Zone and find the room with the dock and take a photo of it. After that, the quest will be complete.
Find the foreman’s barricaded apartment south of Piazza Roma
SHANI
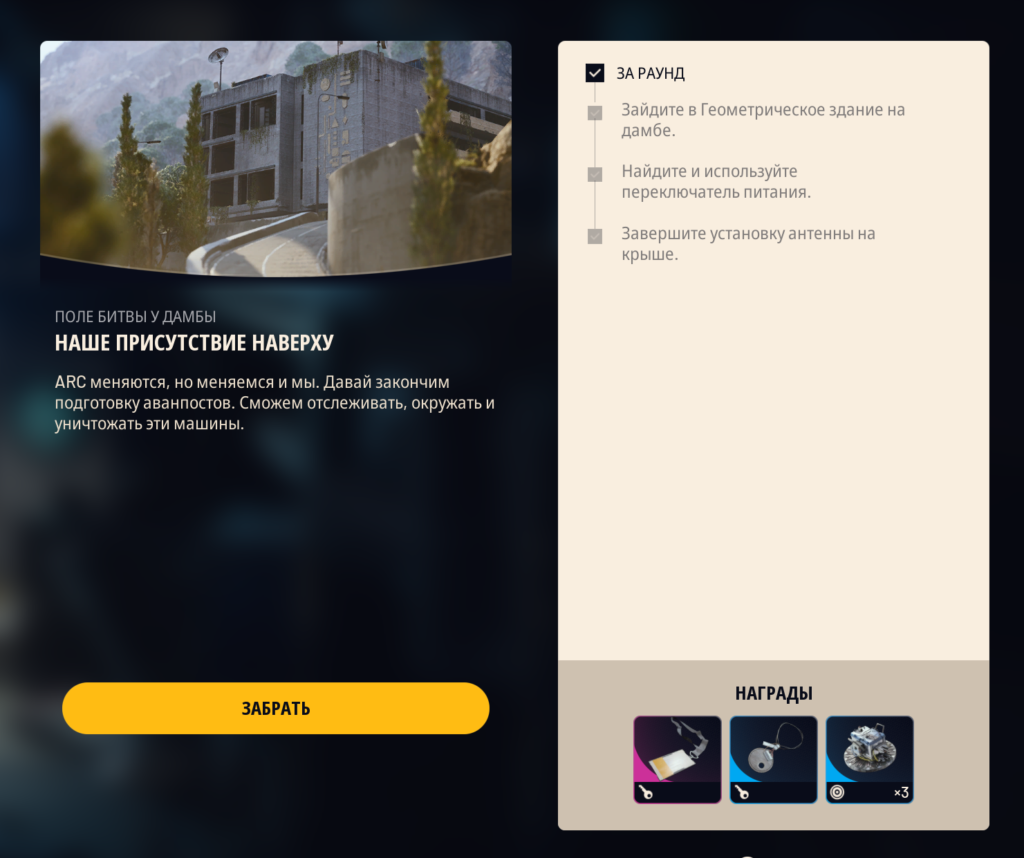
Arc Raiders – Our Presence Up There / “Наше Присутствие Наверху”
Цель: Реактивировать антенну в Доме с Фресками (рубильник + терминал на крыше)
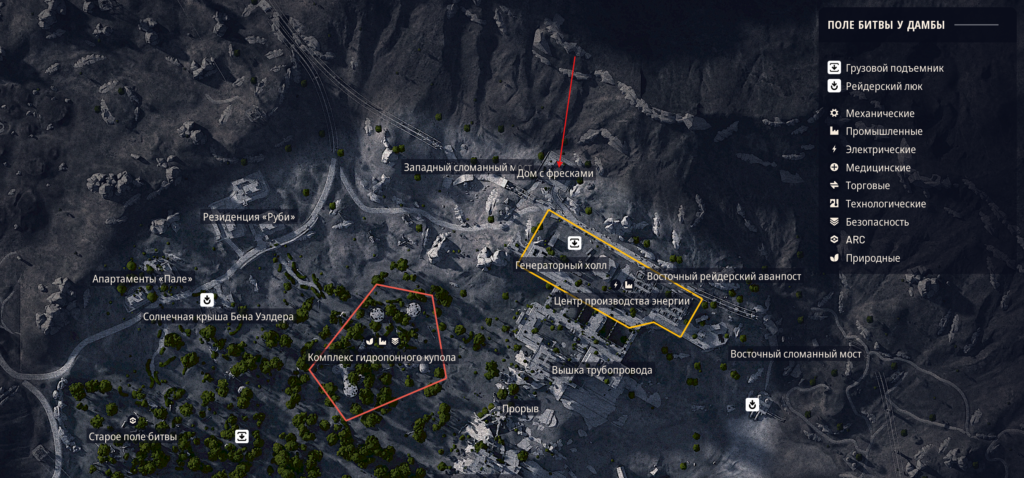
Локация: Поле битвы у плотины.

Отправляйтесь в северную часть области, в зону под названием «Дом с фресками».

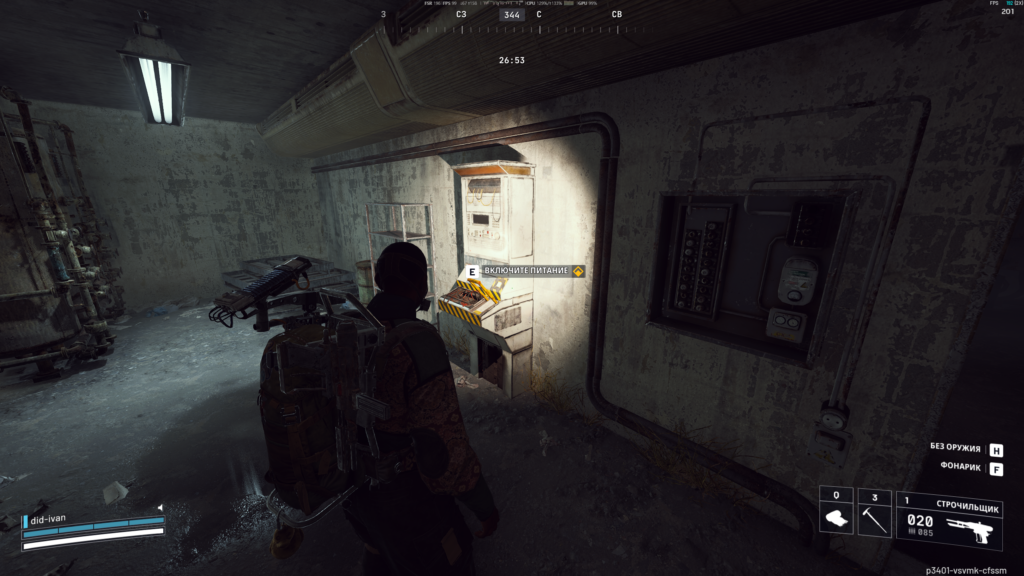
1. На первом этаже найдите комнату с генераторами и потяните рычаг, чтобы восстановить питание.

2. После этого поднимитесь на крышу и настройте антенны, взаимодействуя с терминалом.

Как только антенны будут настроены, квест будет завершен.
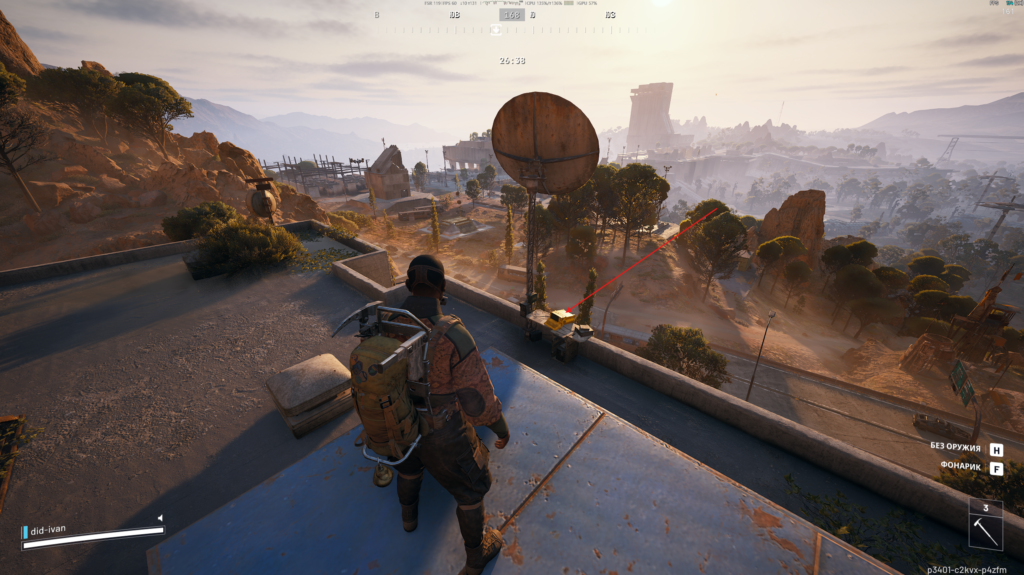
Arc Raiders – Communication Hideout / “Убежище центра связи”
Цель: Восстановить генератор и включить антенну у Красной вышки
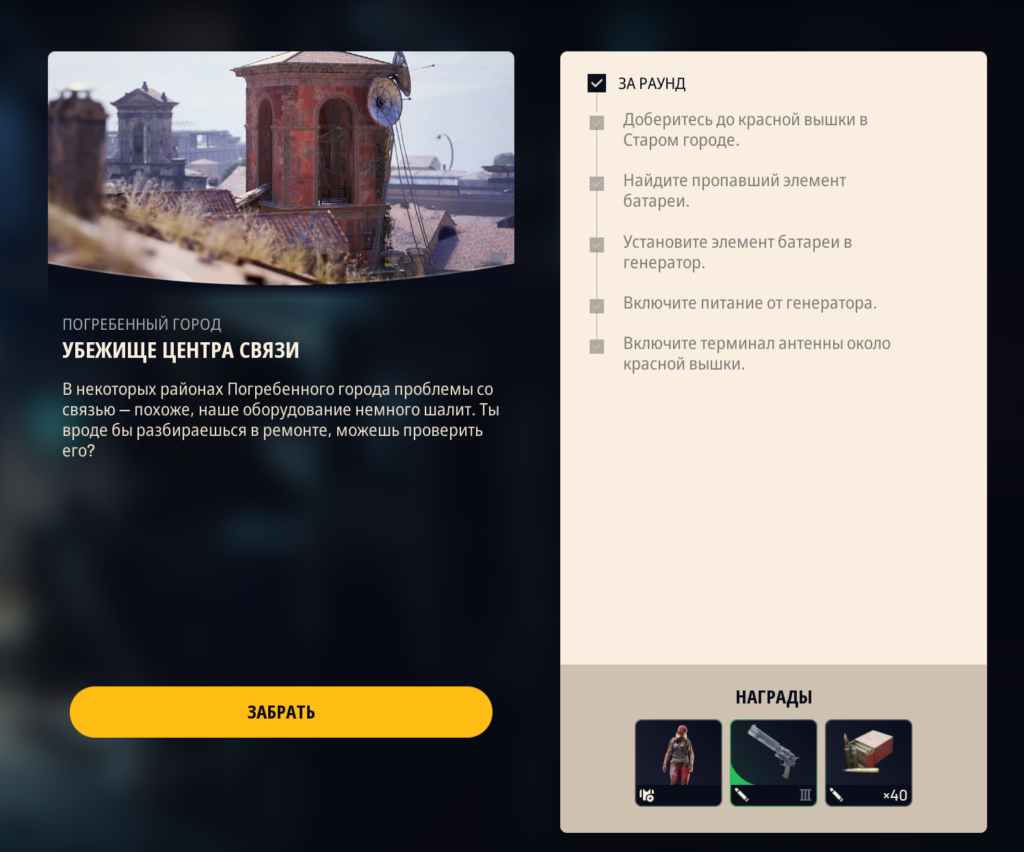
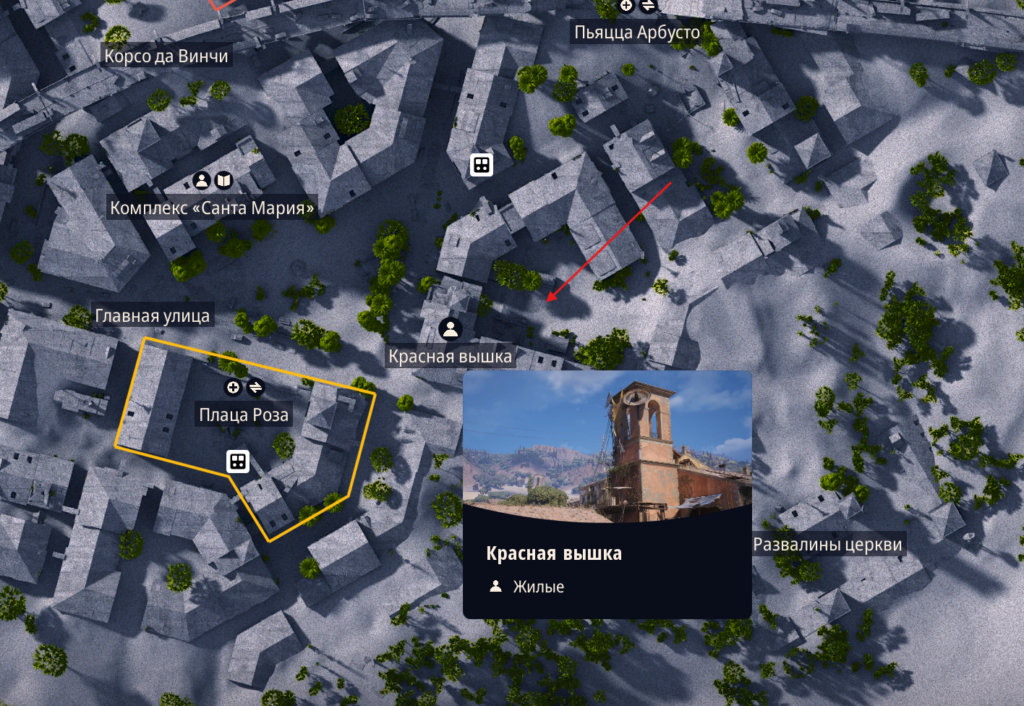
Локация: Погребенный город (Красная вышка)

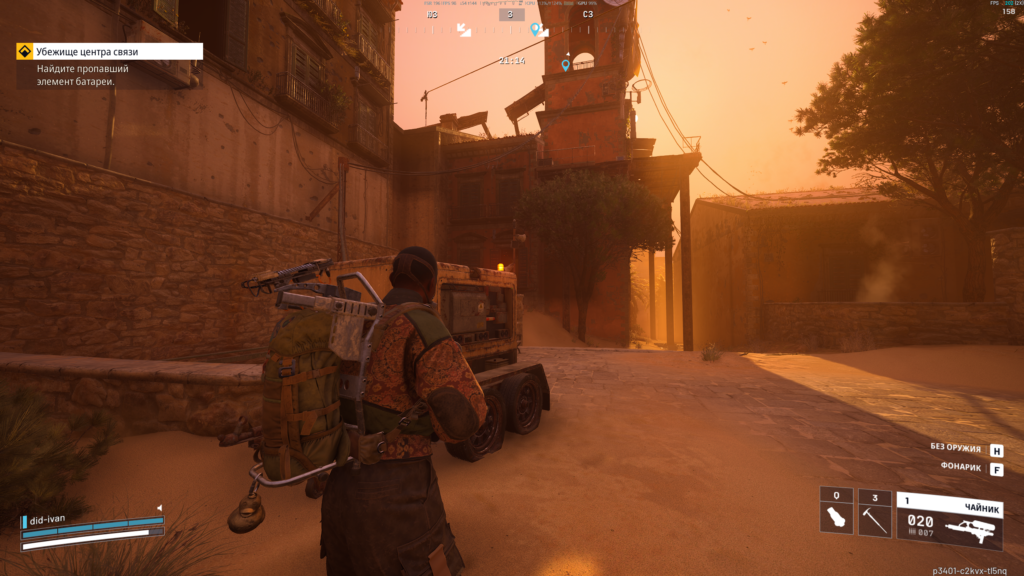
1. Подойди к генератору в центре этой площи что бы квест начался.
2. Обернись, возле киоска в центре площи будет лежать на земле батарея, взаимодействуй, и возьми выпавшую батарею.
3. Установи батарею в генератор к которому уже подходил.
4. С другой стороны генератора, активируй эго.
5. Развернувшись посмотри вверх, поднимаемся наверх к вышке, это можно сделать через здания неподалеку.
6. Добравшись наверх взаимодействуем с терминалом и завершаем квест.

Квест нужно сделать за раунд, нужно выйти живым!
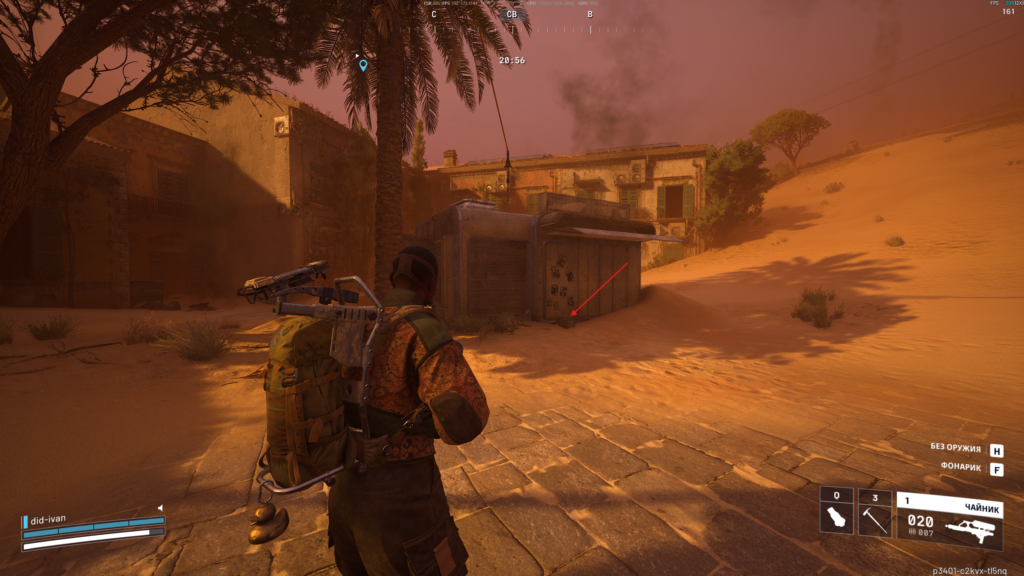
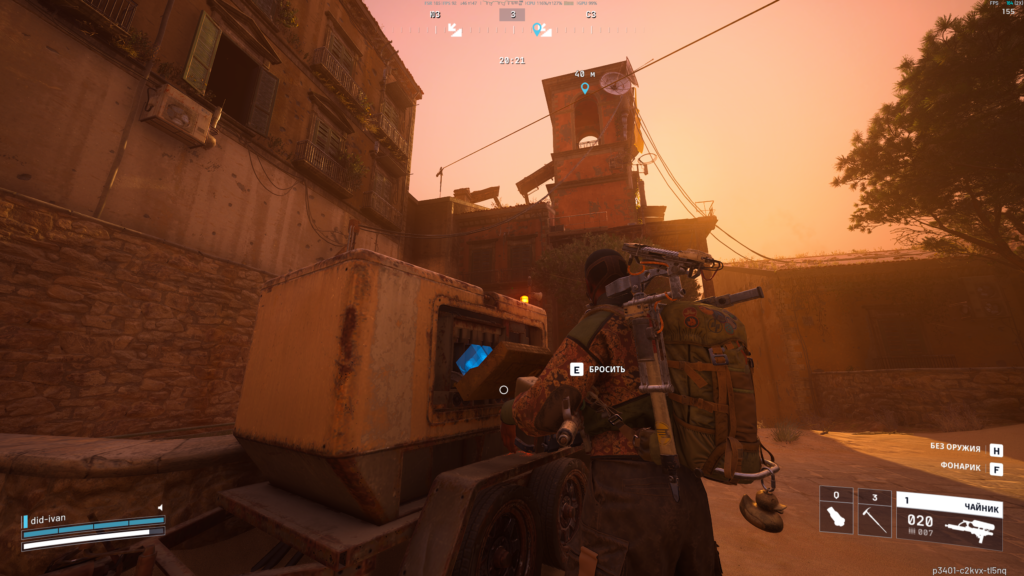
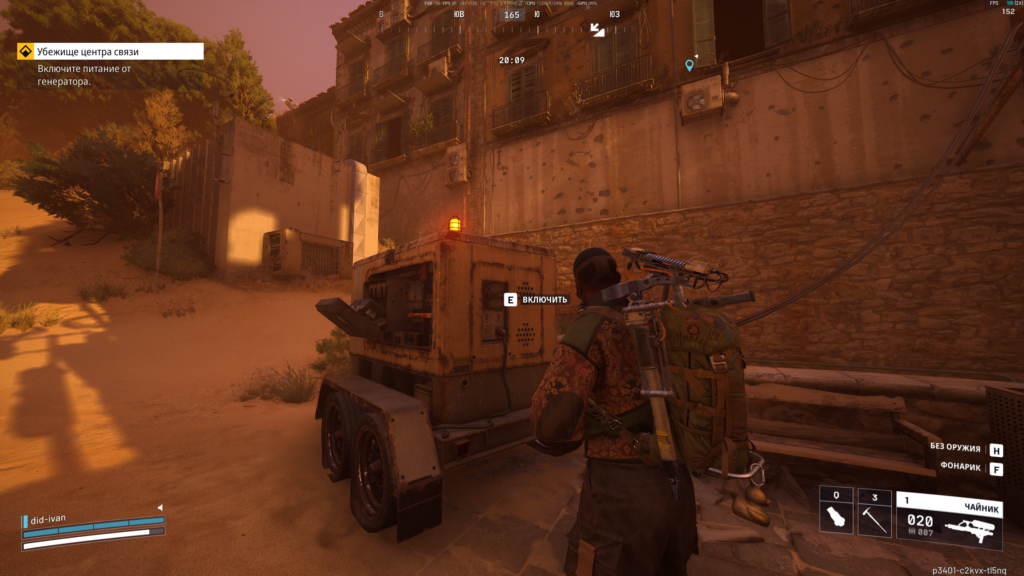
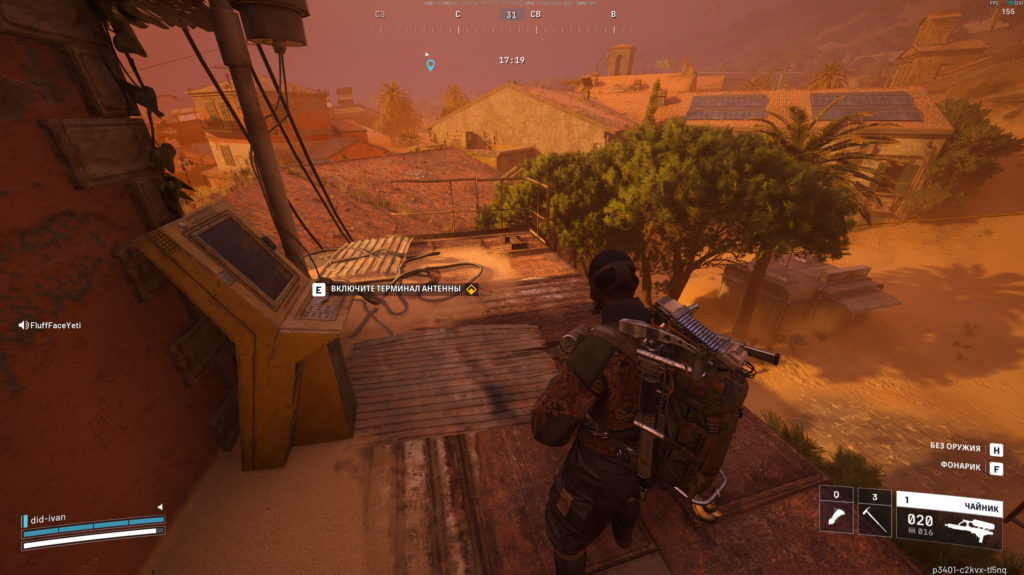
После взаимодействия с терминалом обязательно нужно выйти в сперанзу.
Arc Raiders – Deciphering The Data / Расшифровка данных
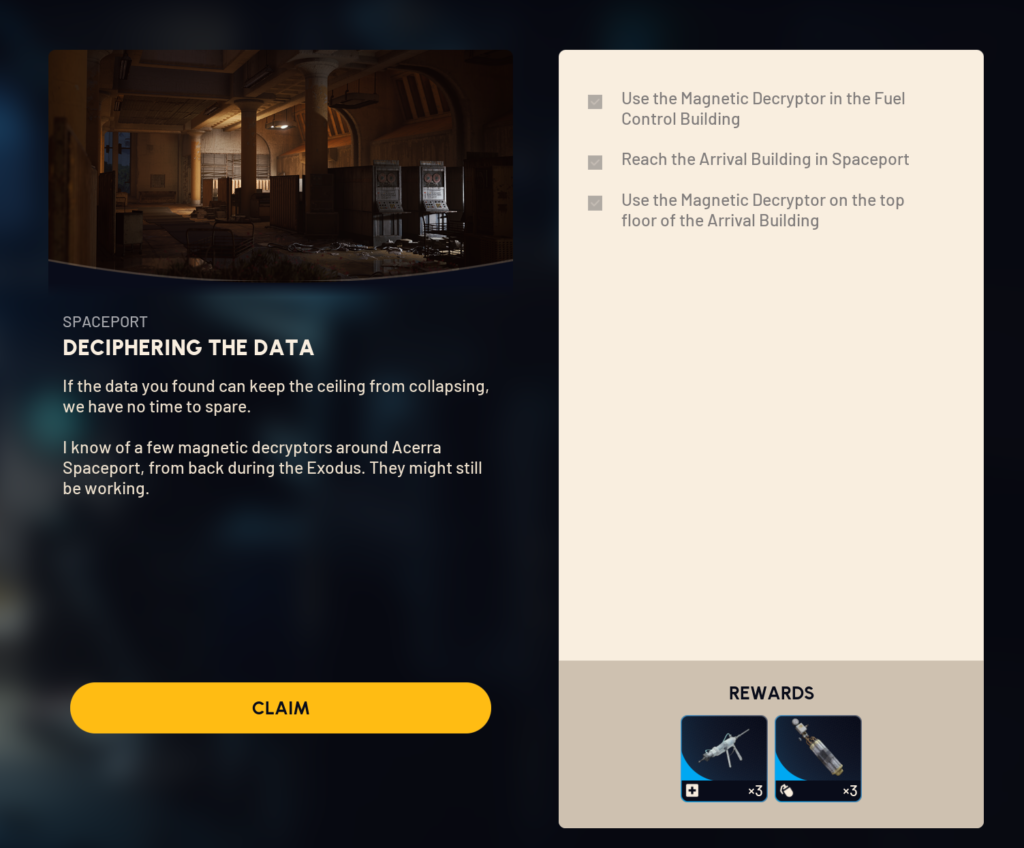
Goal: Deciphering The Data is a Quest given by Shani after completing Paving The Way.
Location: Spaceport

Evacuation required: No

1. Use the Magnetic Decryptor in the Fuel Control Building
2. Reach the Arrival Building in Spaceport
3. Use the Magnetic Decryptor on the top floor of the Arrival Building.
first location: Fuel Control building (south-west facing entrance)
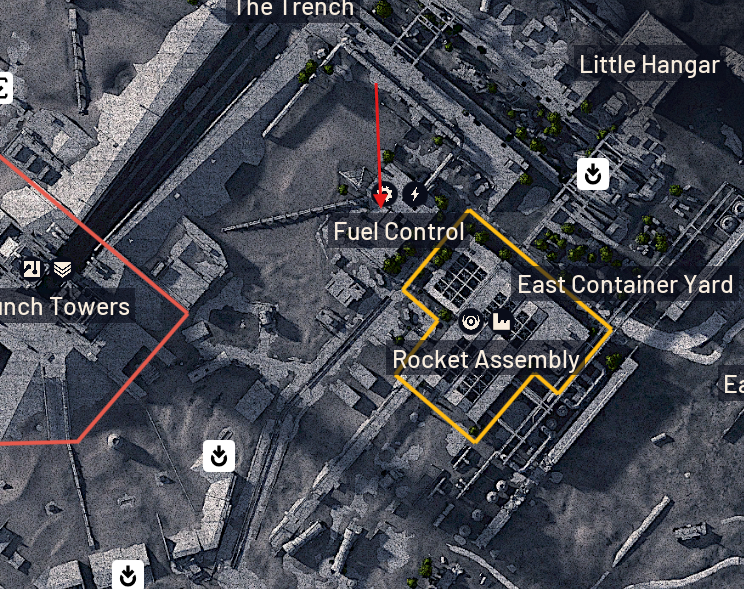
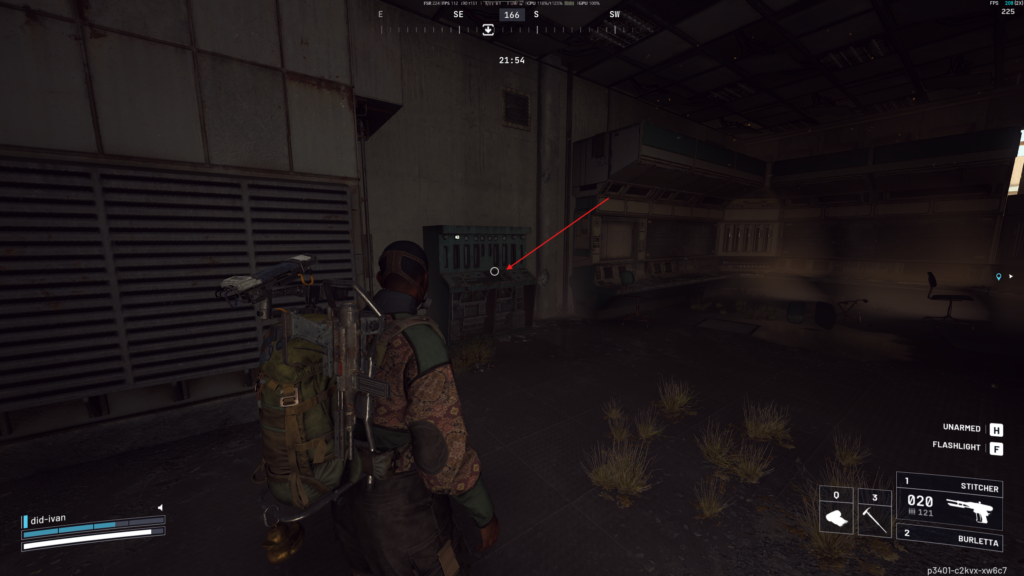
Enter “Fuel Control” place. At the end of the room, find the terminal with an interact prompt to “decrypt data”
Second location: Arrival Building, top floor
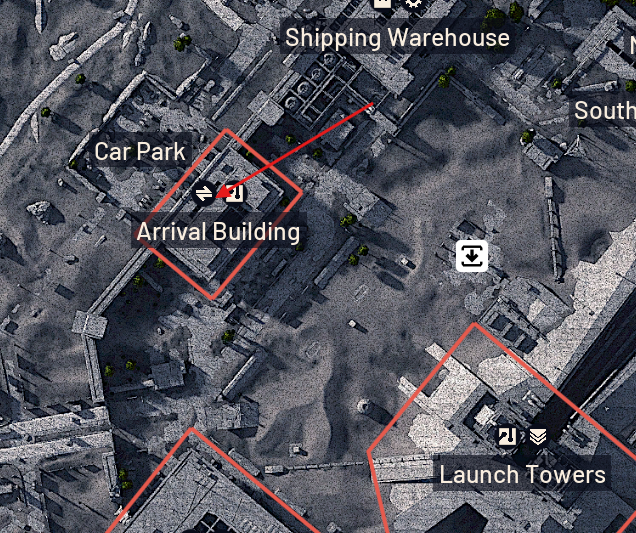
Amongst the offices on the top floor, find the stack of terminals and interact with the second-to-last one on the right to finish the quest.
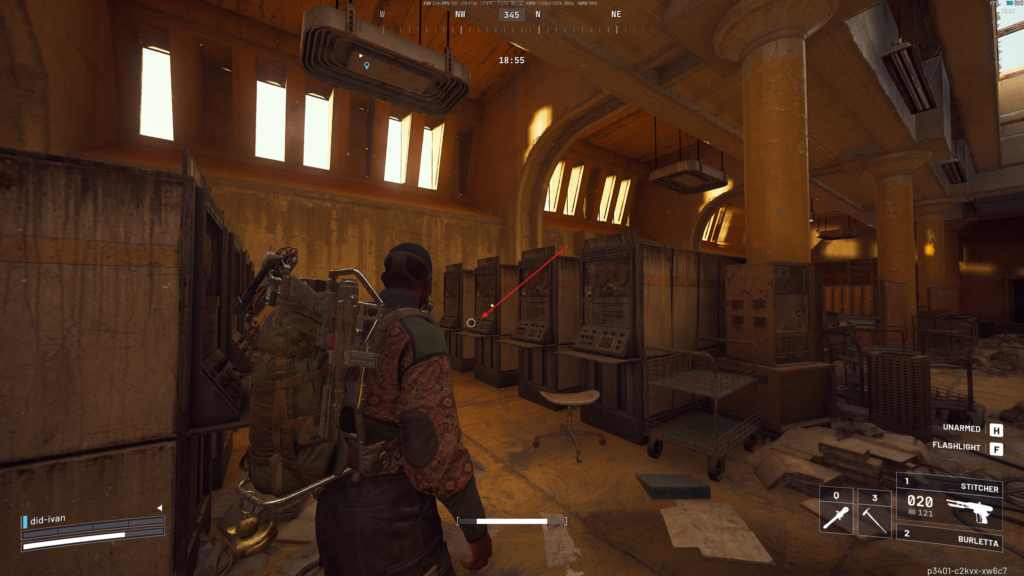
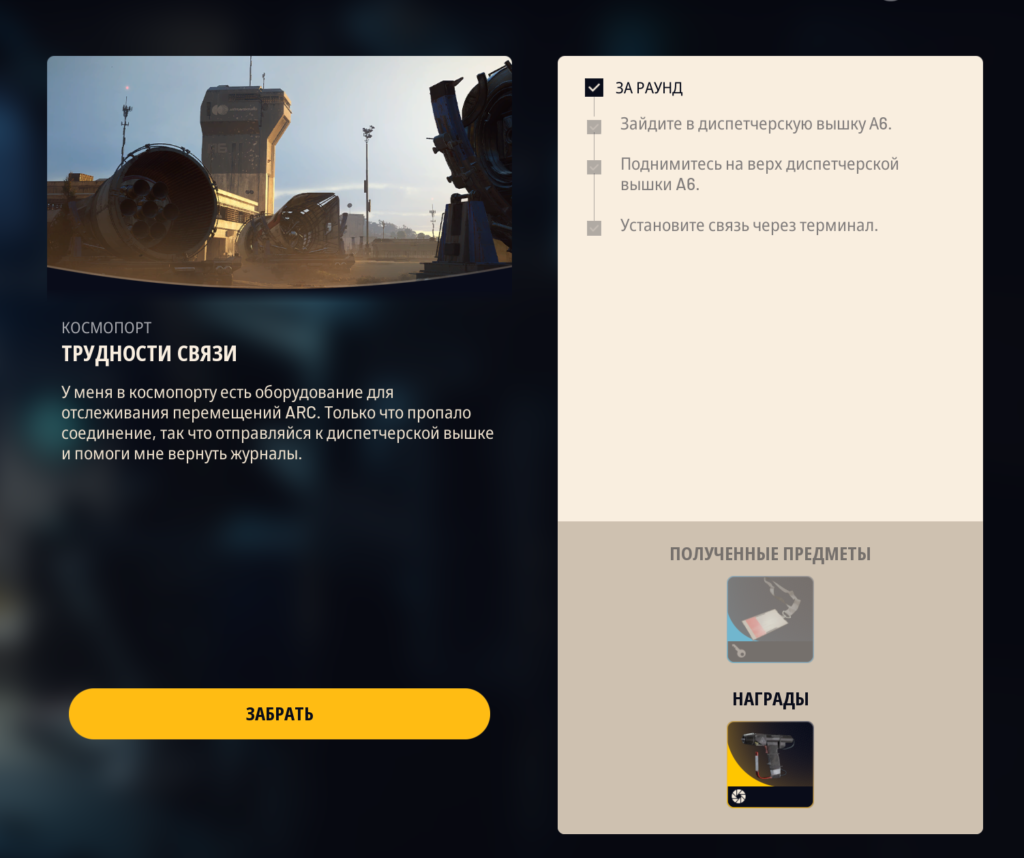
ARC Raiders – Lost In Transmission / Трудности связи
Цель: Добраться до Диспетчерской вышки А6, подняться наверх, установить связь через терминал
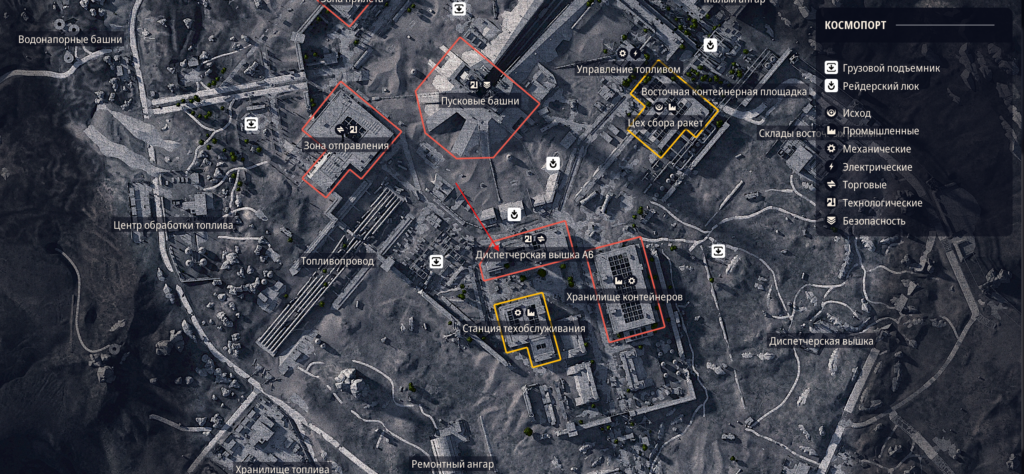
Локация: Космопорт - Диспетчерская вышка А6 (центр карты)

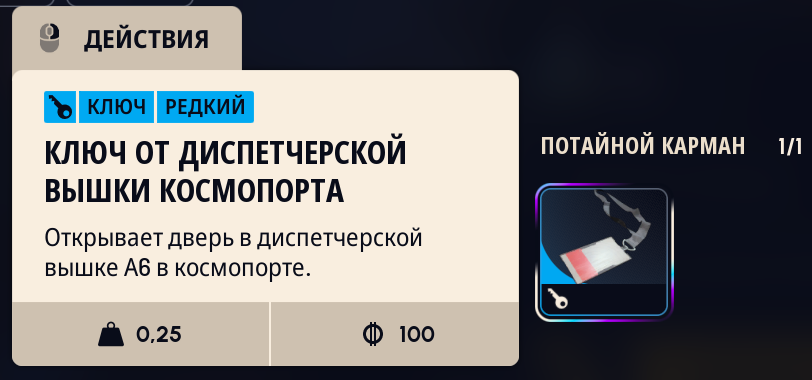
Необходимые предметы: Ключ от диспетчерской вышки Космопорта (выдаётся при принятии задания)

Войдите в рейд на Космопорт и направляйтесь в центр карты к Диспетчерской вышке А6 (высокая башня, отмеченная на карте).

На первом этаже. Найдите запертую металлическую дверь (рядом горит красный индикатор). Используйте ключ, чтобы открыть её, дальше по зиплайну вверх.

Наверху взаимодействуйте с терминалом слева в главной комнате.

Квест нужно сделать за раунд, тобишь выйти живым!
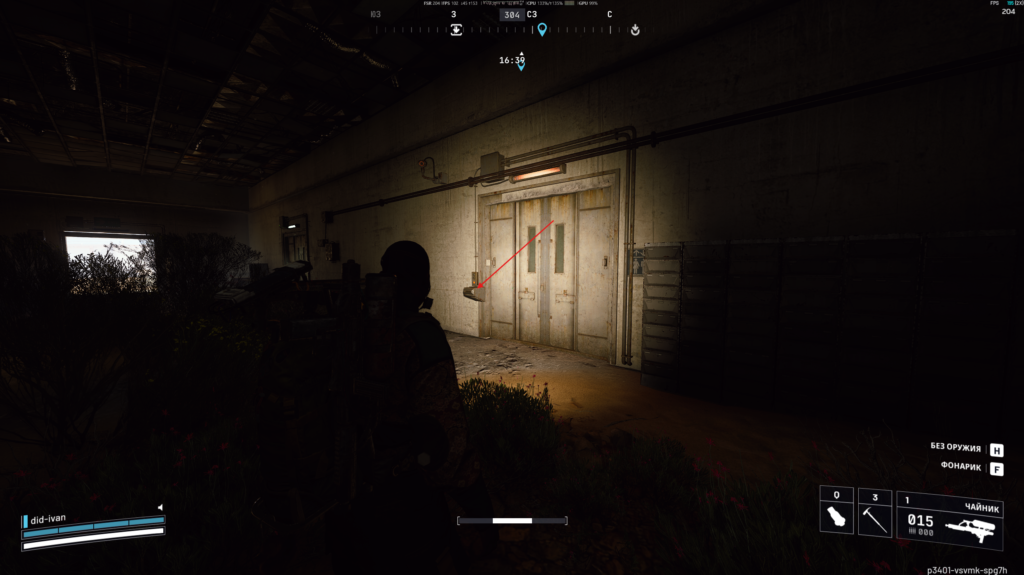
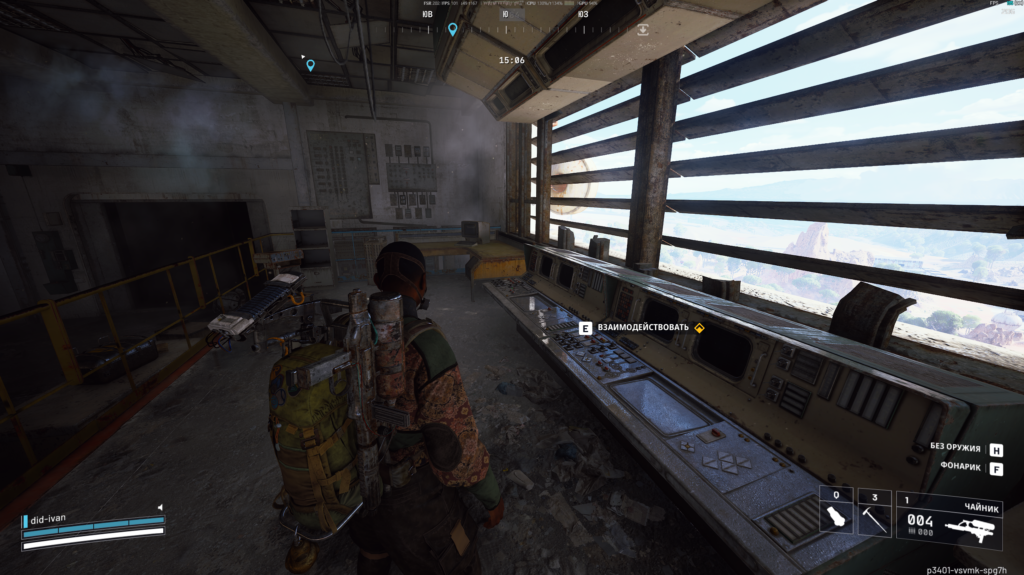
После взаимодействия с терминалом обязательно нужно выйти в сперанзу.
Arc Raiders – A Toxic Trail
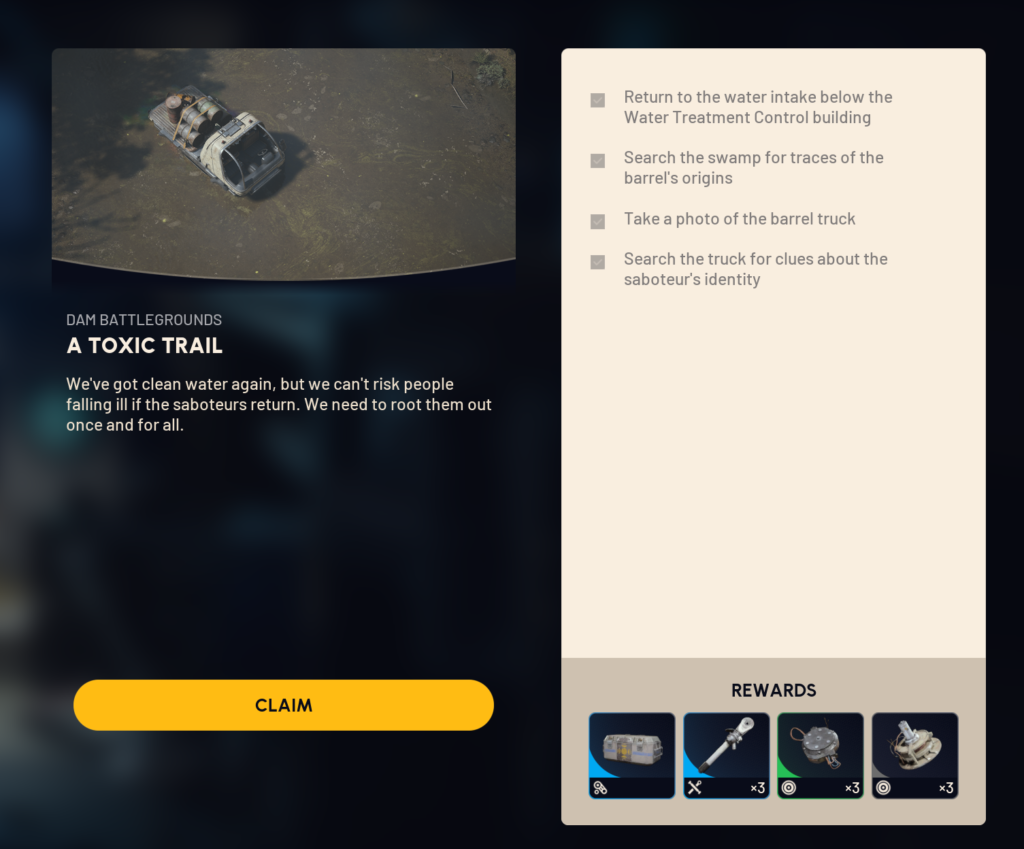
Location: Dam Battlegrounds

Objective: Return to the water intake, Search the swamp for traces of the barrel's origins.

Evacuation required: No

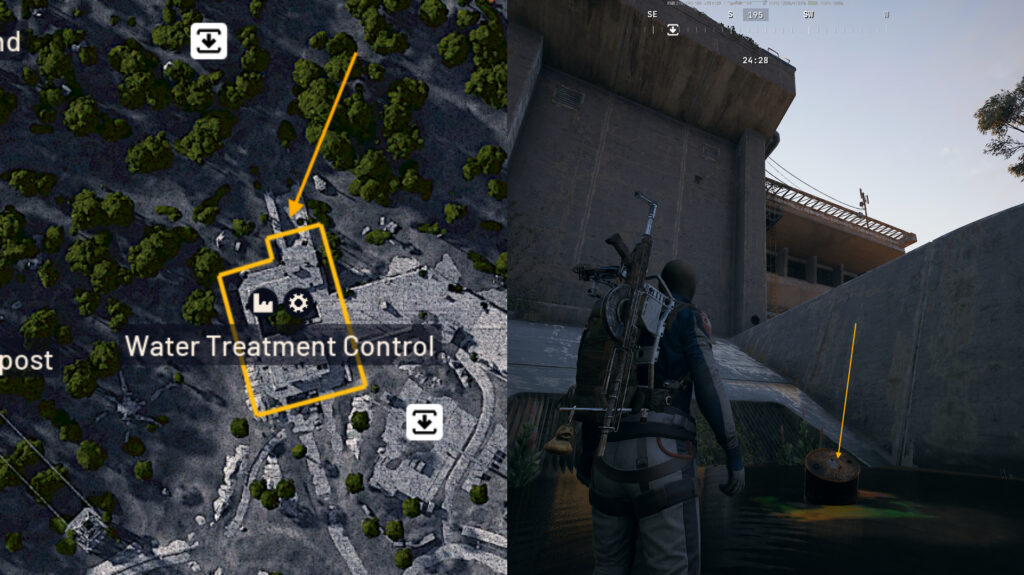
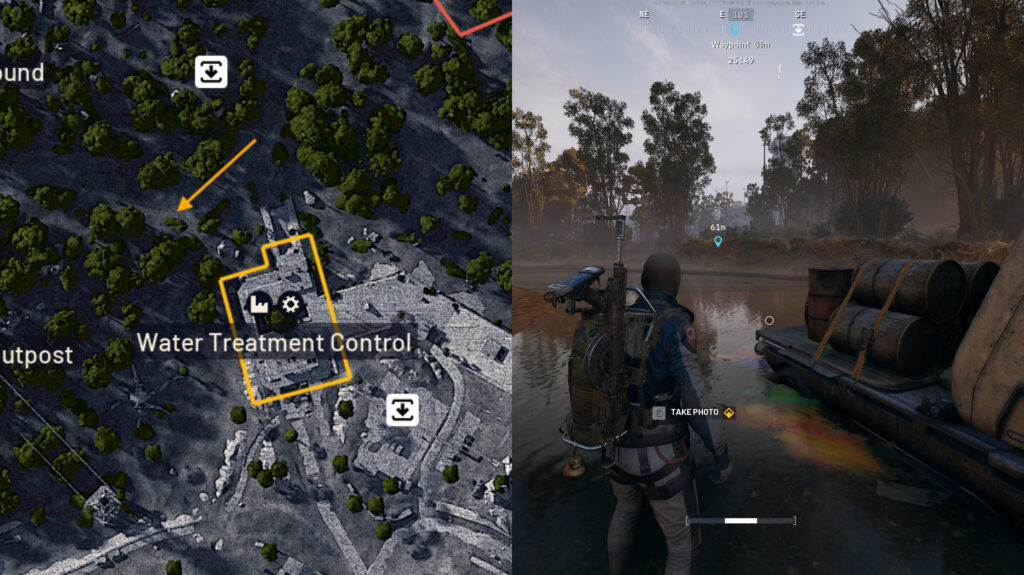
1. Return to the water intake below the Water Treatment Control building
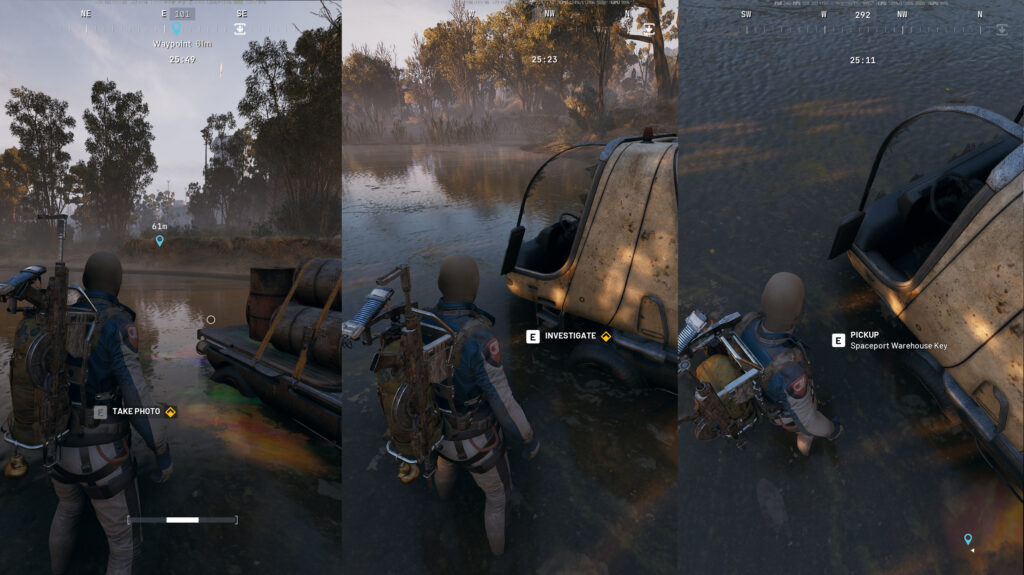
2. Search the swamp for traces of the barrel's origins
3. Take a photo of the barrel truck
4. Search the trunk for clues about the saboteur's identity (same spot)
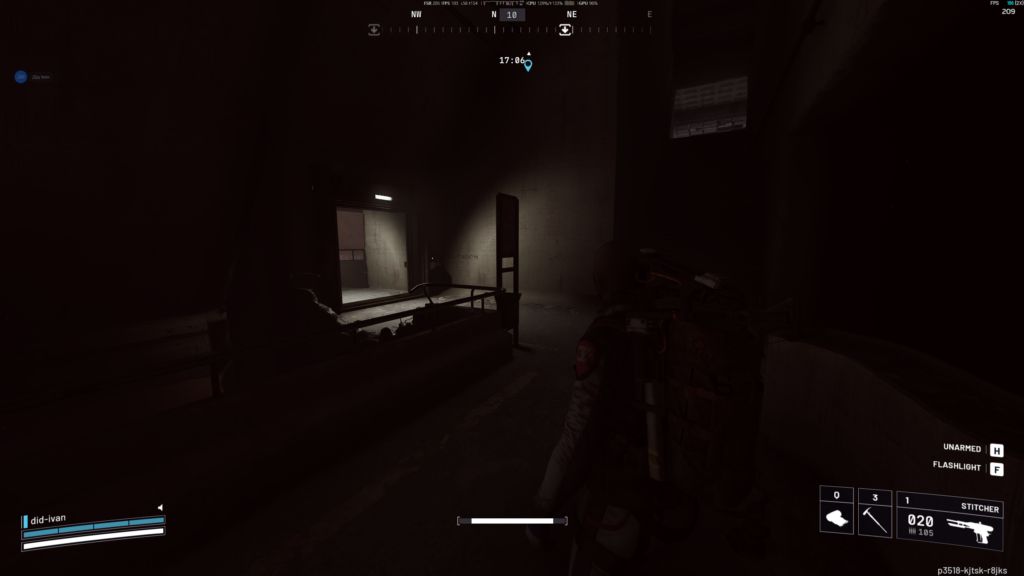
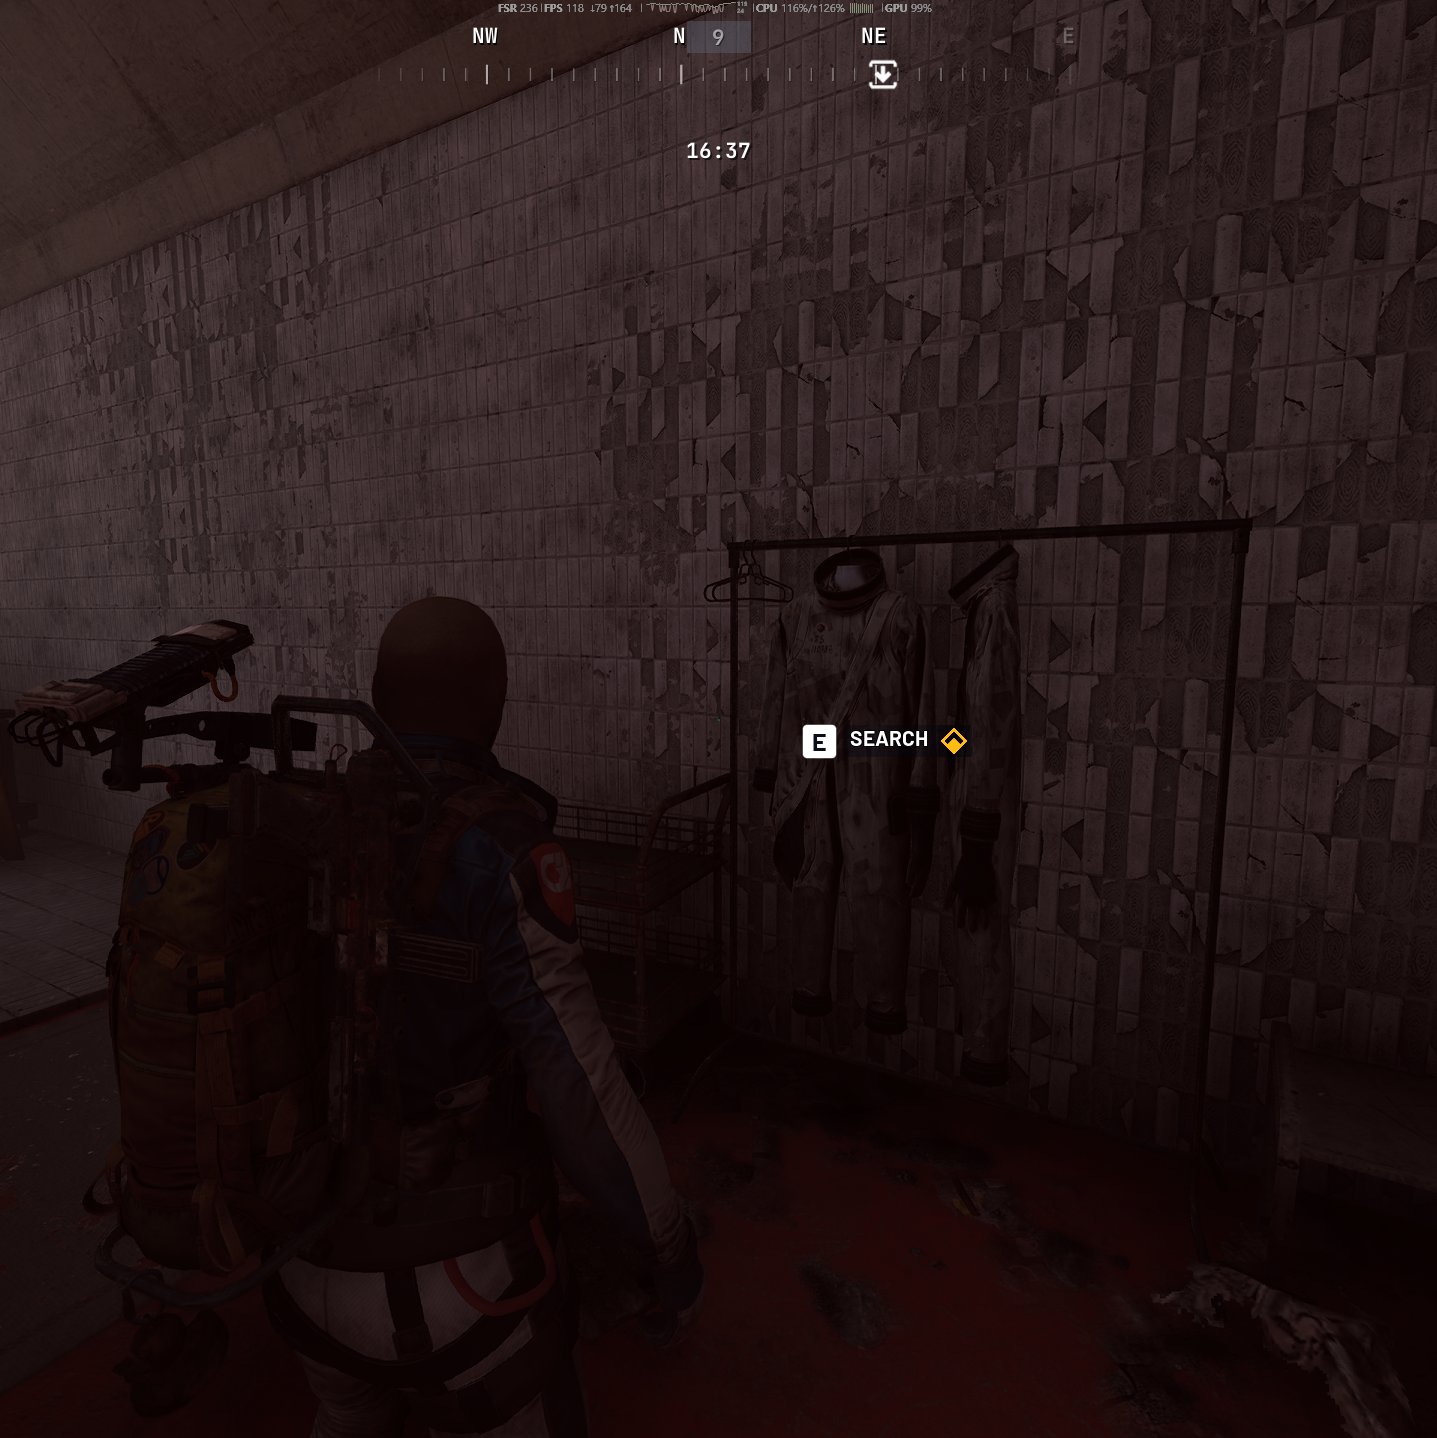
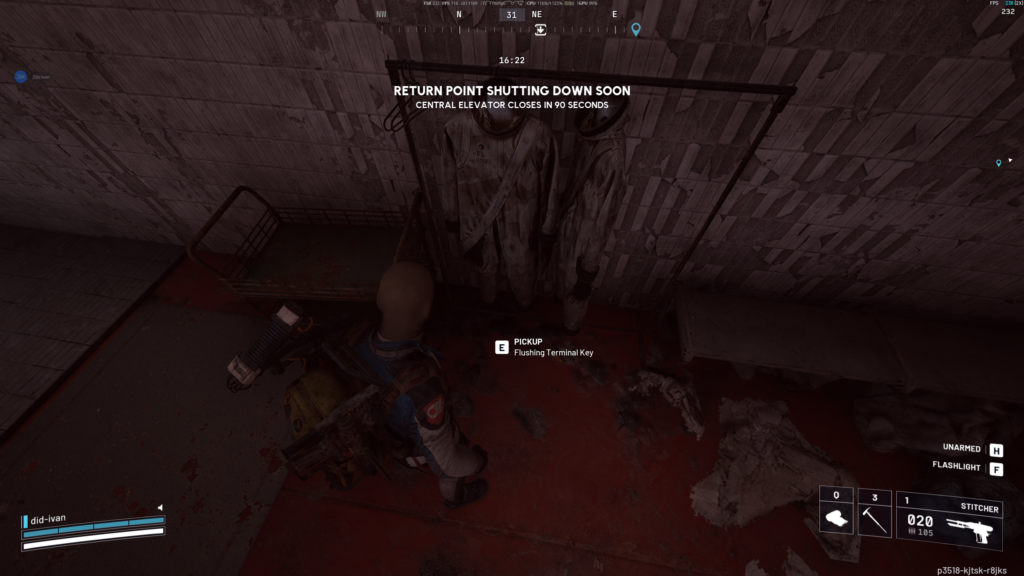
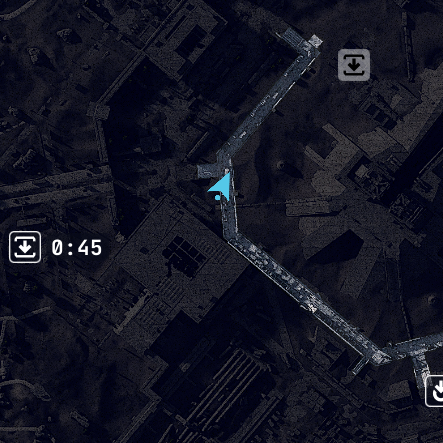
Arc Raiders – The Stench Of Corruption
Toxic Trail.
Location: Spaceport

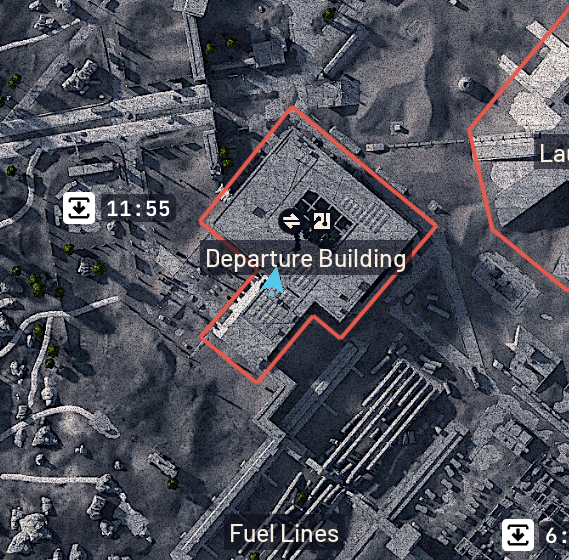
Objective: Find the key at staff locker room on Departure Building, use this key at tunnels below Departure Building.

Evacuation required: Yes

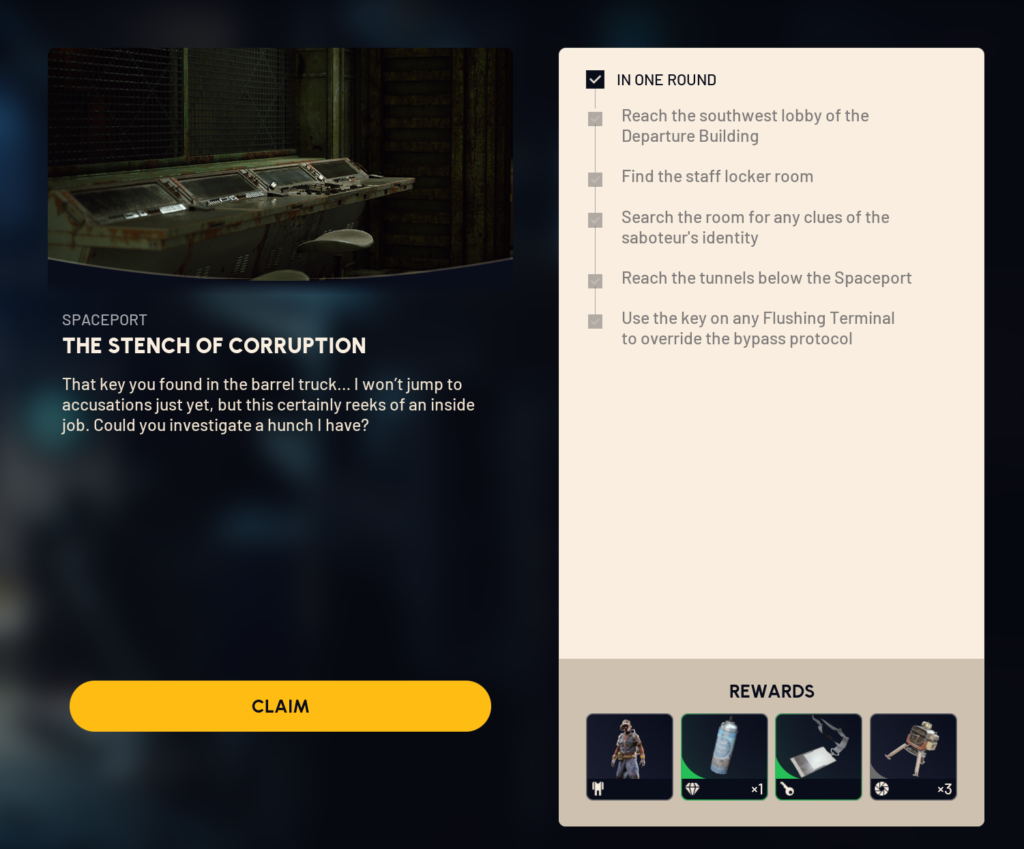
1. Reach the southwest lobby of the Departure Building
2. Find the staff locker room
3. Search the room for any clues of the saboteur's identity
4. Reach the tunnels below the Spaceport
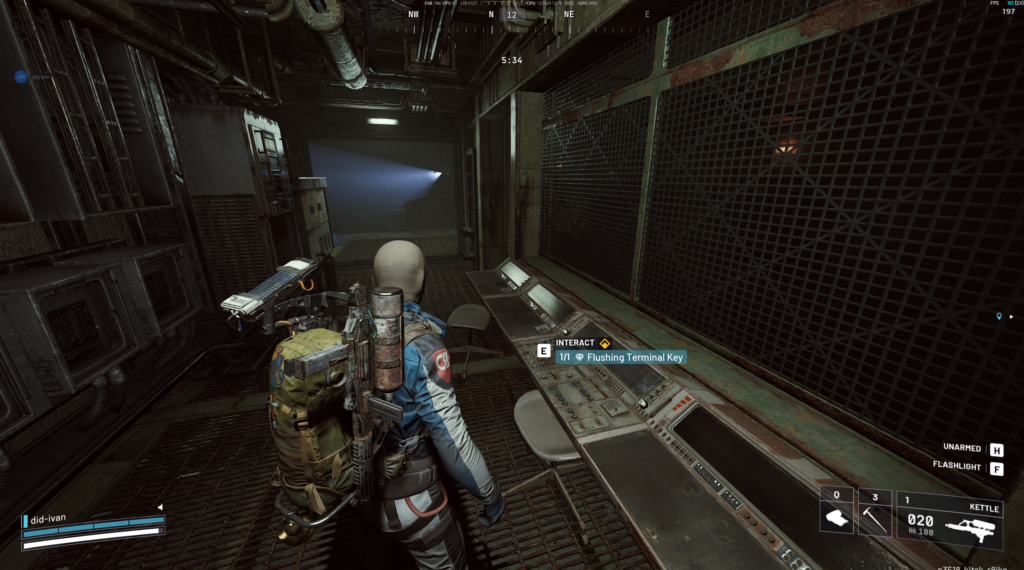
5. Use the key on any Flushing Terminal to override the bypass protocol
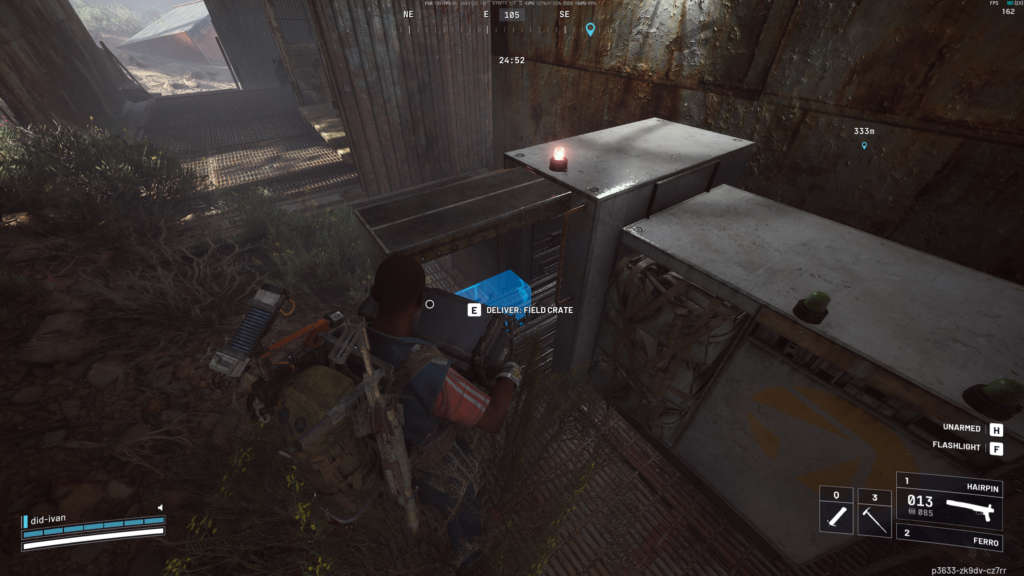
Arc Raiders – Down to Earth
IN ONE ROUND at any map except Stella Montis
- Visit a Field Depot
- Deliver a Field Crate to a Field Depot
- Collect the reward
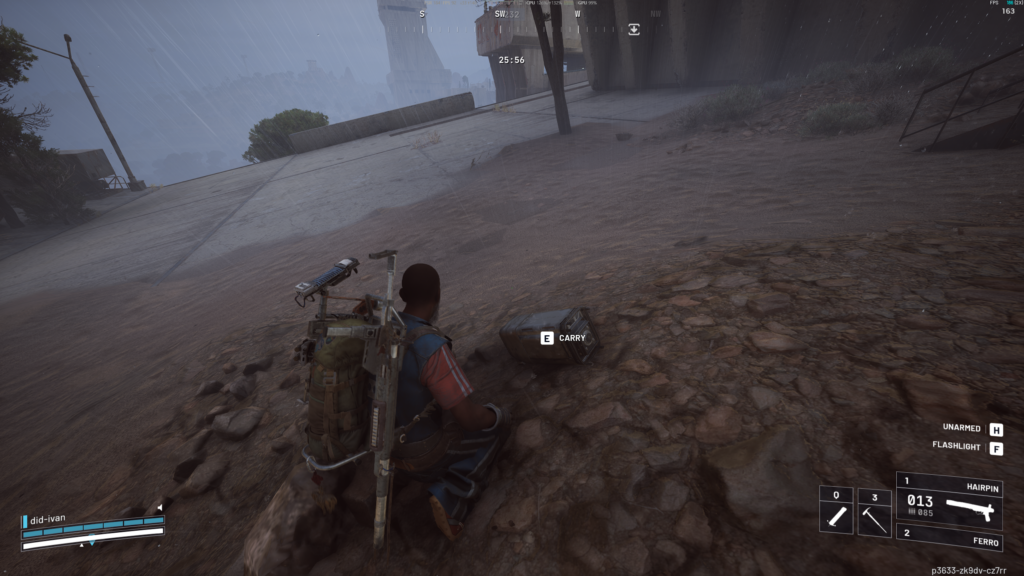
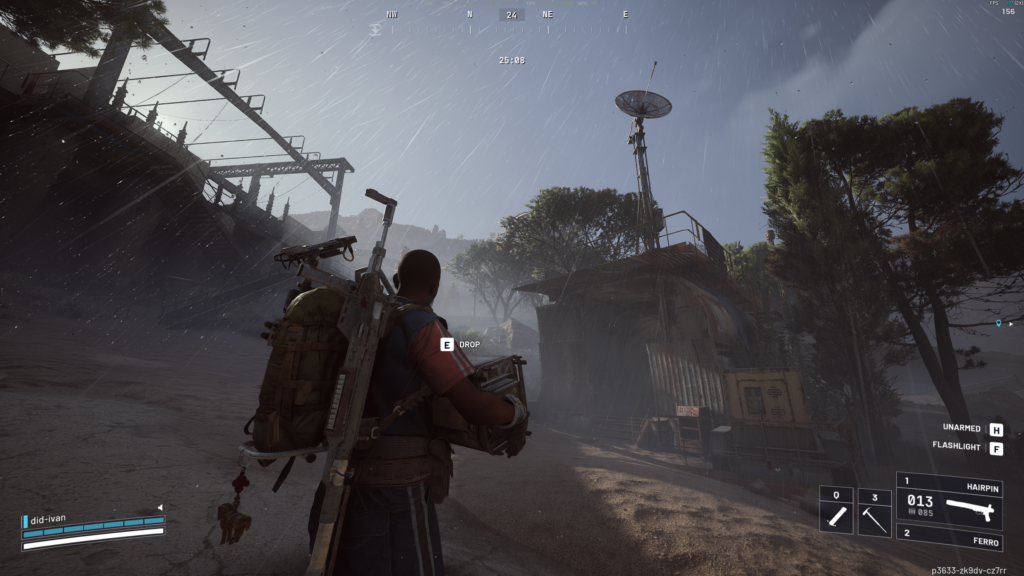
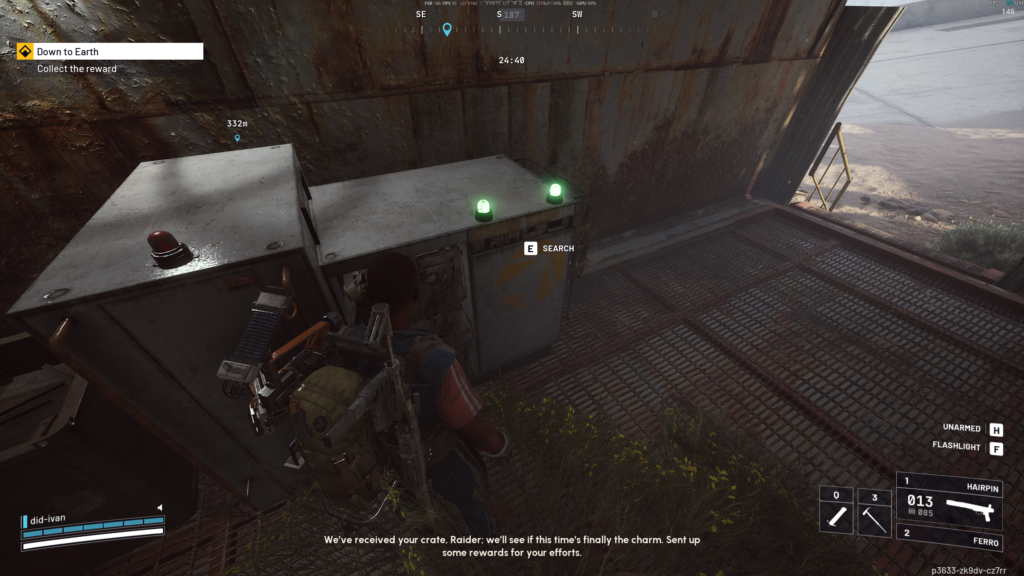
Arc Raiders – Hatch Repaiers
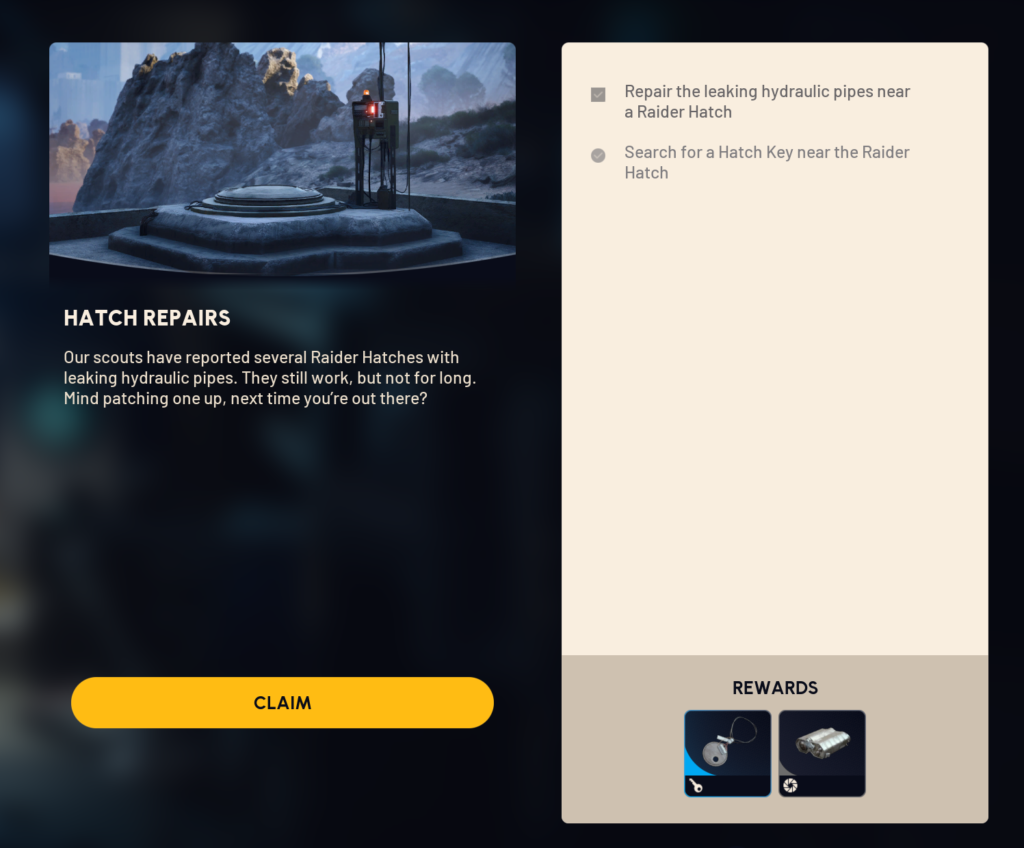
Location: Any map

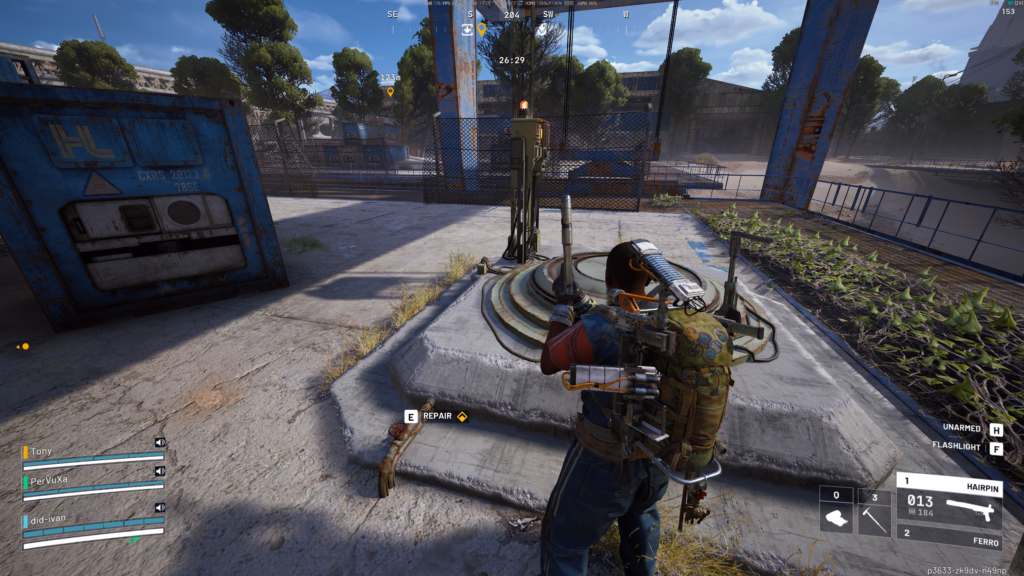
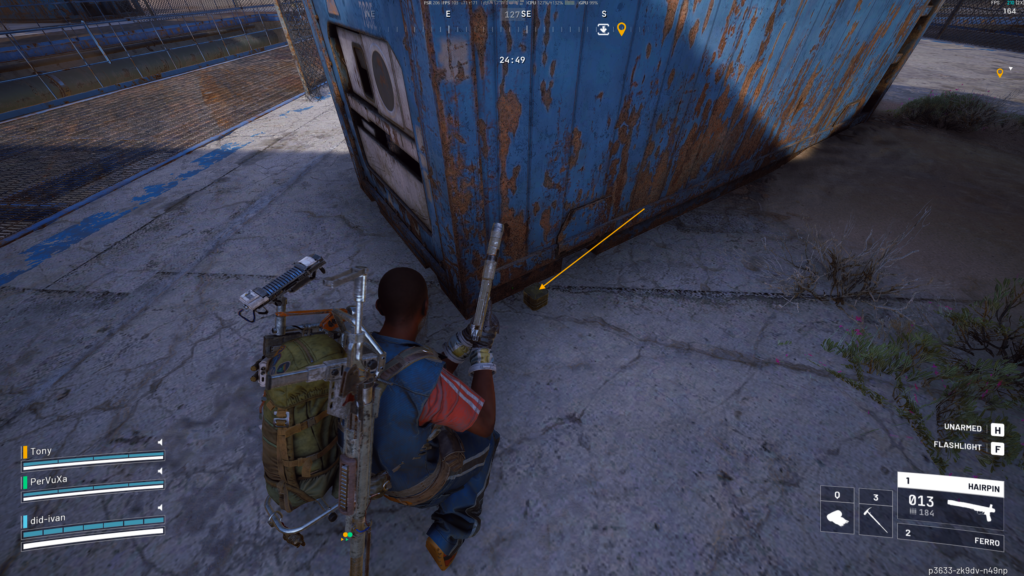
Objective: Find and Repair the leaking hydraulic pipes near a Raider Hatch, then near the same location Search for a Hatch Key near the Raider Hatch

Evacuation required: Yes

1. Repair the leaking hydraulic pipes near a Raider Hatch
2. Search for a Hatch Key near the Raider Hatch
Arc Raiders – The Trifecta
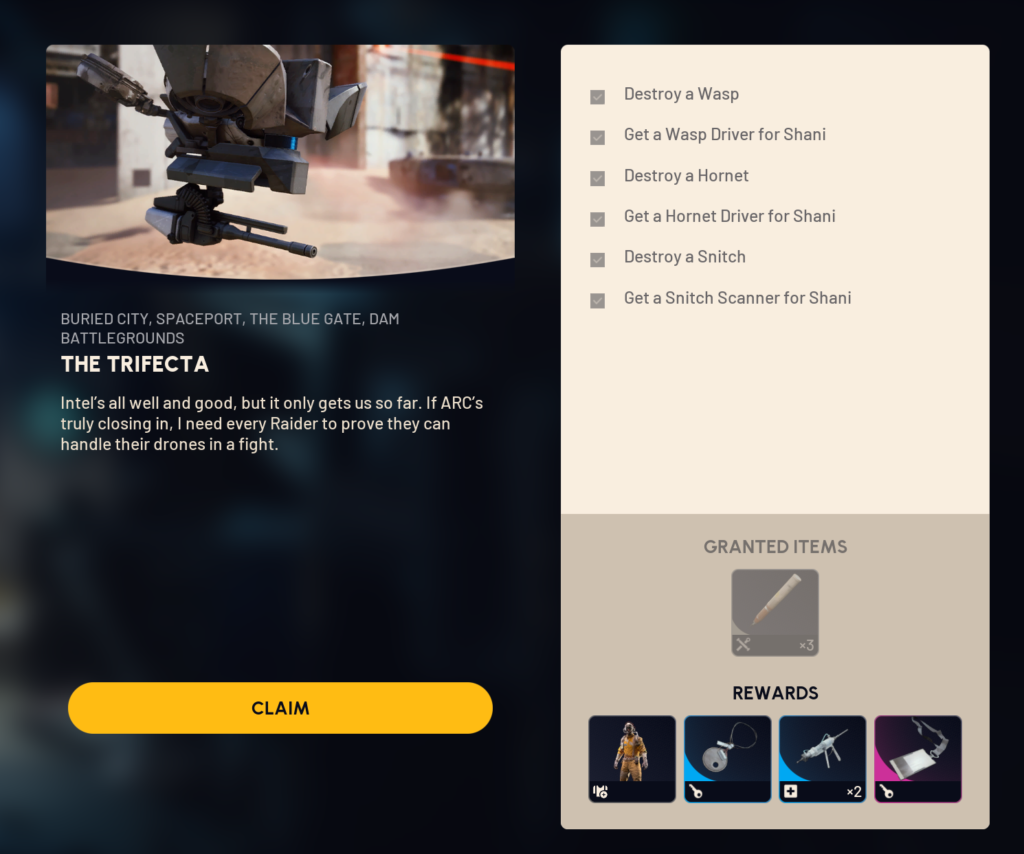
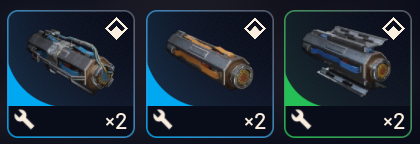
Destroy arcs and take their drivers to Speranza.
- Destroy a Wasp
- Get a 2 Wasp Driver for Shani
- Destroy a Hornet
- Get a 2 Hornet Driver for Shani
- Destroy a Snitch
- Get a 2 Snitch Scanner for Shani
TIAN WEN
Arc Raiders – Back on Top / “Снова на вершине”
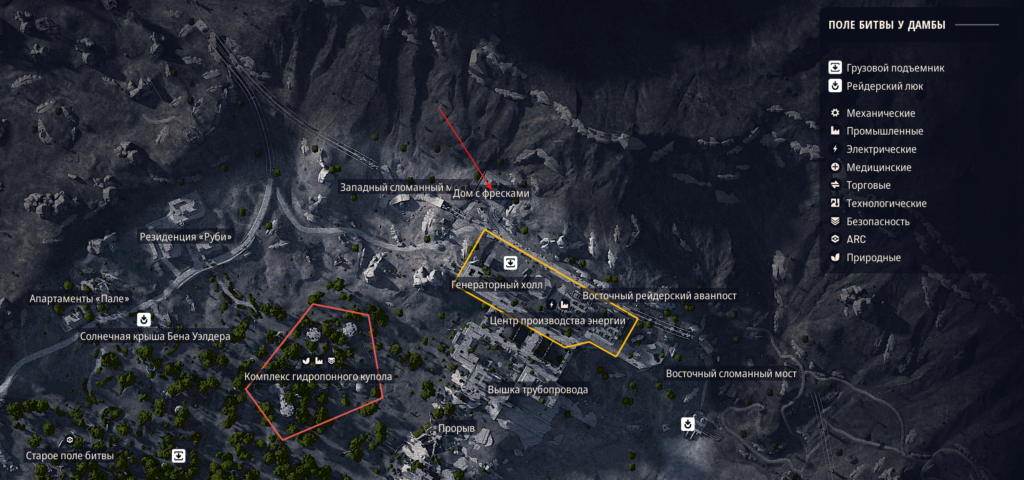
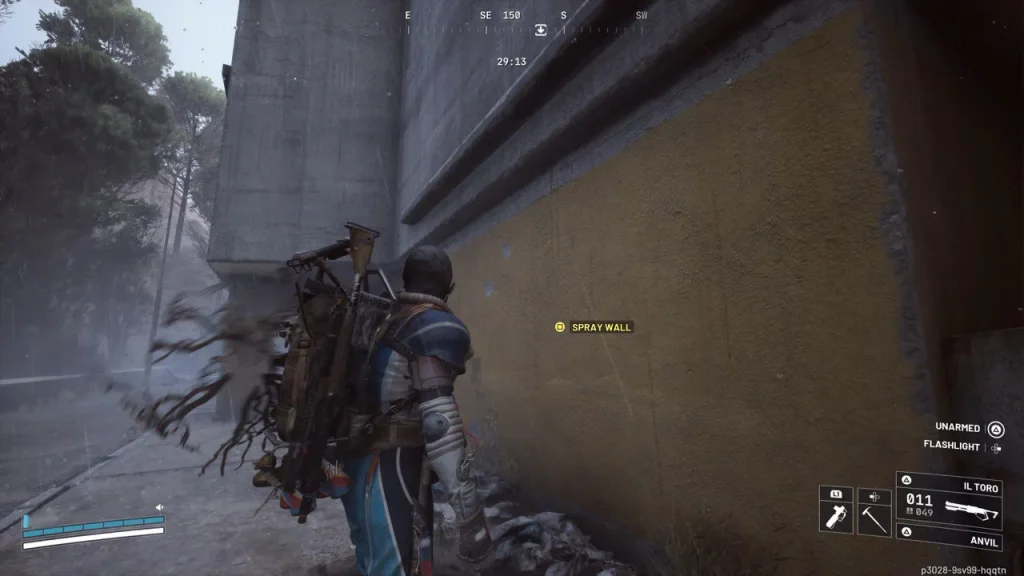
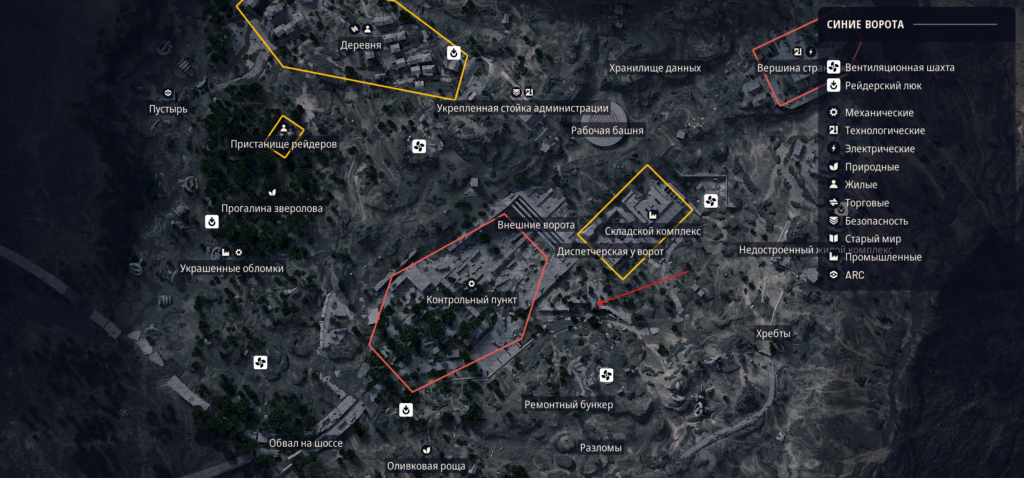
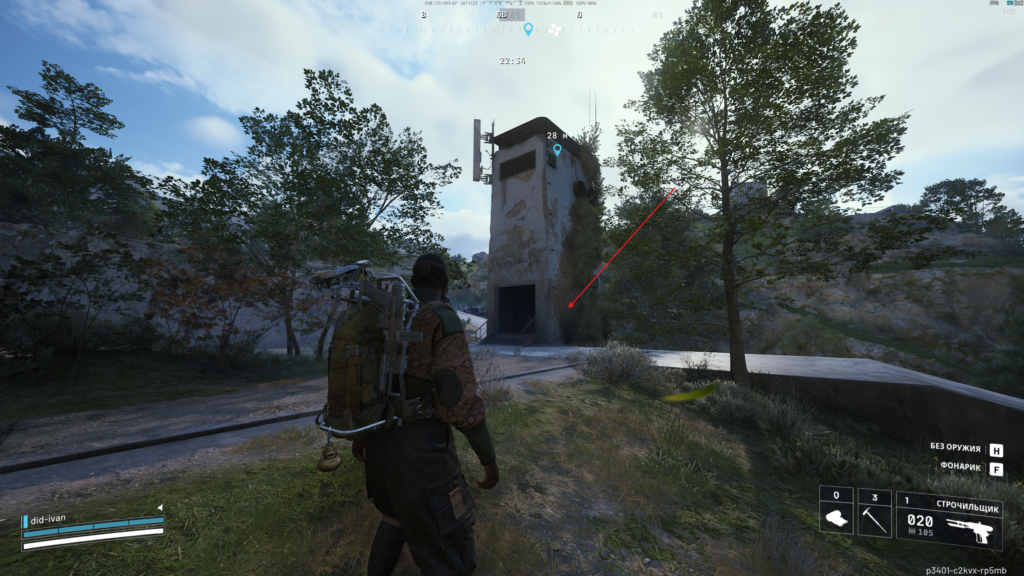
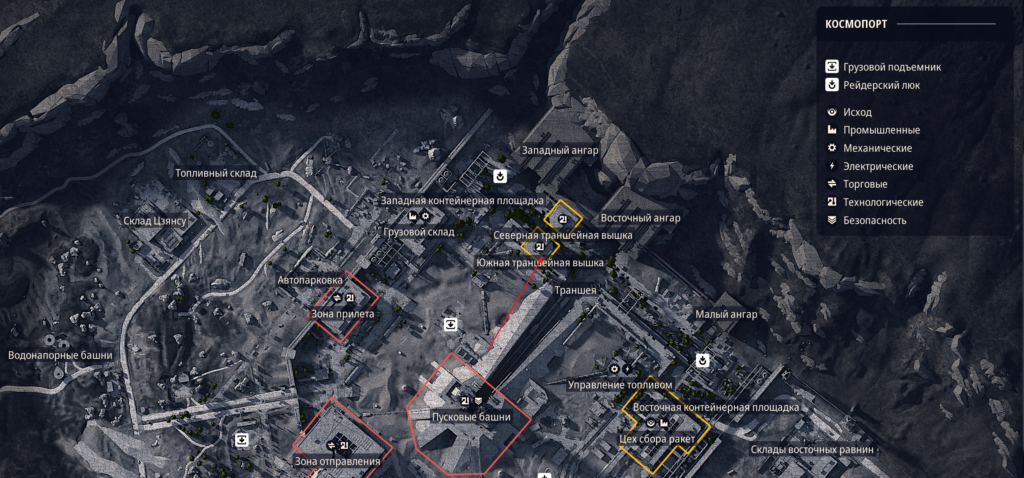
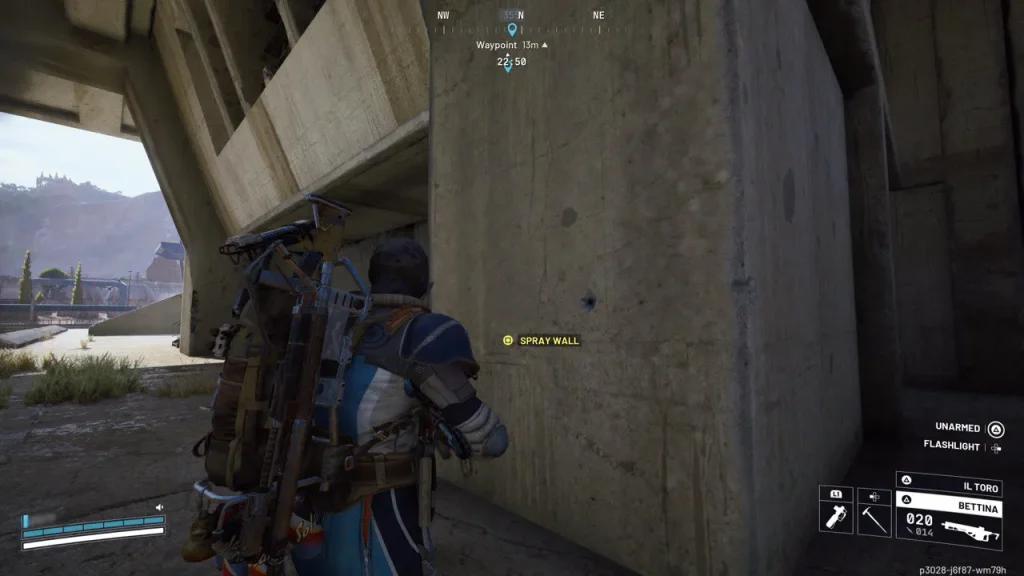
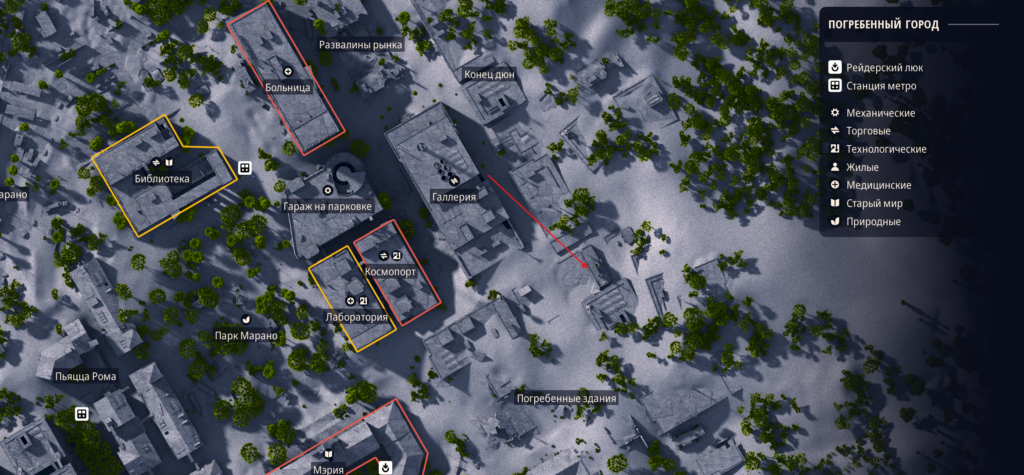
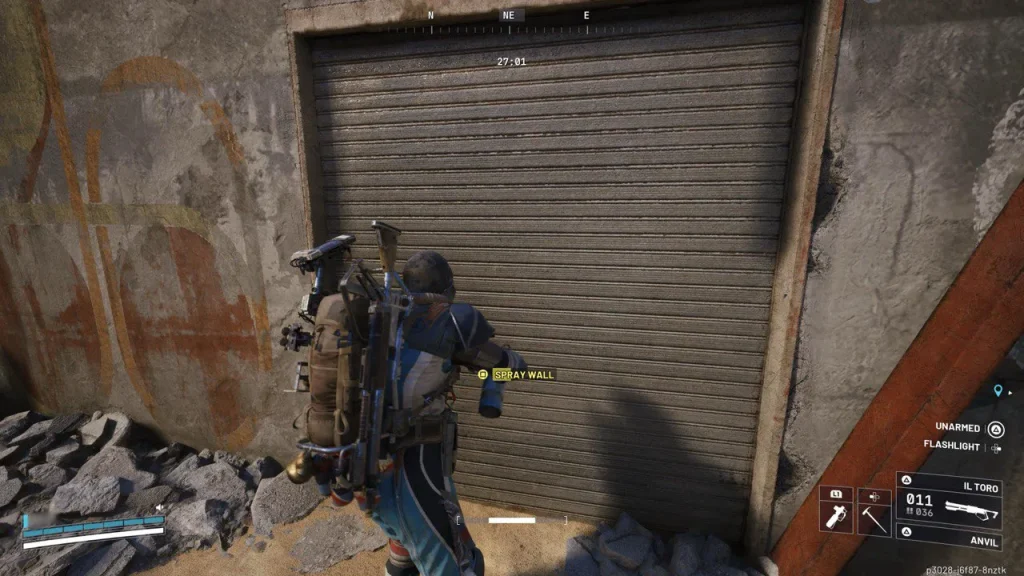
Цель: Найдите и нанесите графити на стенах в 4 разных локациях
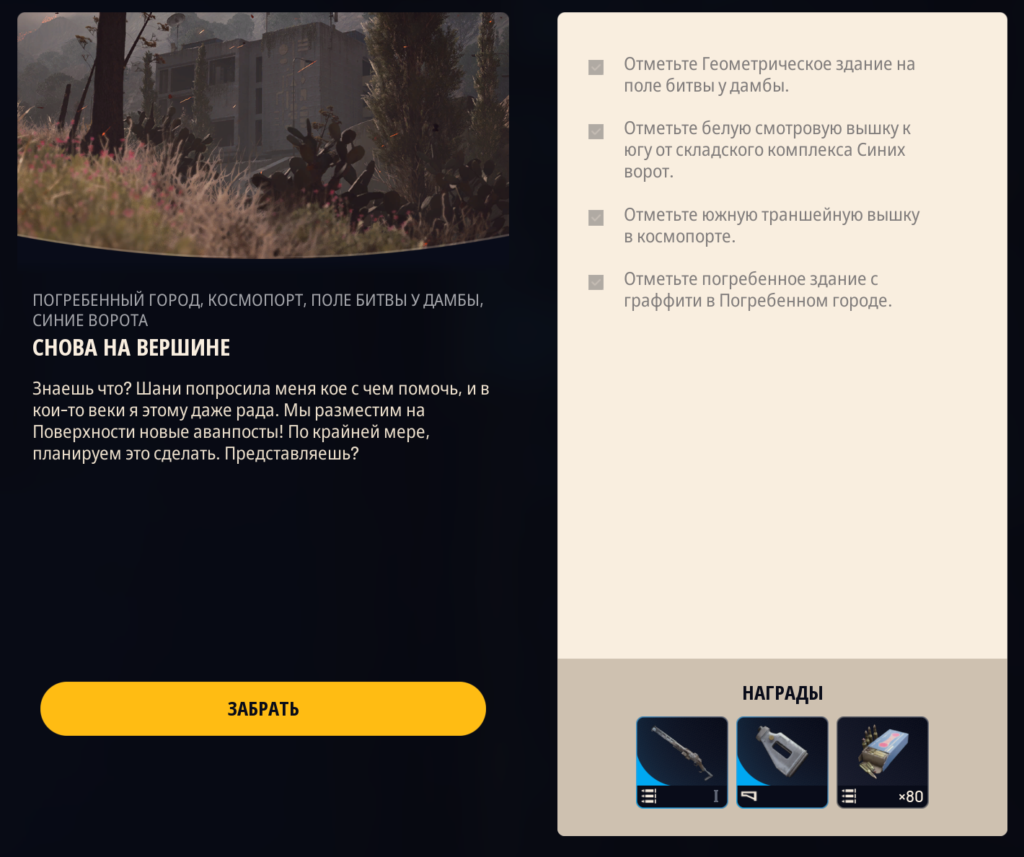
Локация 1: Поле битвы у дамбы
Локация 2: Синие ворота
Локация 3: Космопорт
Локация 4: Погребенный город

На каждой карте бежим к отмеченному месте на карте, подходим к стене, взаимодействуем, ставим графити. И так на всех 4 локациях.
Порядок выполнения не имеет значения.
Arc Raiders Armored Transports Quest Guide
Find the Guard huts for an Armored Patrol Key Card and unlock the rear door of an armored patrol car.
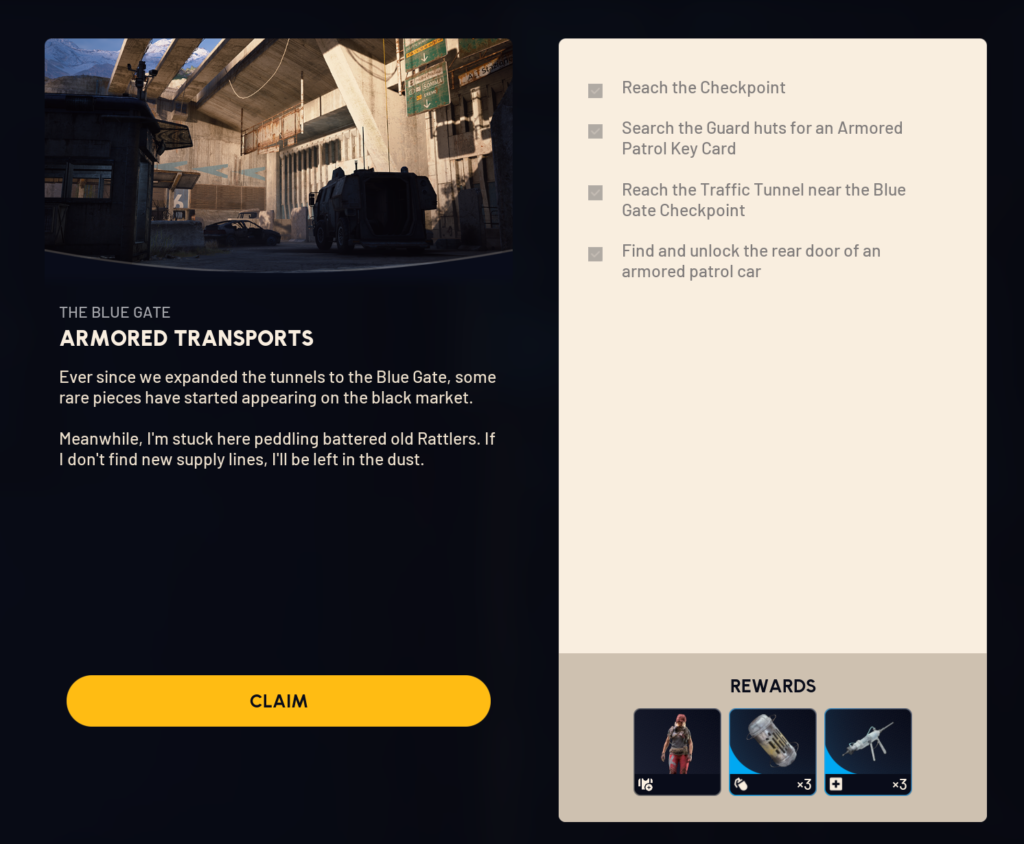
Location: The Blue Gate

Objective: Find the Guard huts for a Armored Patrol Key Card and unlock the rear door of an armored patrol car.

Evacuation required: No

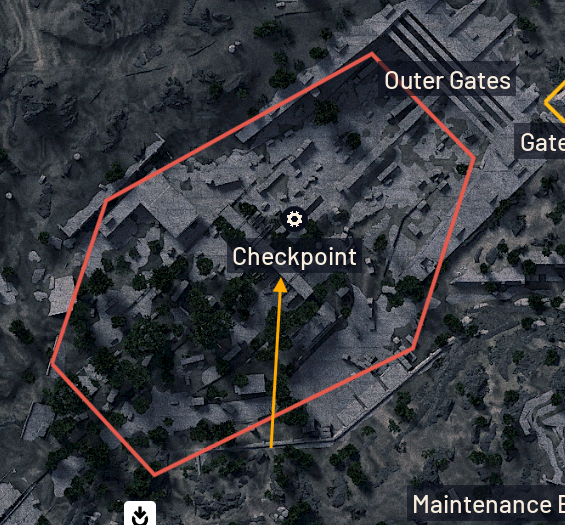
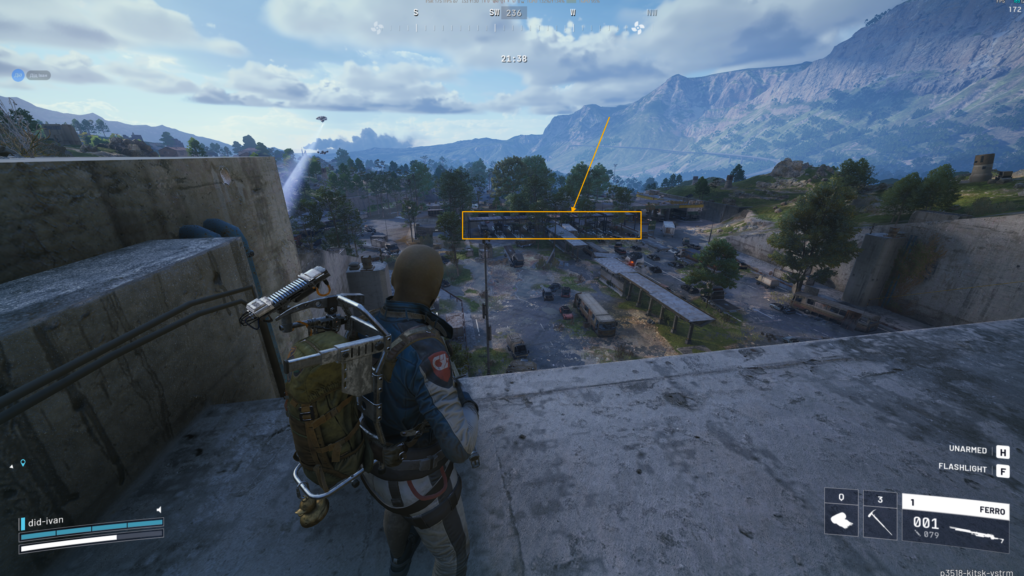
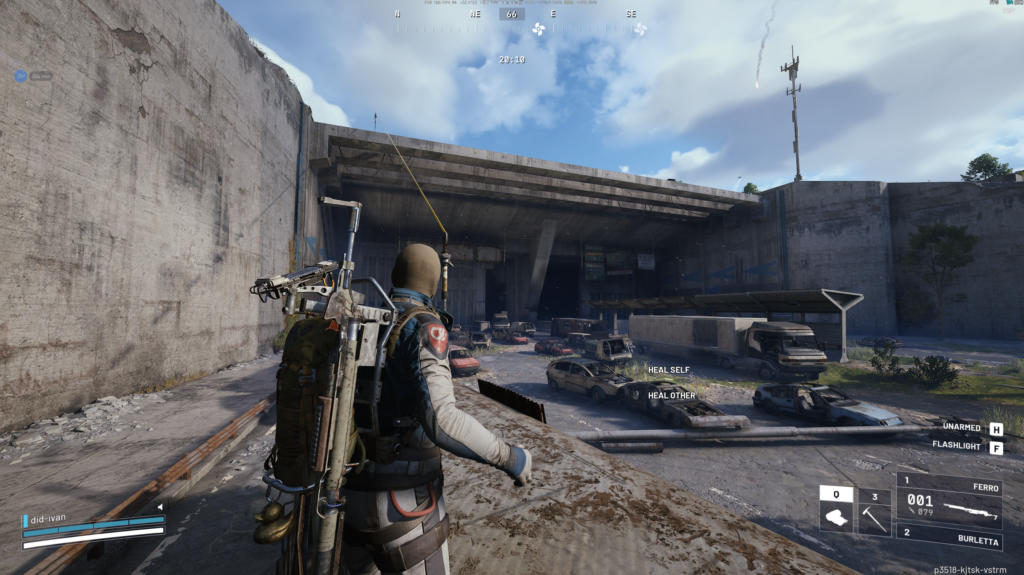
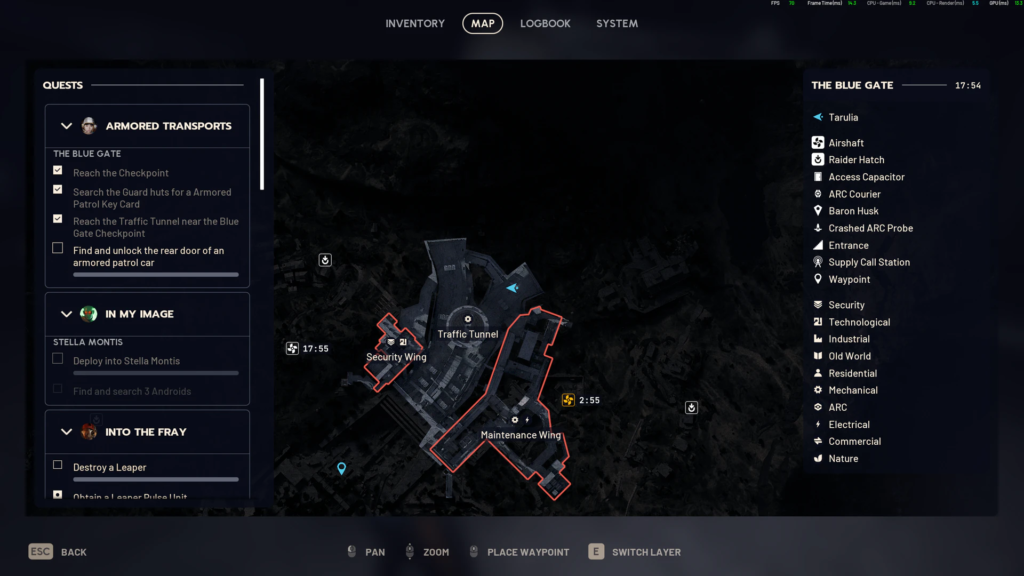
1. Reach the Checkpoint
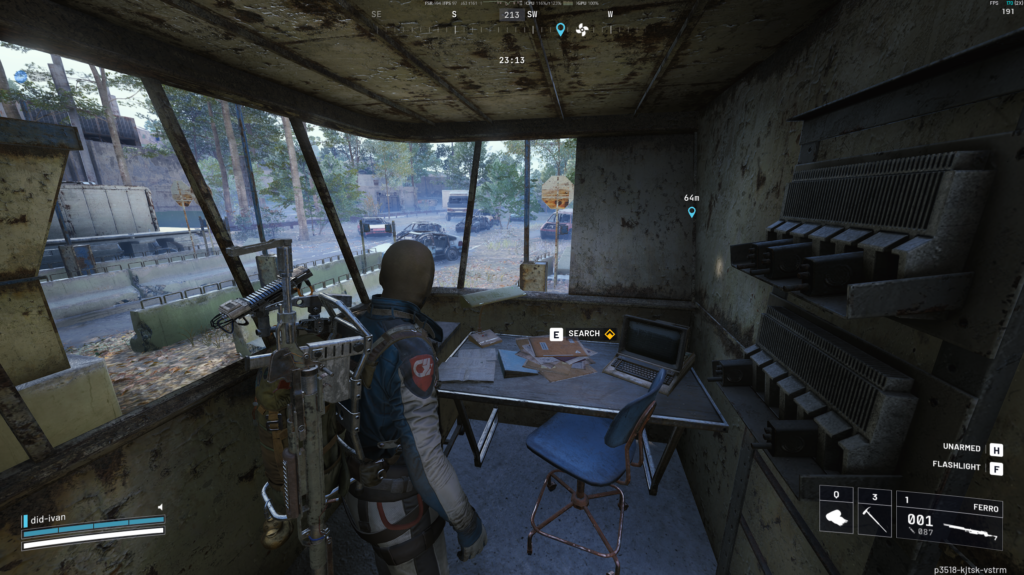
2. Search the Guard huts for a Armored Patrol Key Card
Note: If the player dies while carrying the Key Card, a Spare Key will be available to loot inside a Security Hut nearby to the Patrol Cars.

3. Reach the Traffic Tunnel near the Blue Gate Checkpoint
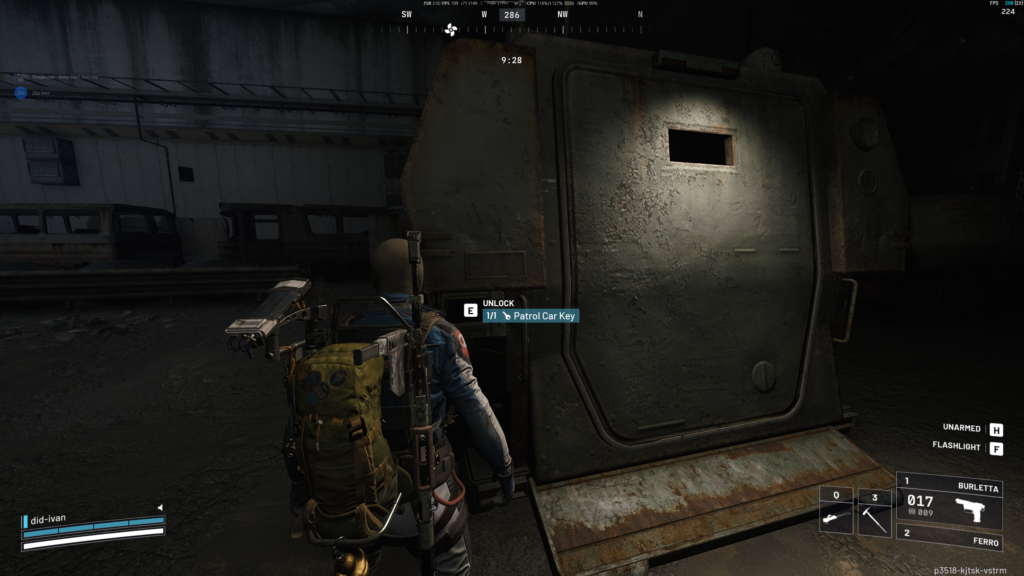
4. Find and unlock the rear door of an armored patrol car
Note: There are multiple of these cars inside the tunnel, but the location of the locked car is randomized - you will have to find it on your own. It is unclear whether there is only one locked car or whether multiple can spawn. It is also unclear whether multiple players can open the same car for the quest objective.
Arc Raiders – Stable housing Quest Guide
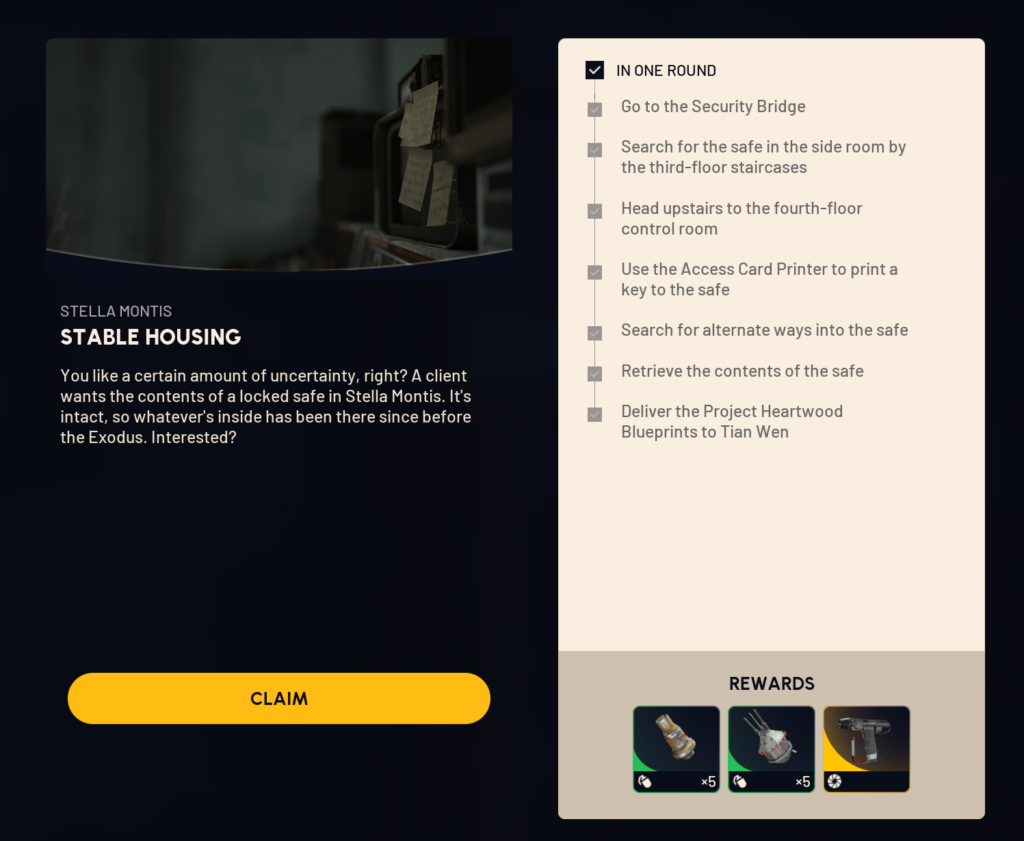
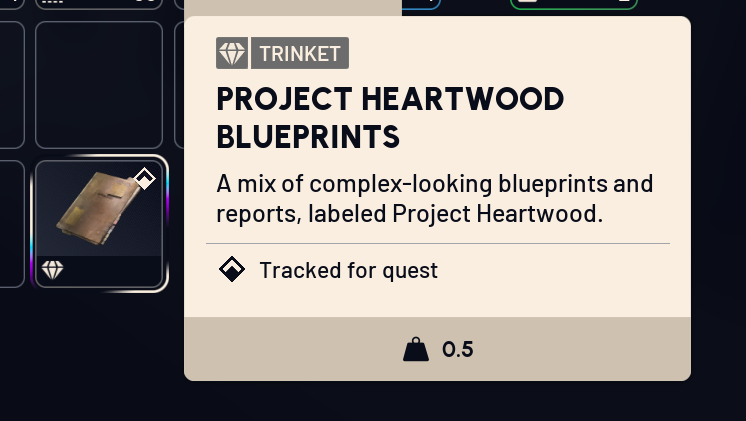
Find and deliver the Project Heartwood Blueprints to Tian Wen.
Location: Stella Montis

Objective: Find and deliver the Project Heartwood Blueprints to Tian Wen.

Evacuation required: Yes!

IN ONE ROUND

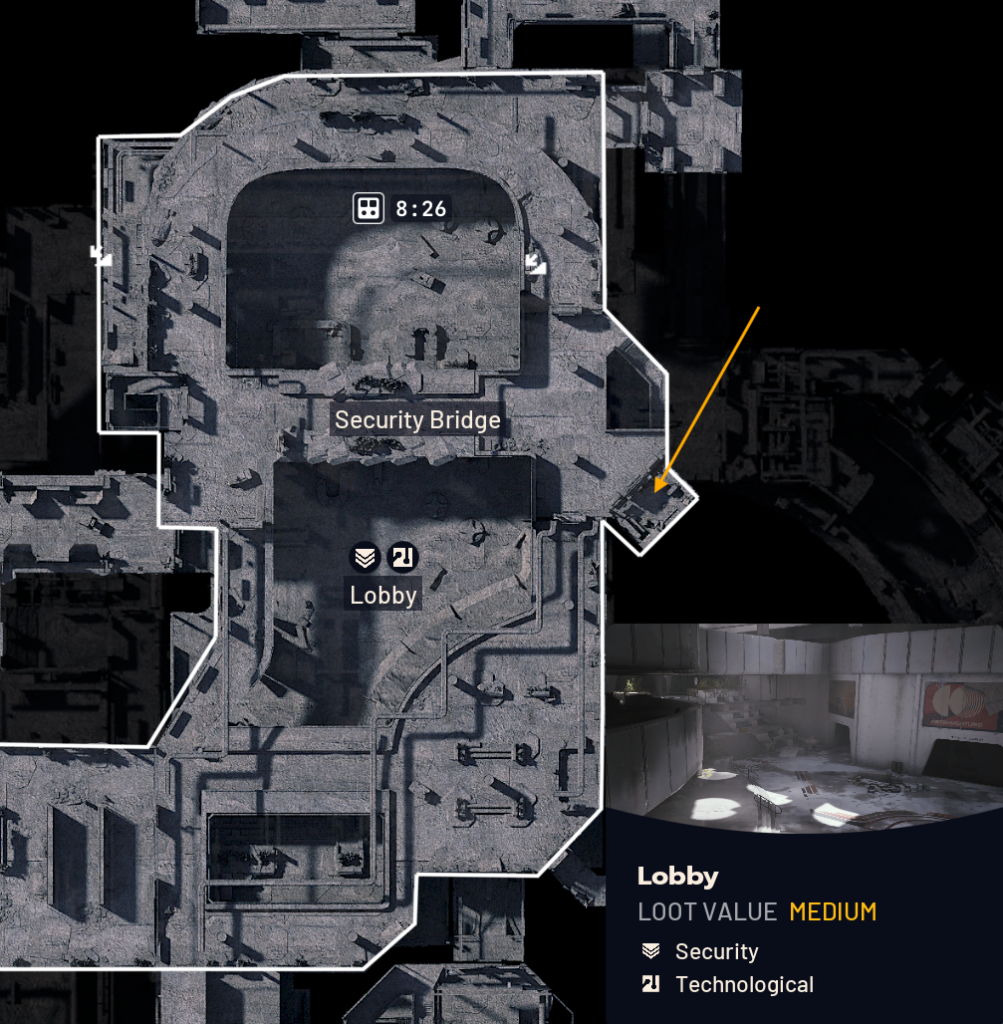
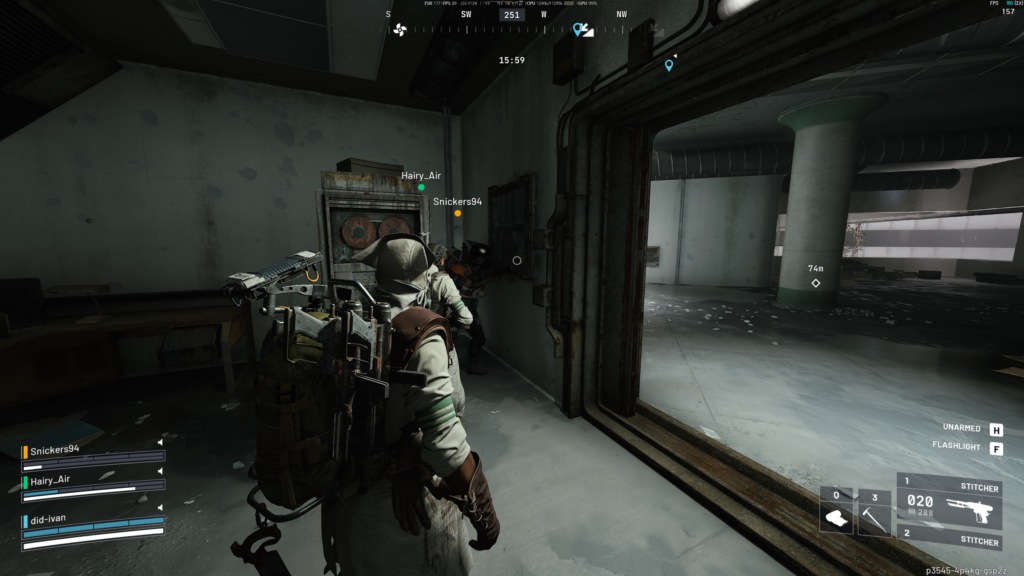
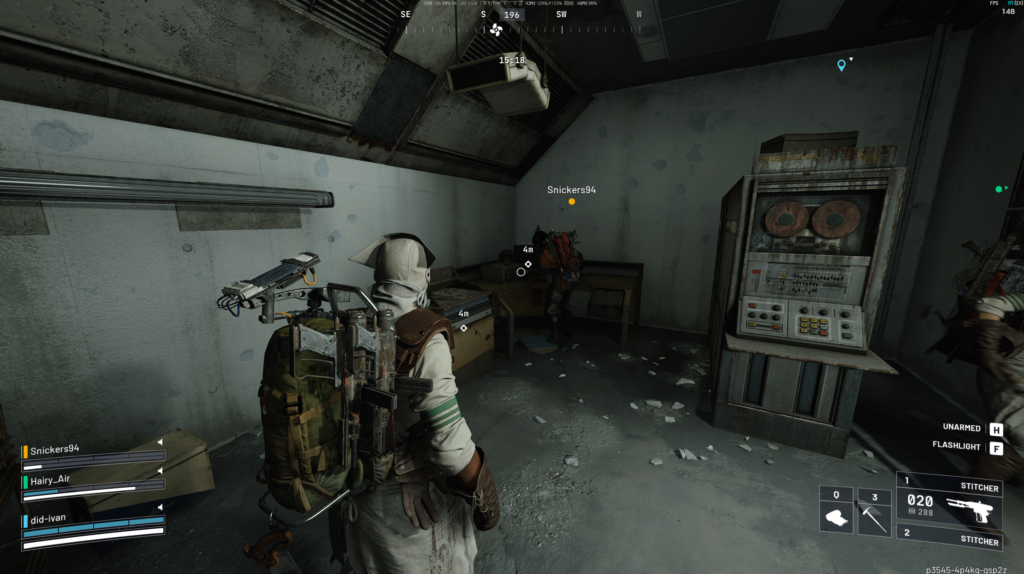
1. Go to the Security Bridge

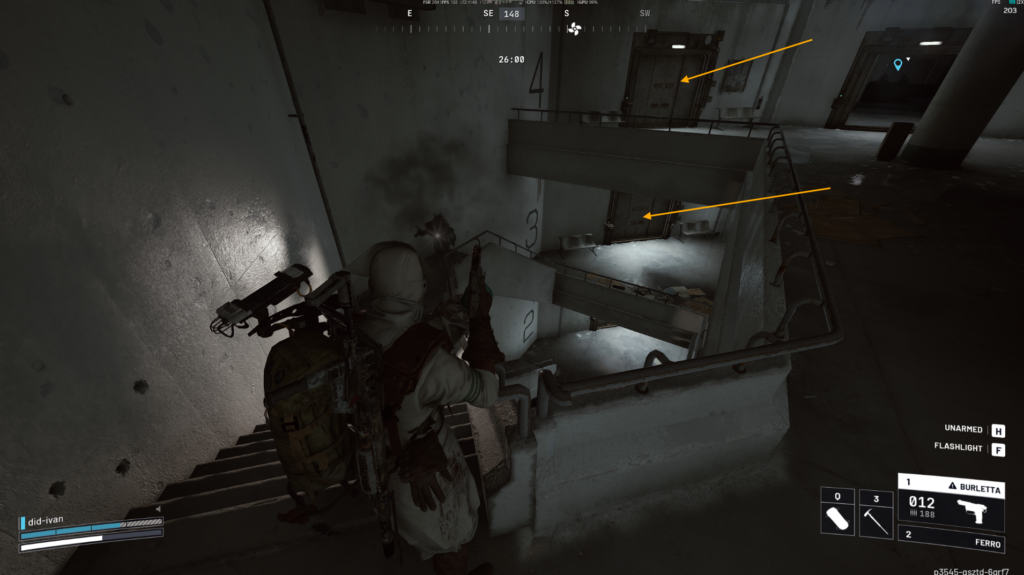
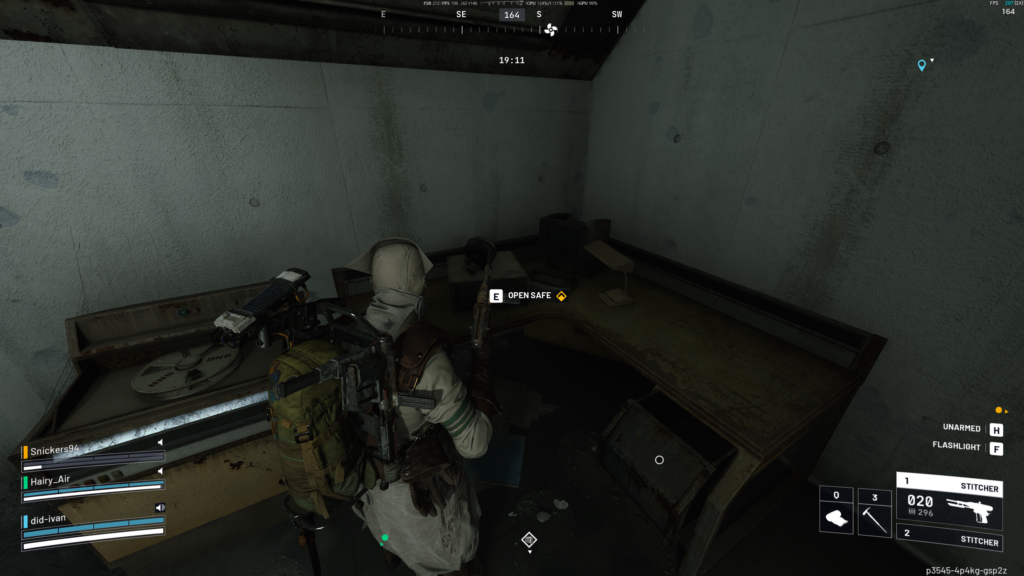
2. Search and open safe in the side room by the 3-floor staircases

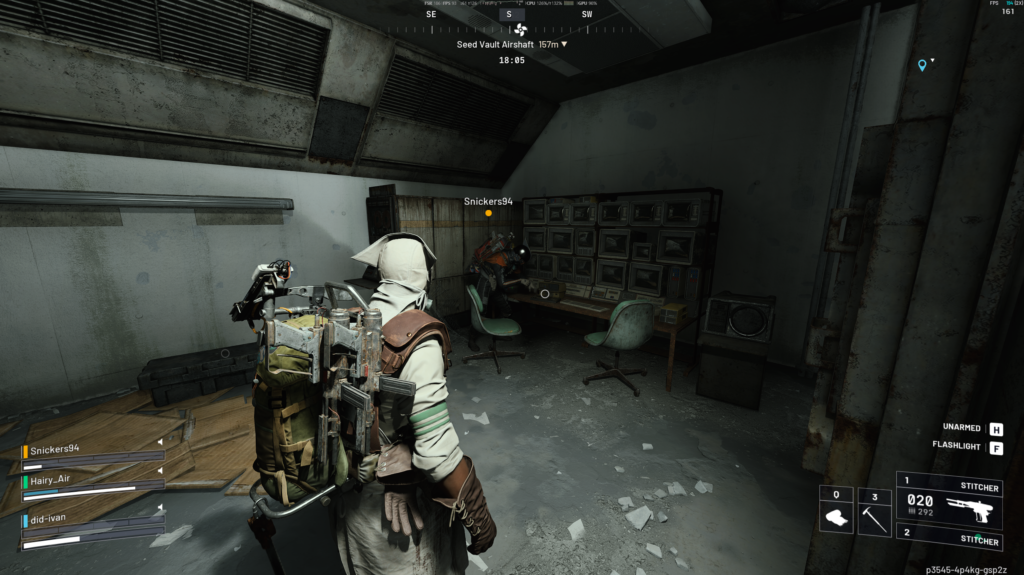
3. Head upstairs to the 4-floor control room and Use the Access Card Printer to print a key to the safe.

4. Back to 3-floor room, on a board near enterence, search for alternate ways into the safe

5. Back to  4-floor and Retrieve the contents of the safe

6. Go extract and Deliver the Project Heartwood Blueprints to Tian Wen
Go to the lobby, we need the 3rd and 4th floor rooms
Arc Raiders – A Dead End Quest Guide
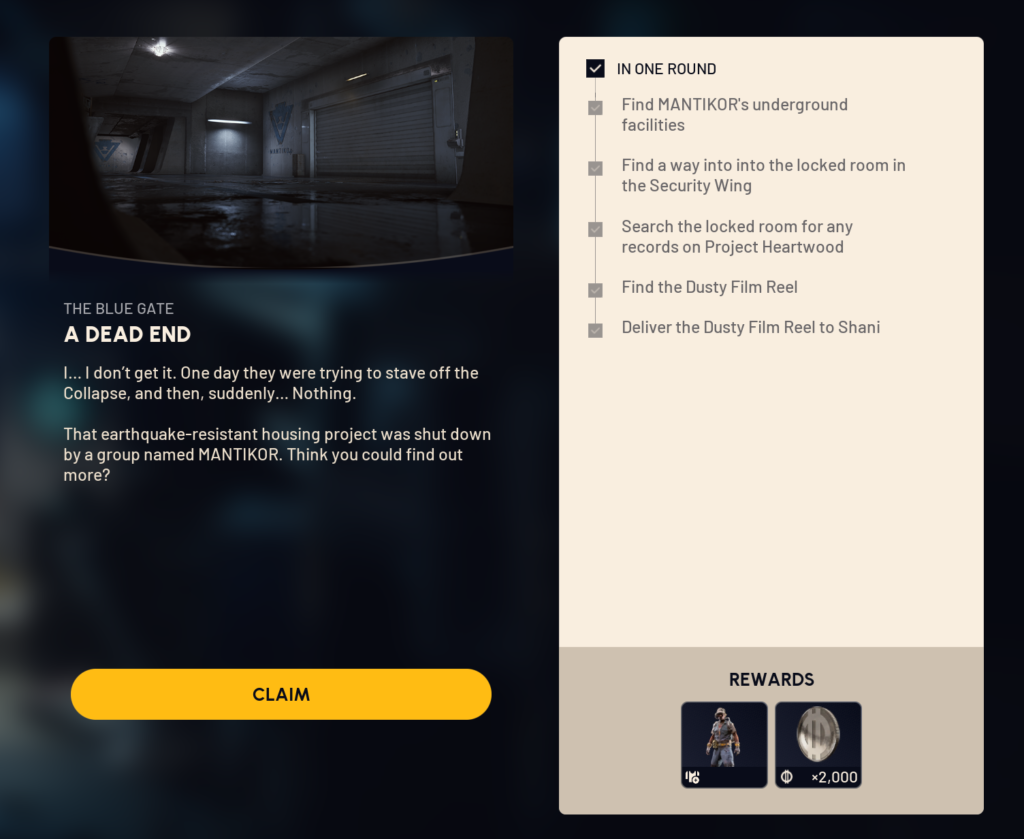
Find Mantikor’s underground facilities and search the locked room for Shani.
Location: The Blue Gate

Objective: Find Bilguun's shelter, at the end of bridge.

Evacuation required: Yes

1. Go to underground Security Wing place at Blue Gate (check map)
2. Open "Access Capacitor" dor, for this find three batteries and deliver them there to power it up. These batteries can spawn in multiple locations around, check walls.
After you open the room:
3. First go to the right spot and Play Recording
4. Then gp to the left side and search, and pickup the Dusty Film Reel.
5. Put Dusty Film Reel into safe pocket and go to extract.
You’ll need to head down to the Security Wing in the underground section of Blue Gate and find a way into the locked room in the Security Wing
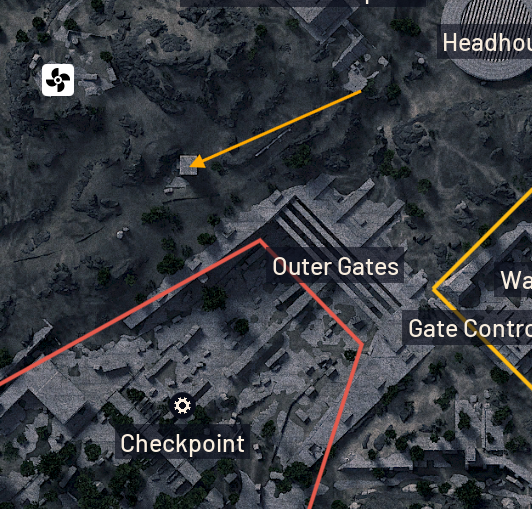
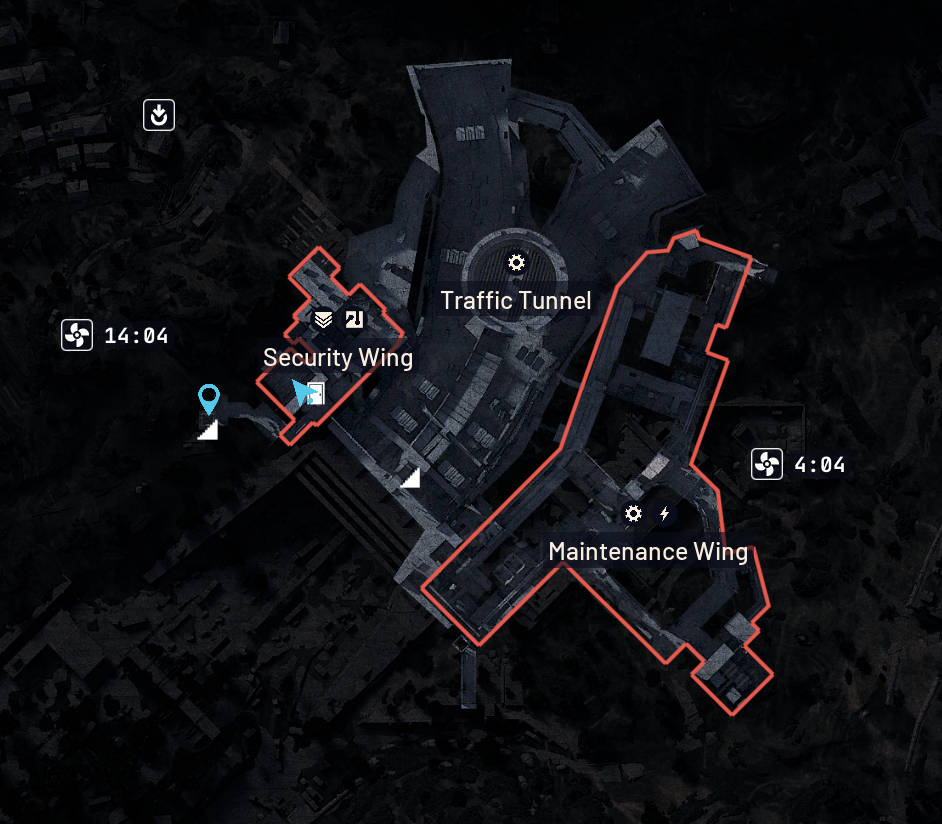
You need to unlock a door labelled “Access Capacitor” on the map. For this, you need to find three batteries and deliver them there to power it up. These batteries can spawn in multiple locations.
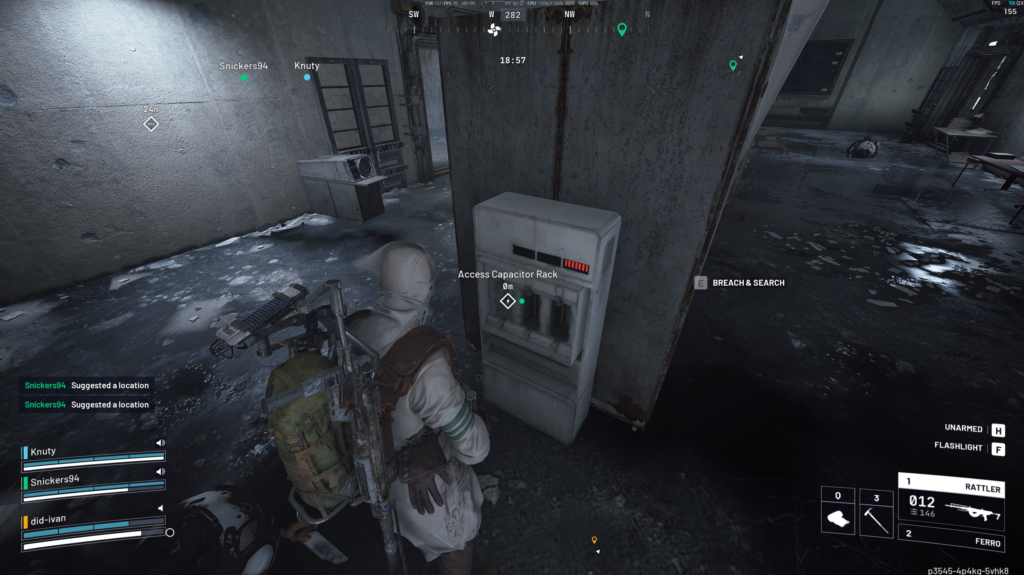
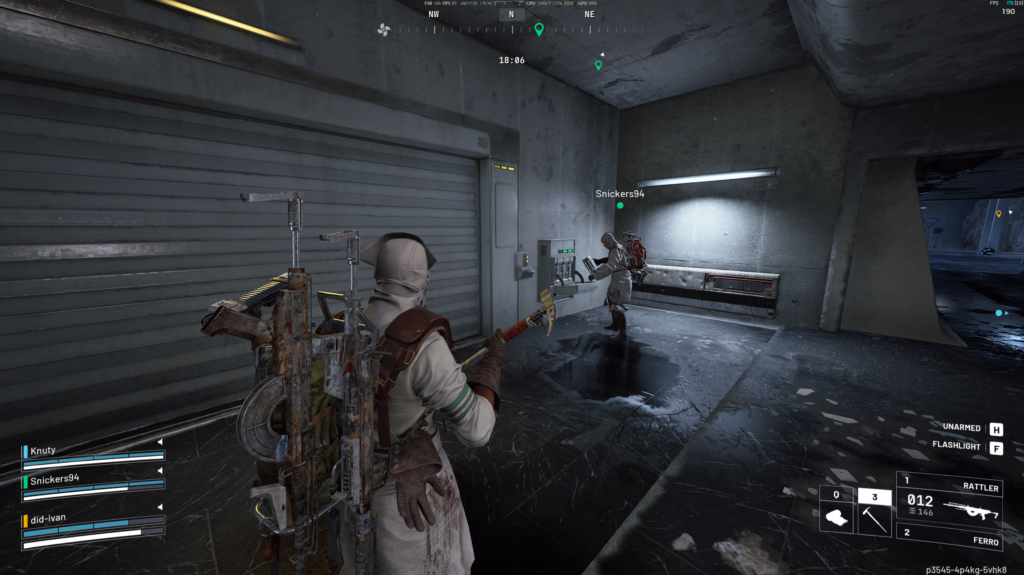
Search the locked room for any records on Project Heartwood and find the Dusty Film Reel. First go to the right spot, then to the left.
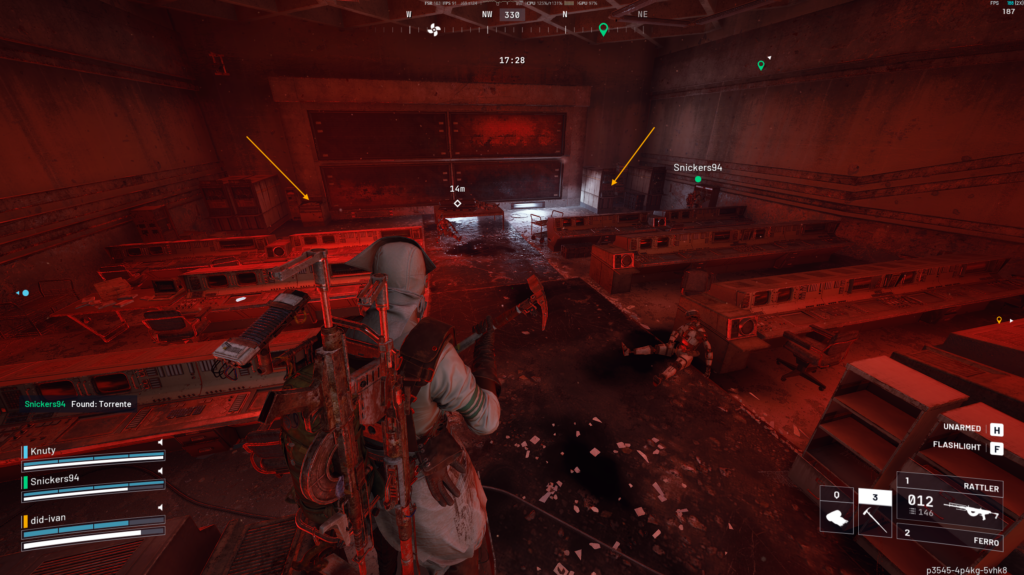
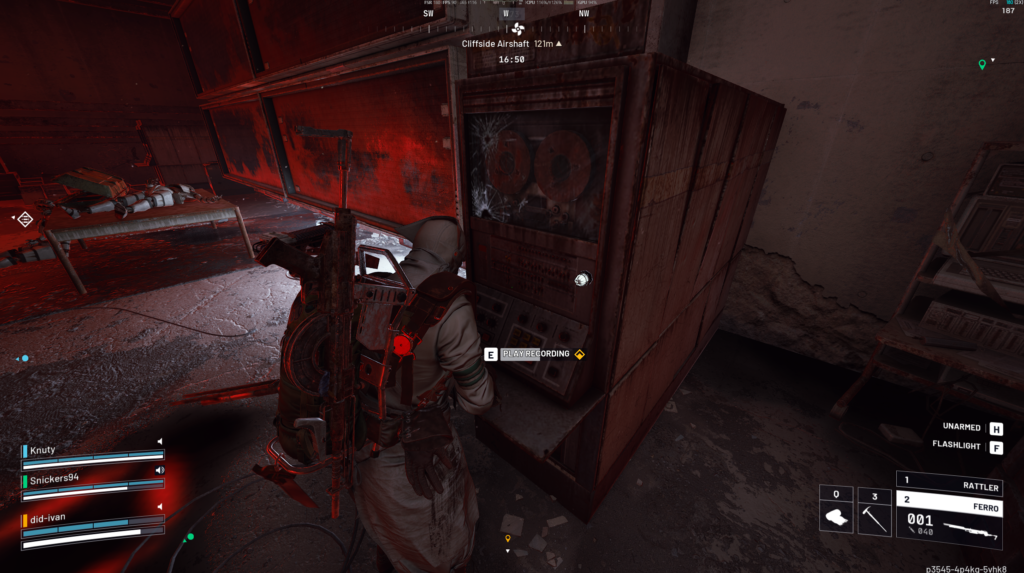
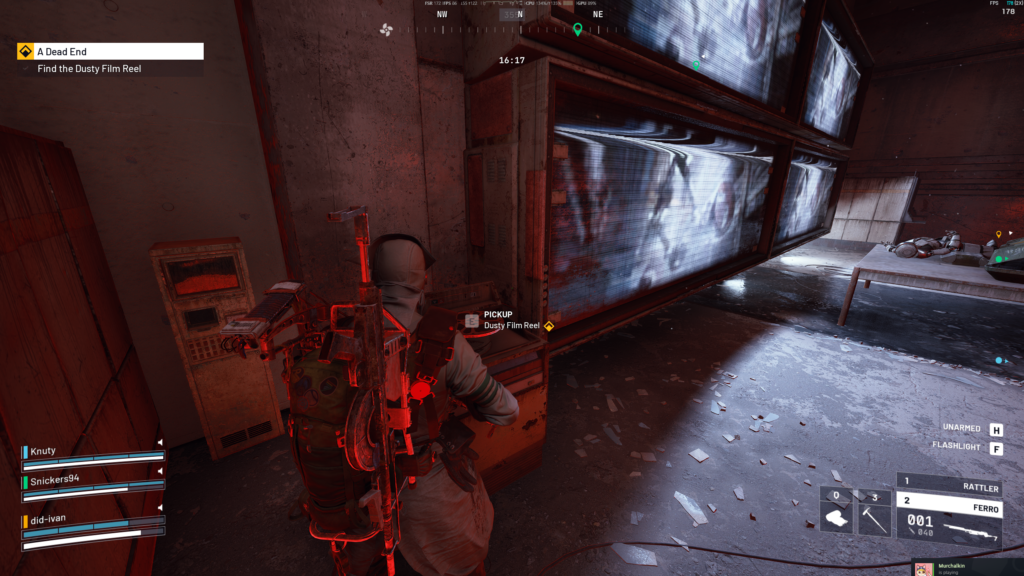
Put the Dusty Film Reel into the safe pocket and go to extraction to finish the quest.
Arc Raiders – The Right Tool
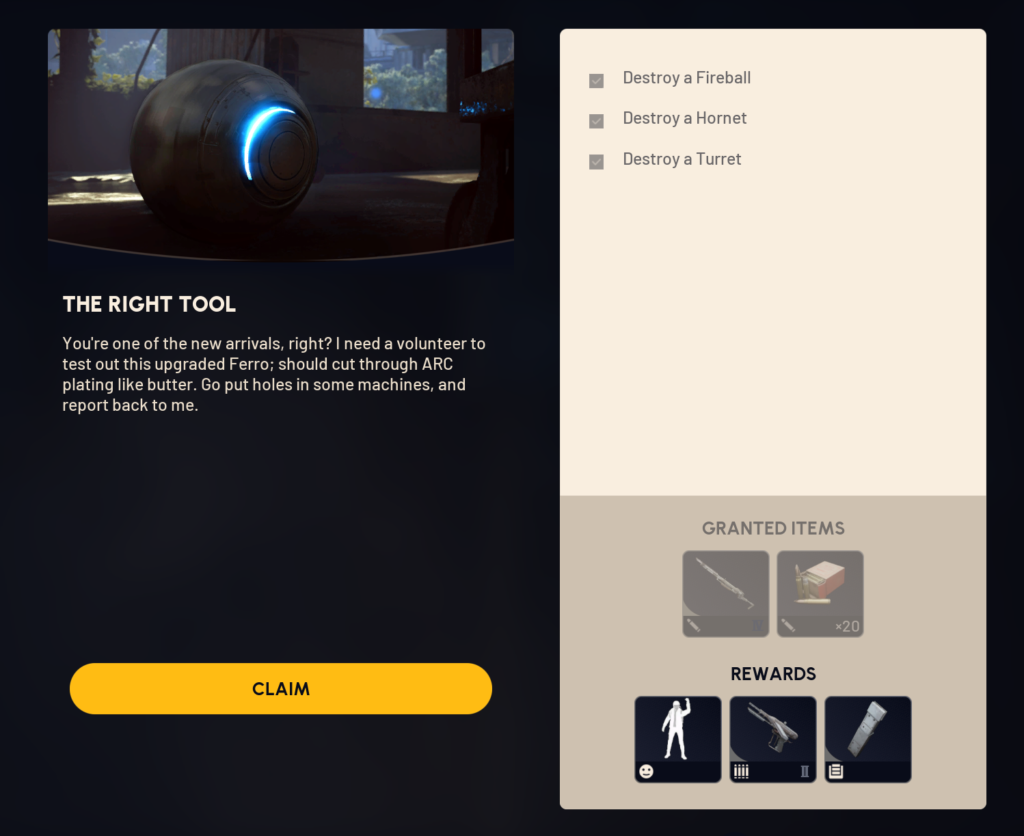
Location: Any map

Objective: Find and destroy Fireball, Hornet, Turret

Evacuation required: No


1. Destroy a Fireball

2. Destroy a Hornet

3. Destroy a Turret

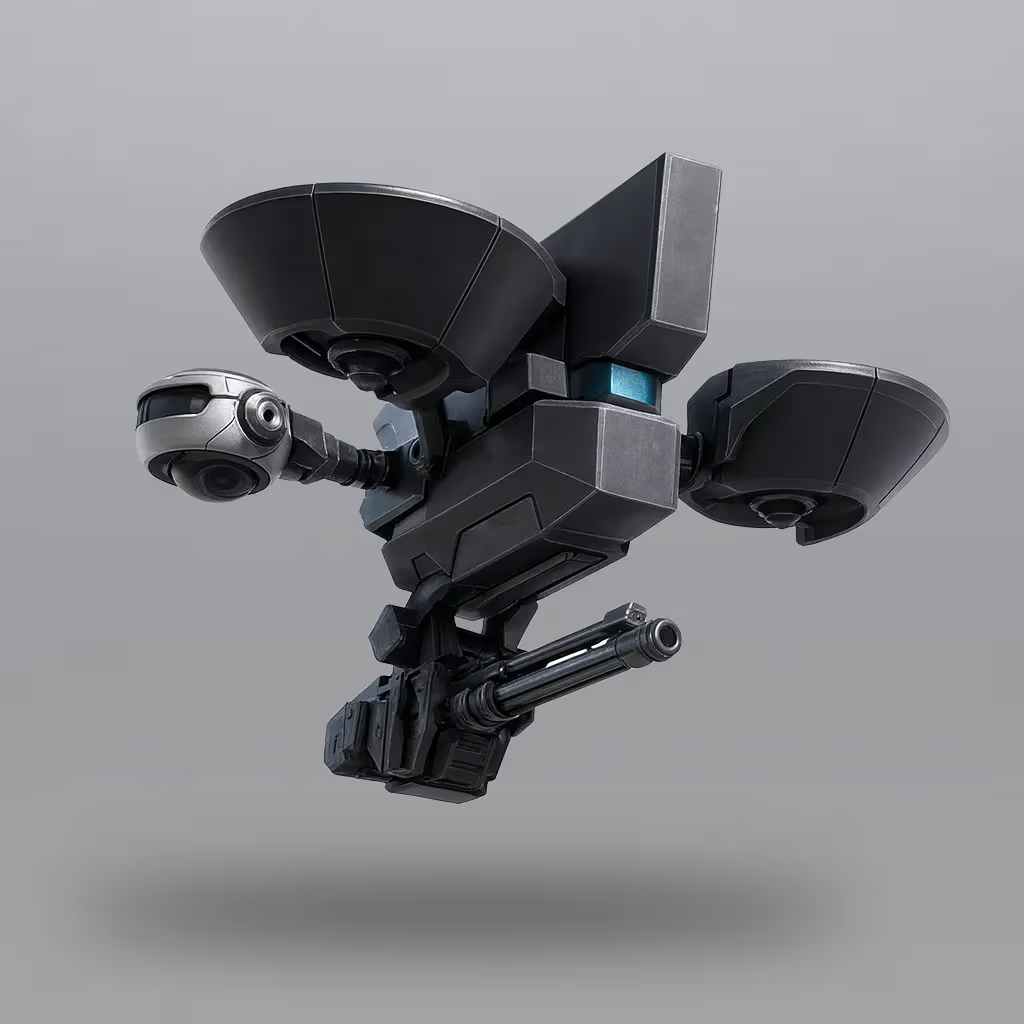
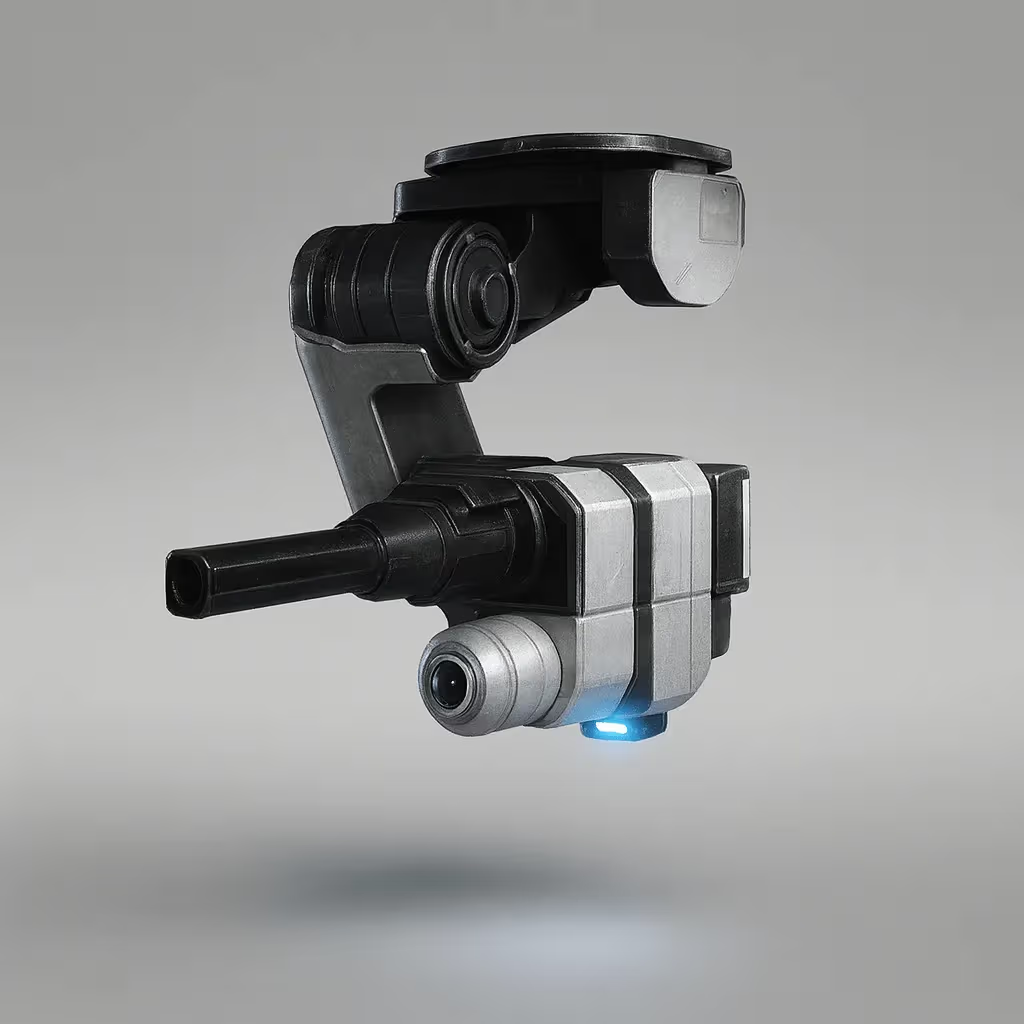
Arc Raiders – A Better Use
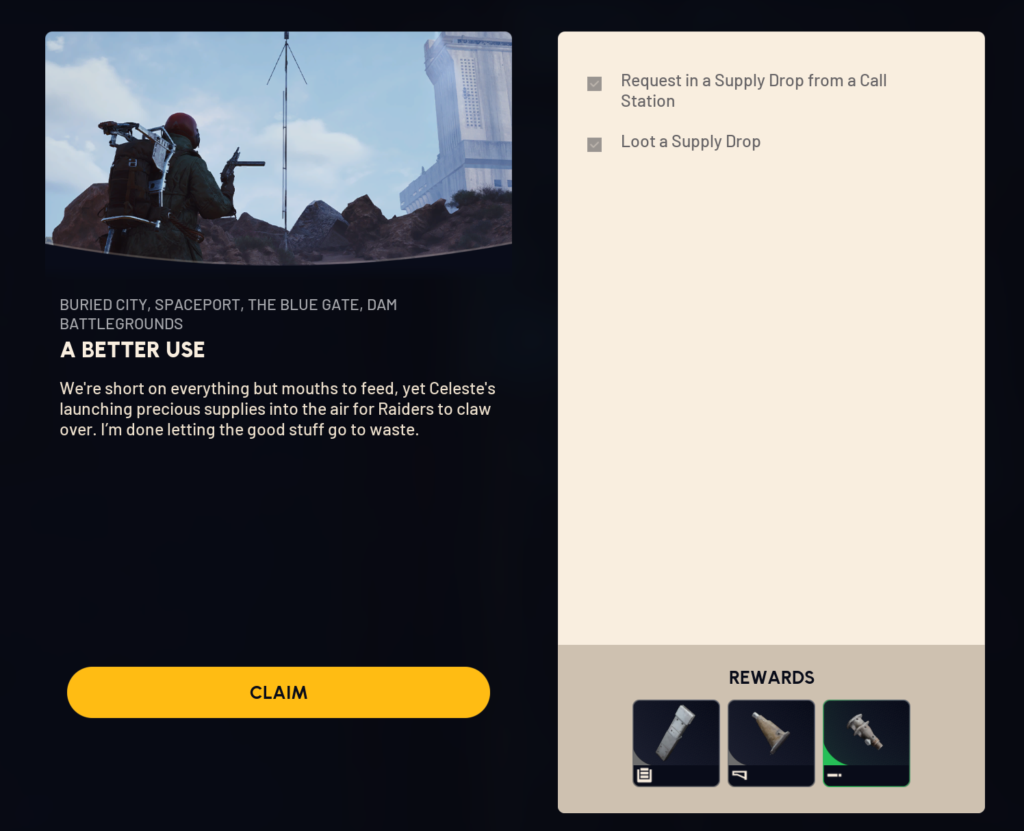
Everything u need to do is find a Supply Drop Station, call it, and loot a supply drop. You can do it at any map BURIED CITY, SPACEPORT, THE BLUE GATE, DAM BATTLEGROUNDS
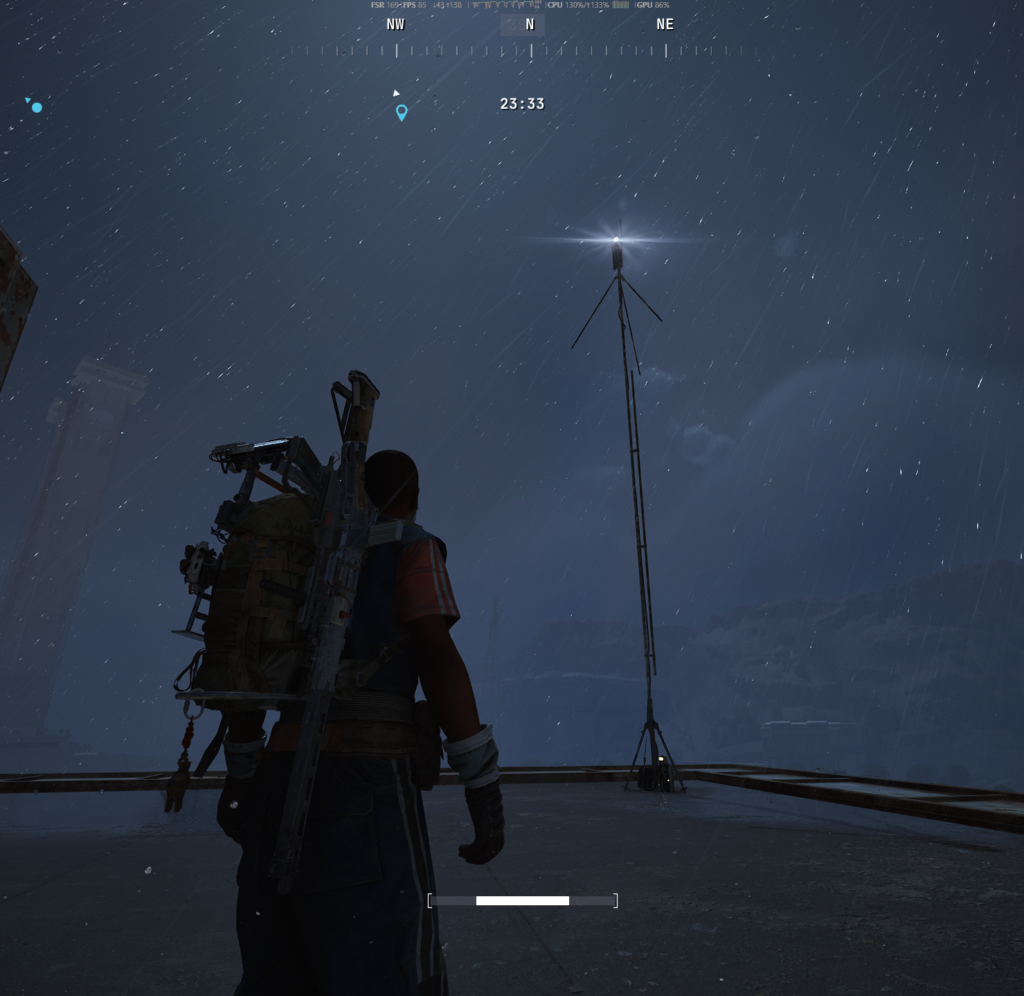
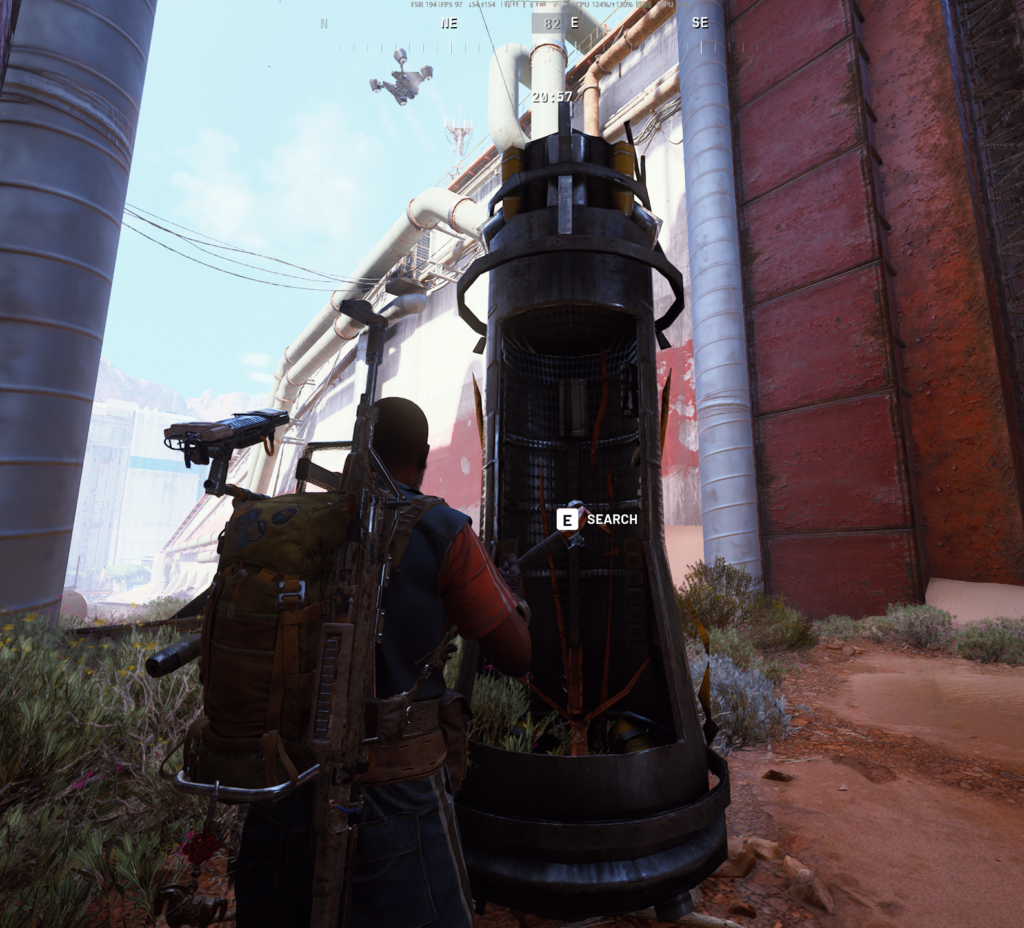
Arc Raiders – A Better Use
LANCE
Arc Raiders – Prescriptions of the Past / “Рецепты прошлого “
Goal: In the quest “Prescriptions of the Past ” merchant Lance asks you to find medical records in the Departure Building at the Spaceport.
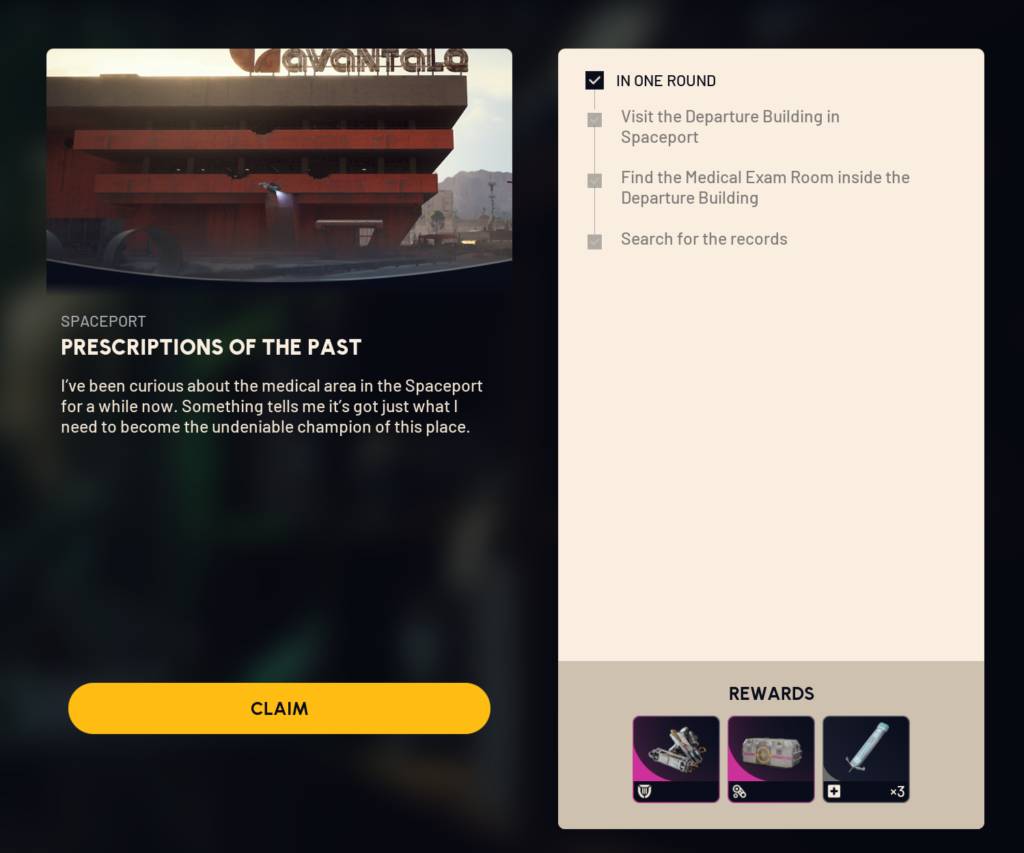
Location: Spaceport )Departure Building)

Objective: Enter the Departure Zone of the Spaceport

Evacuation required: Yes

1. Visit the Departure Building in Spaceport
2. Find the Medical Exam Room inside the Departure Building
Northwest section of 2nd floor
3. Search for the records
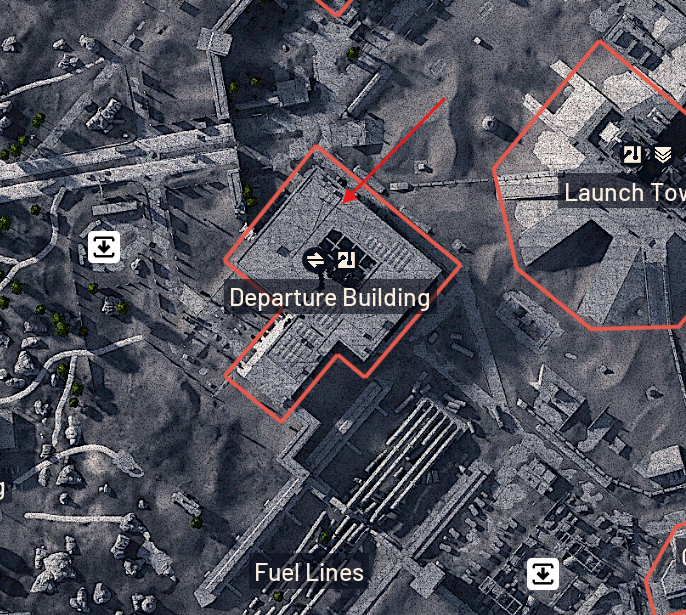
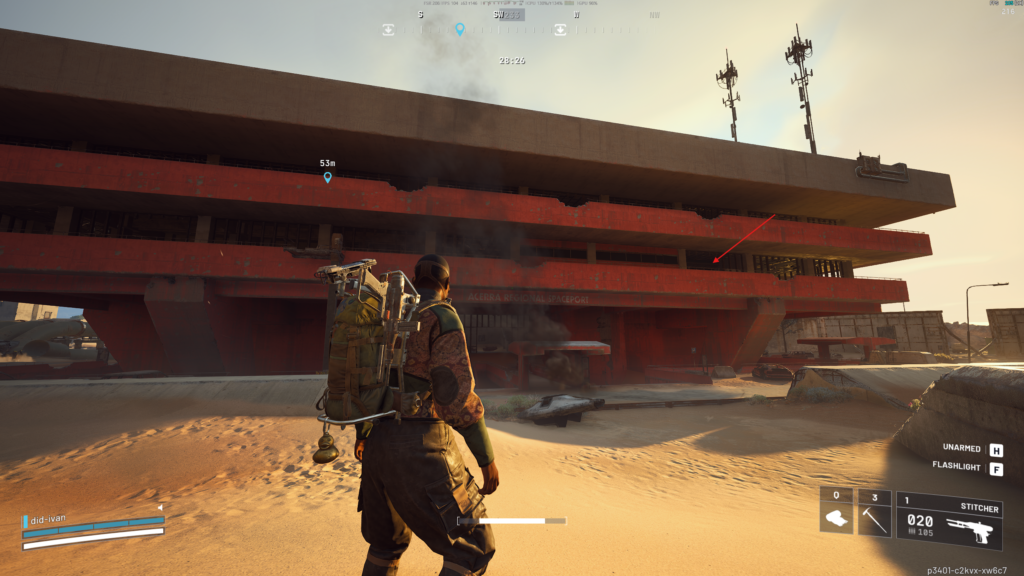
Northwest section of 2nd floor
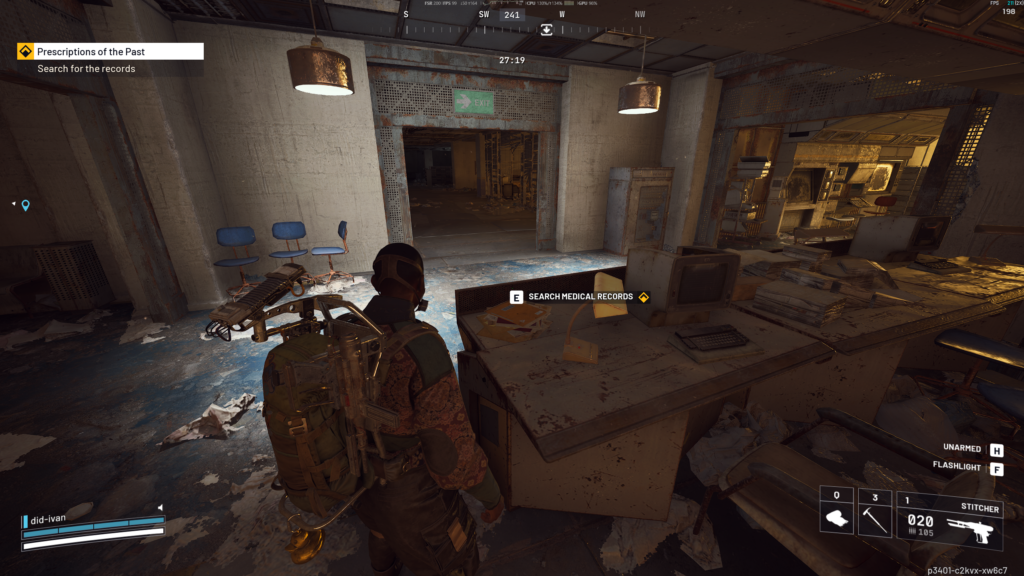
To finish quest, Evacuation is required
Arc Raiders – On Deaf Ears
Lance sends us to Stella Montis in the On Deaf Ears quest with the intentions of having us find some information for him.
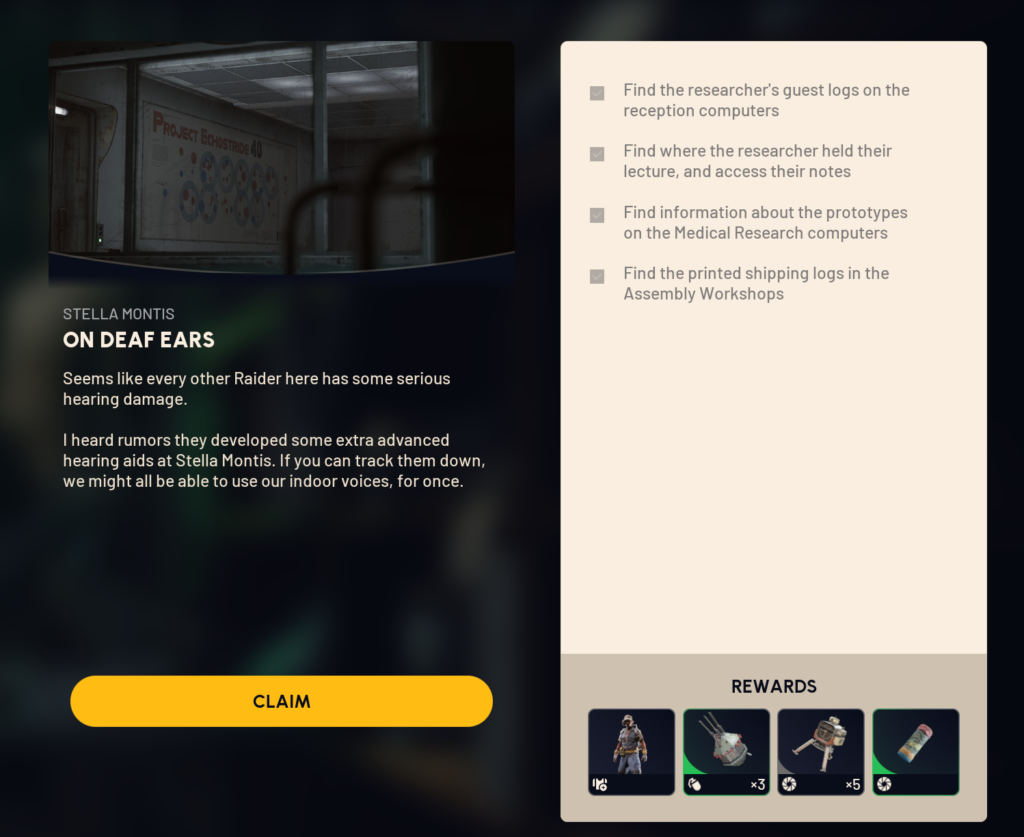
Location: Stella Montis

Objective: Visit Stella Montis, and run into 4 different check points.

Evacuation required: No

1. Find the researcher's guest logs on the reception computers

2. Find where the researcher held their lecture, and access their notes

3. Find information about the prototypes on the Medical Research computers

4. Find the printed shipping logs in the Assembly Workshops
Where to find the reception computers
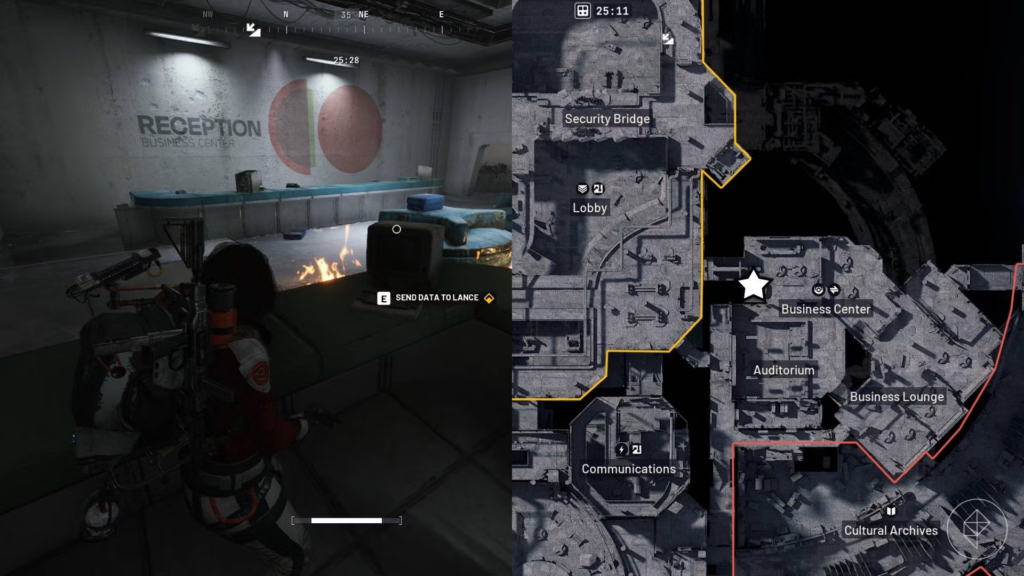
Interact with the computer behind the desk to tick off the first step.
Where to find where the researcher held their lecture
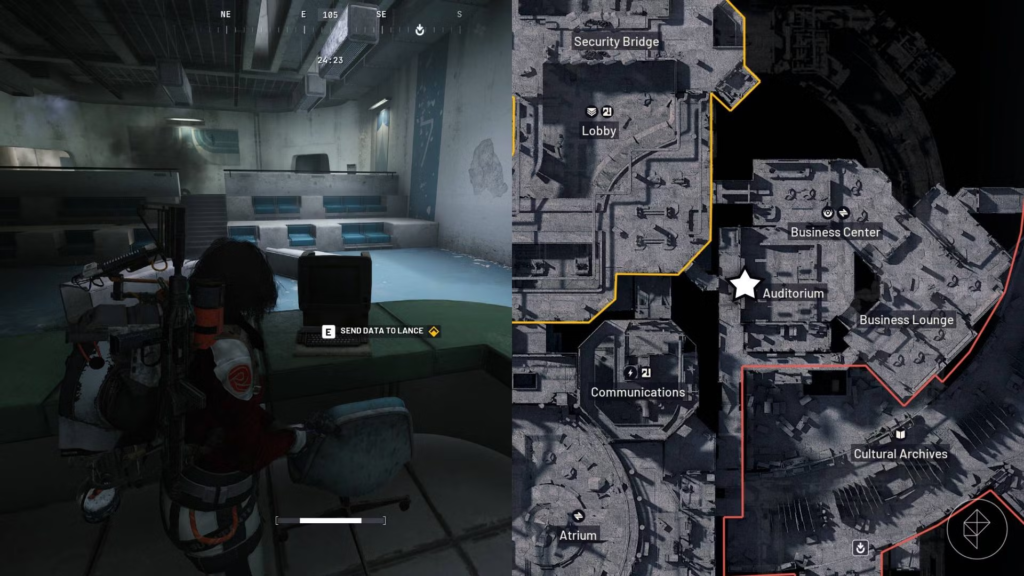
Where to find information about the prototypes
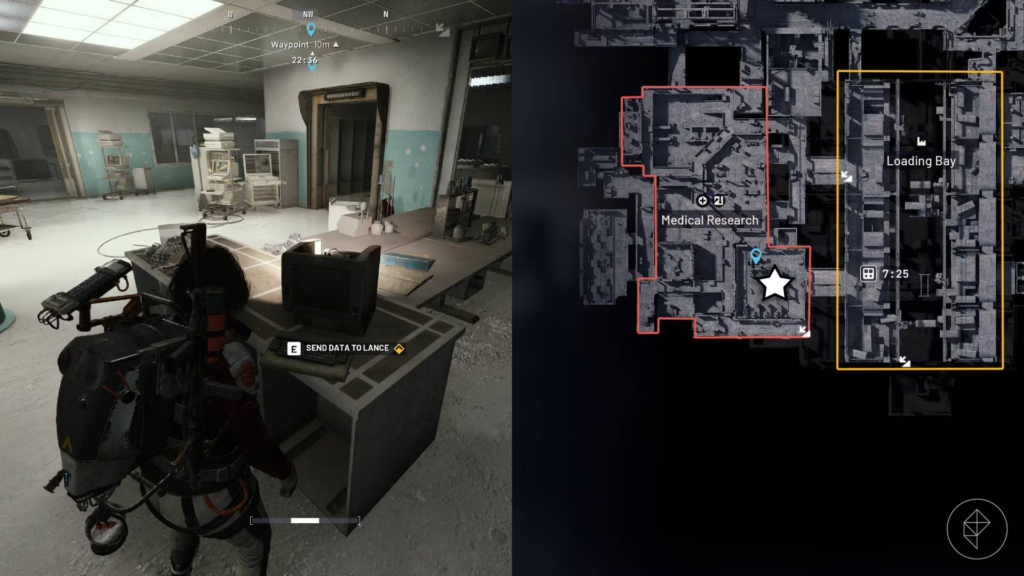
Where to find the printed shipping logs
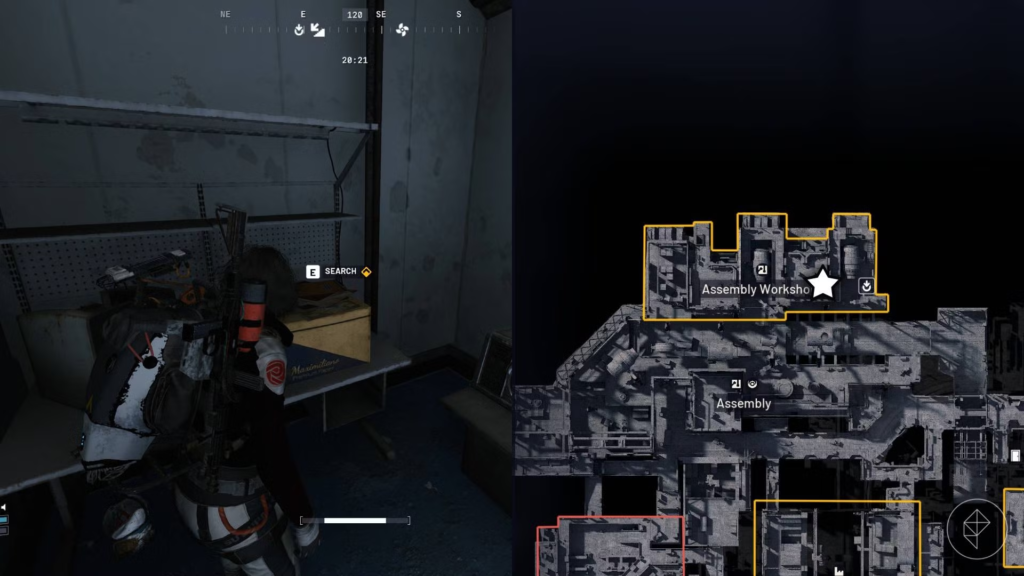
Arc Raiders – On the Map
Lance asks us to run through the map and transmit our locations, after this mark the container.
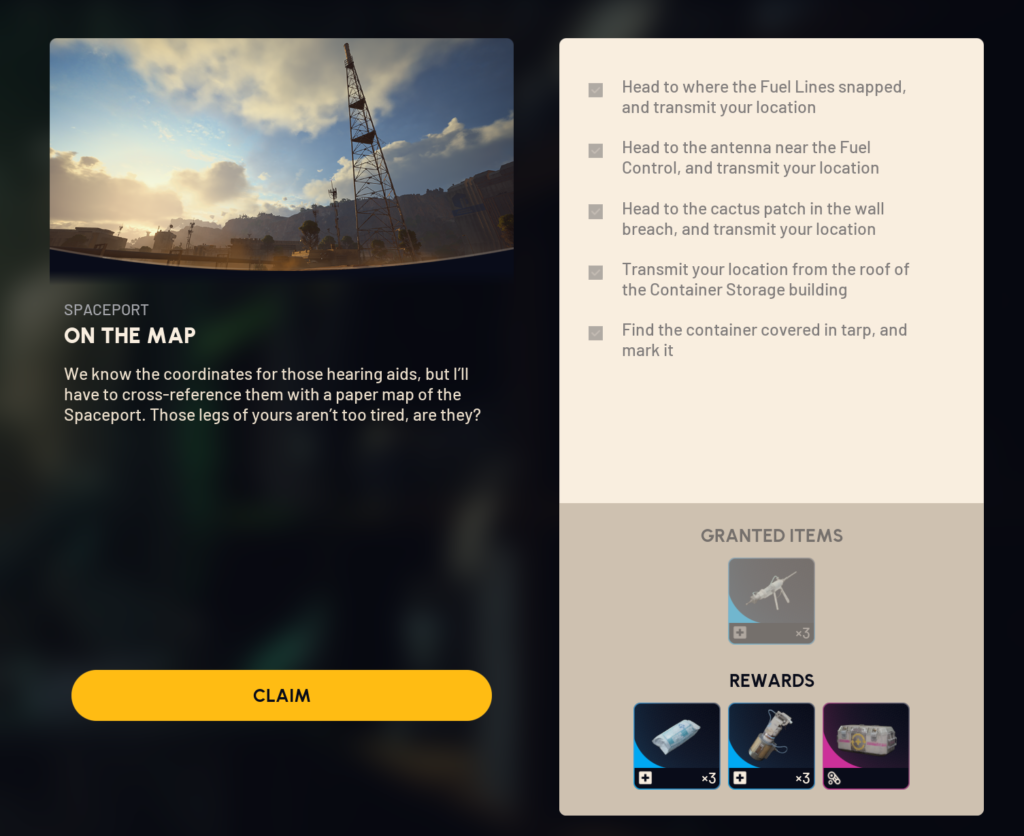
Location: Spaceport

Objective: Lance asks us to run through the map and transmit our locations, after this mark container.

Evacuation required: No

1. Head to where the Fuel Lines snapped, and transmit your location.
2. Head to the antenna near the Fuel Control, and transmit your location.
3. Head to the cactus patch in the wall breach, and transmit your location.
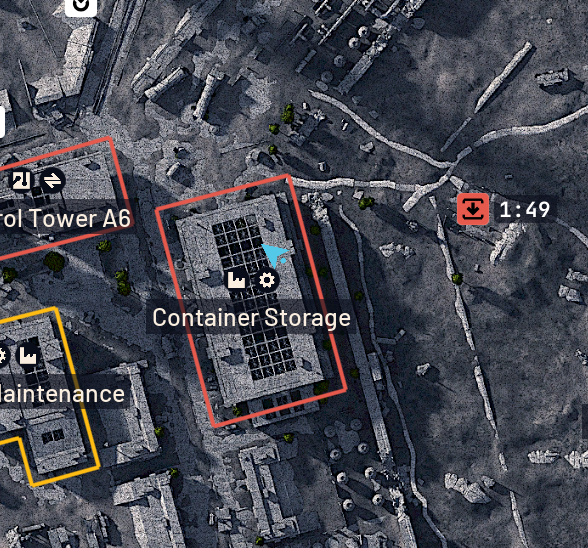
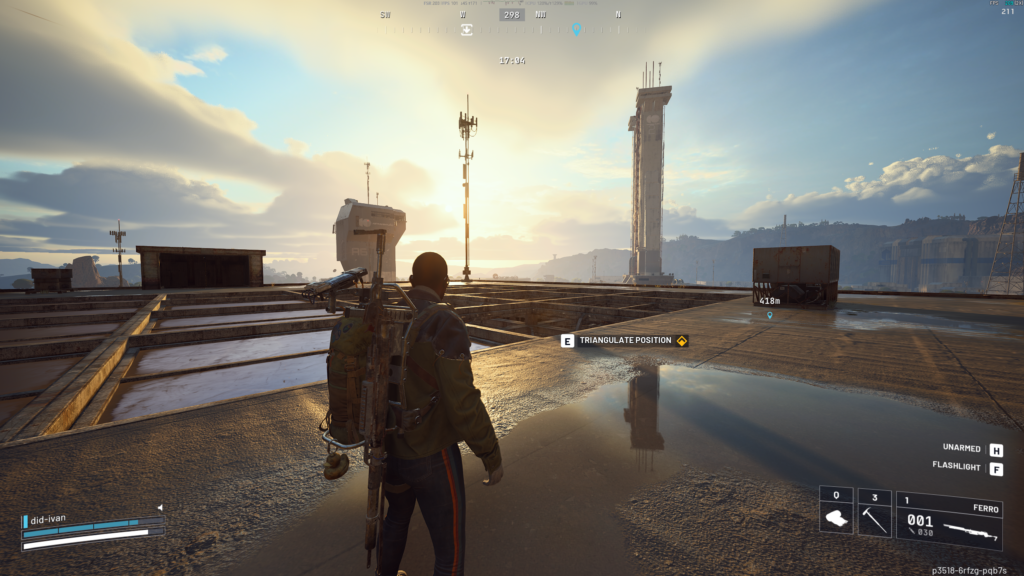
4. Transmit your location from the roof of the Container Storage building.
5. Find the container covered in tarp, and mark it.
Head to where the Fuel Lines snapped, and transmit your location.
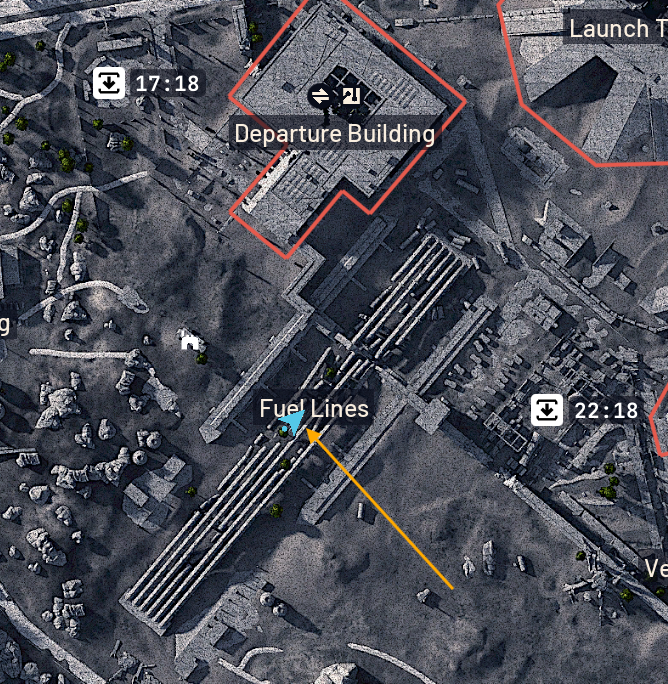
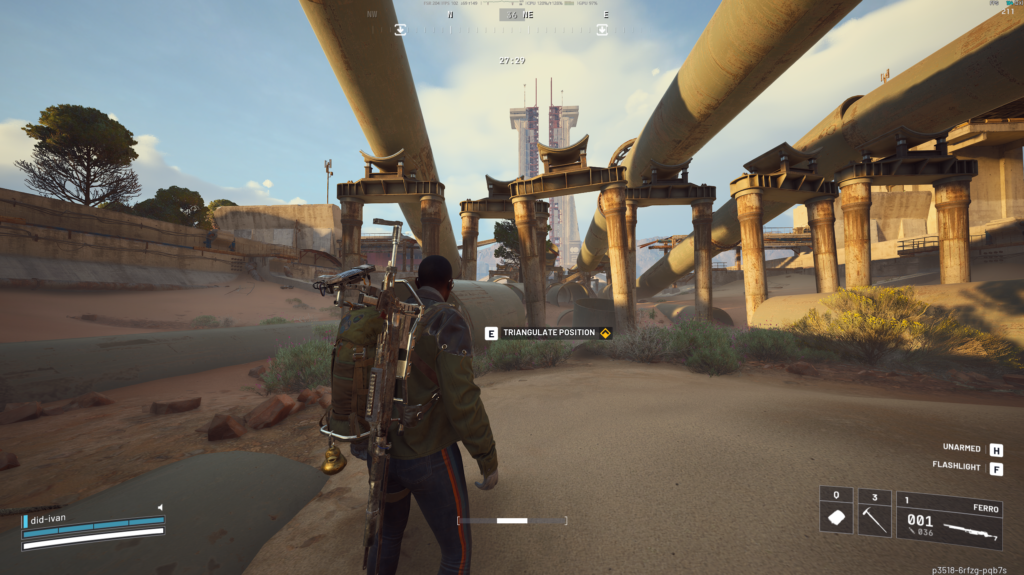
Head to the antenna near the Fuel Control, and transmit your location.
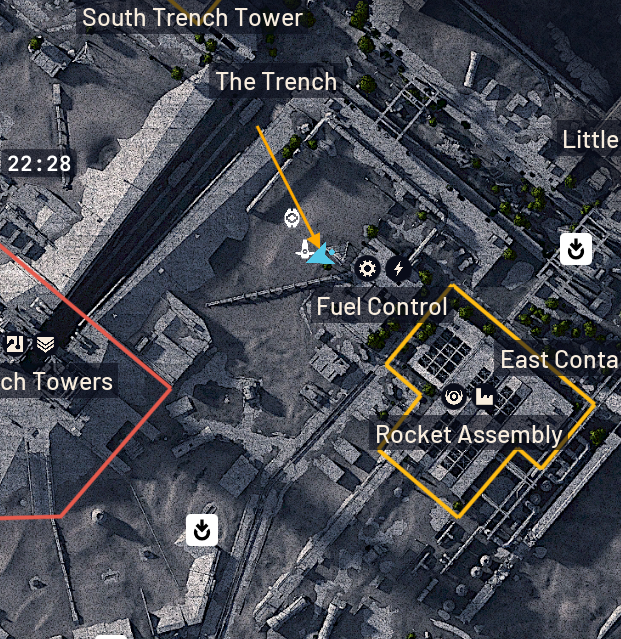
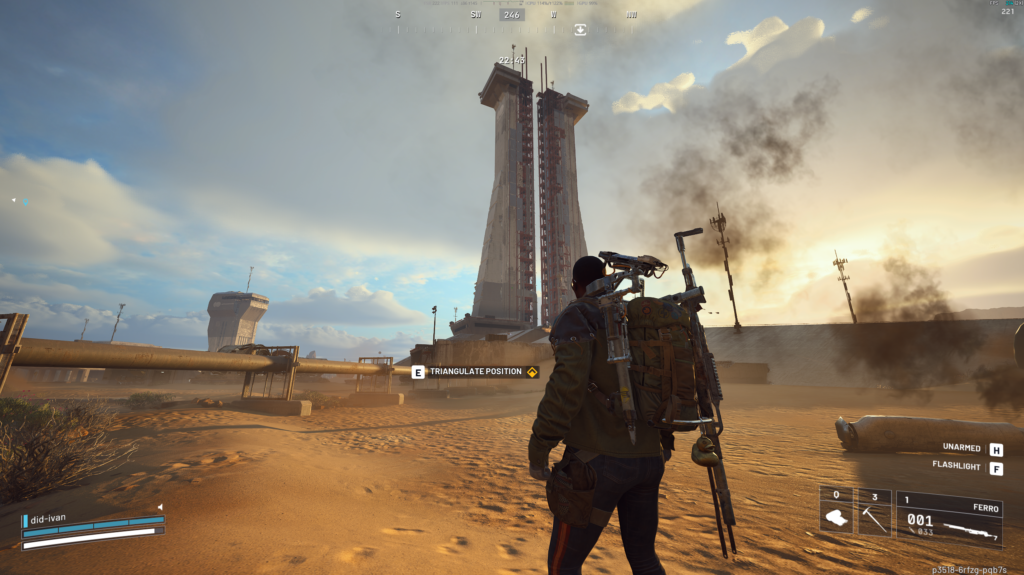
Head to the cactus patch in the wall breach, and transmit your location.
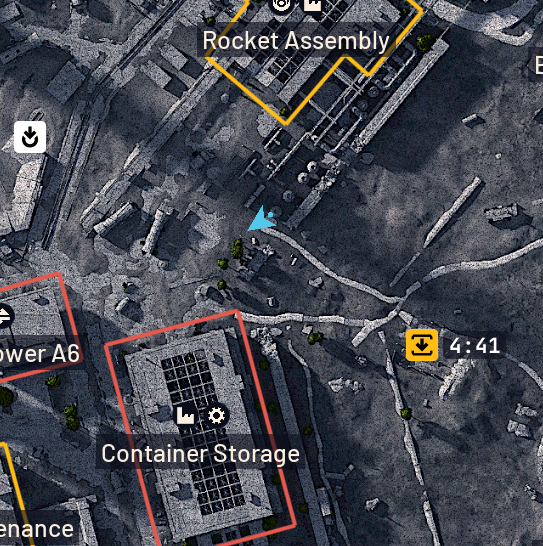
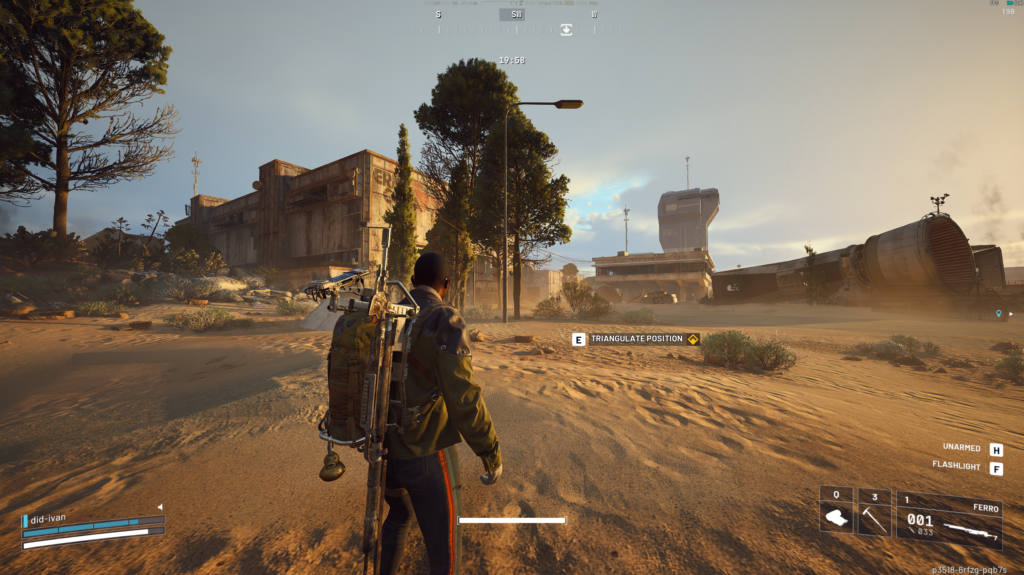
Transmit your location from the roof of the Container Storage building.
Find the container covered in tarp, and mark it.
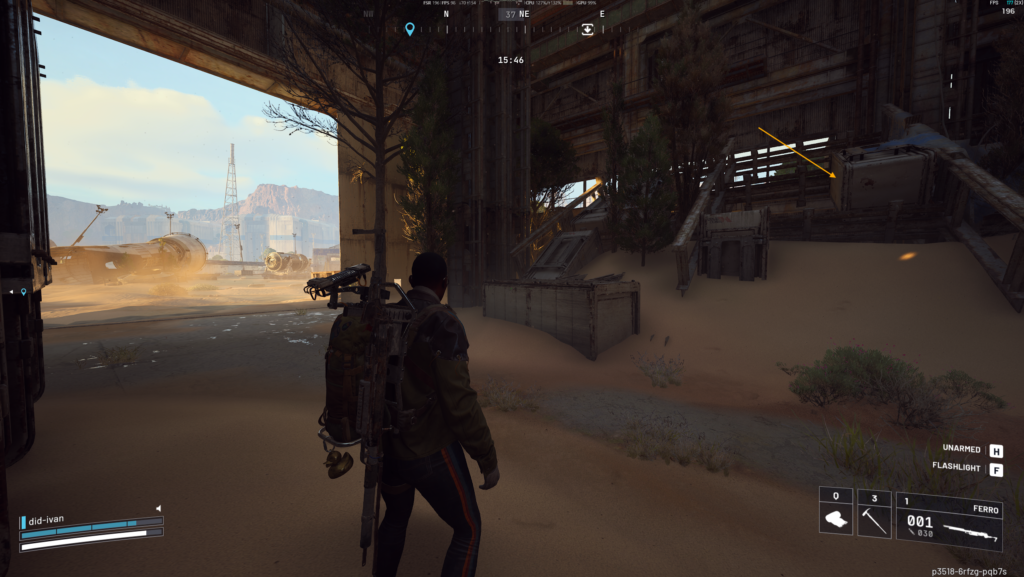
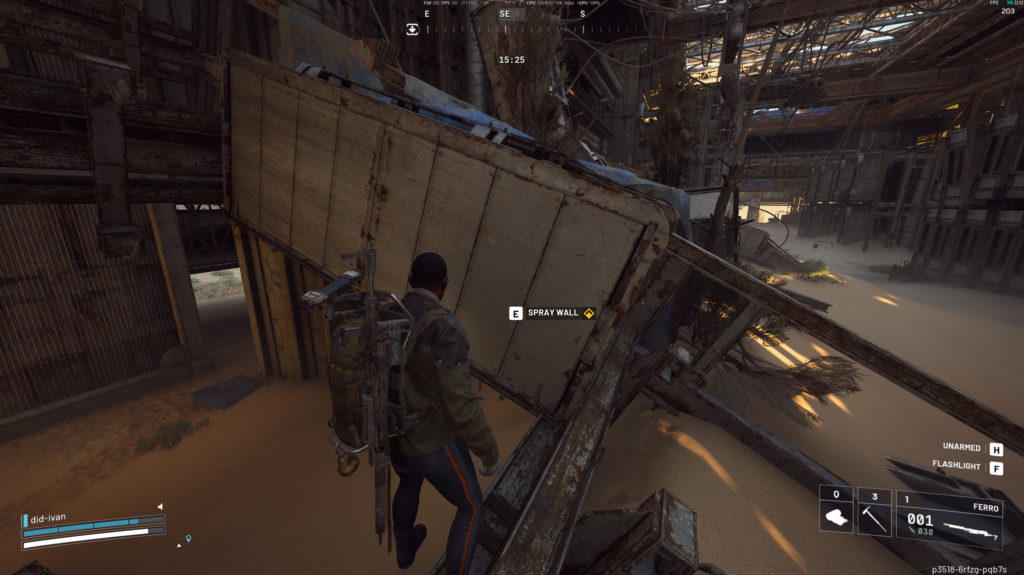
Arc Raiders – Life Of A Pharmacist
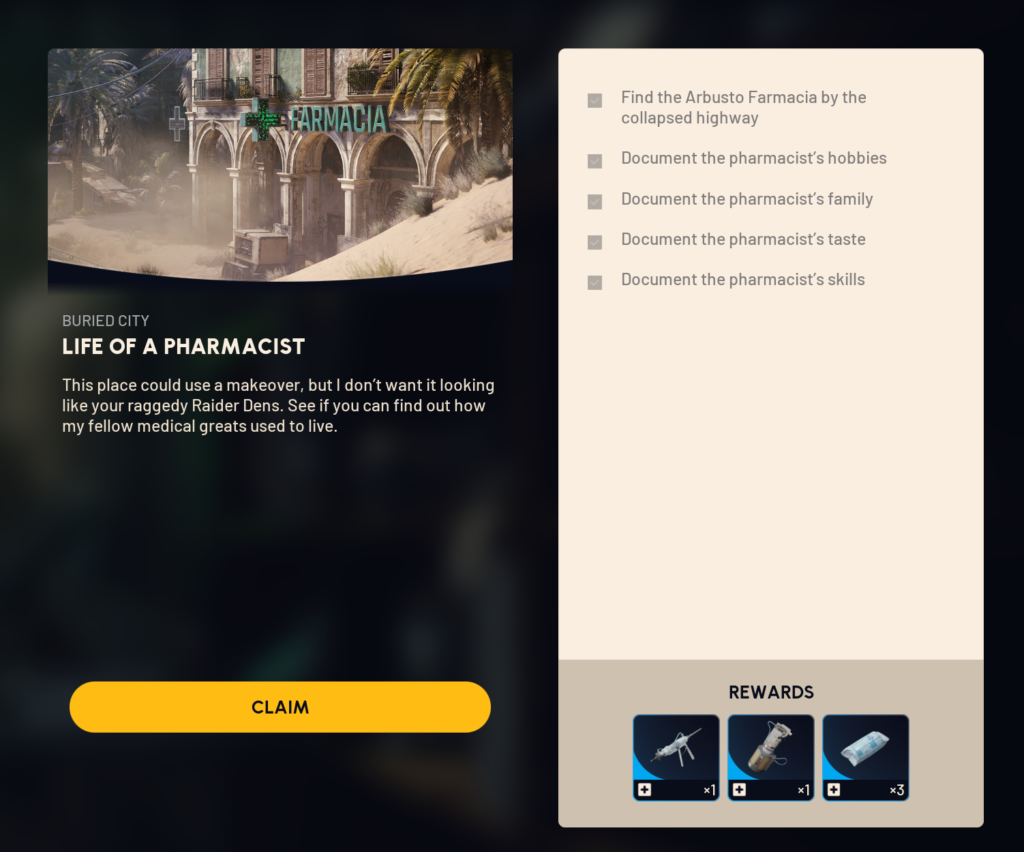
ance asks us to find Arbusto Farmacia by the collapsed highway and take some tasteful photos for his mood board.
Location: Buried City

Objective: Lance asks us to find Arbusto Farmacia by the collapsed highway and take some tasteful photos for his mood board.

Evacuation required: No

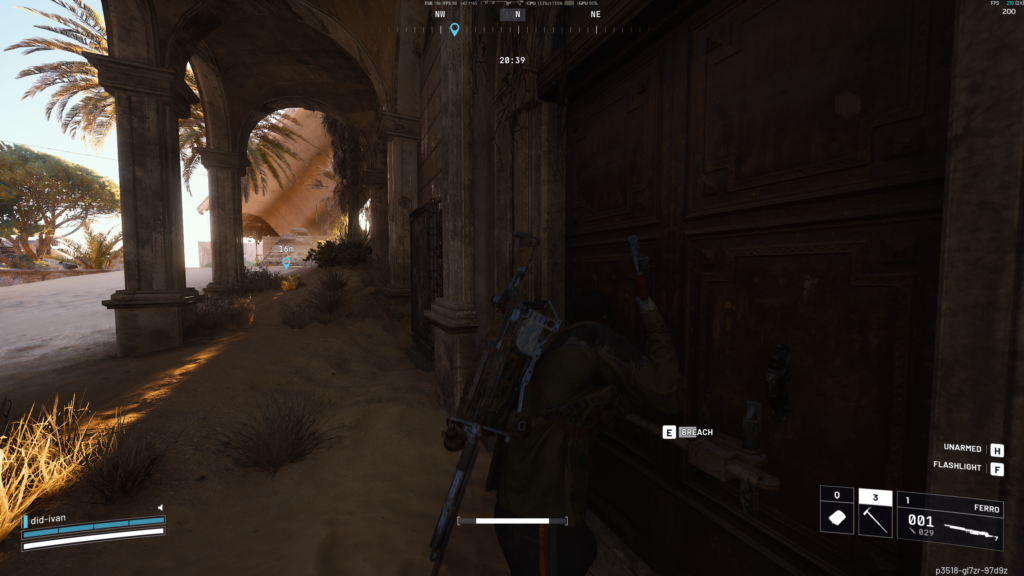
1. Find the Arbusto Farmacia by the collapsed highway
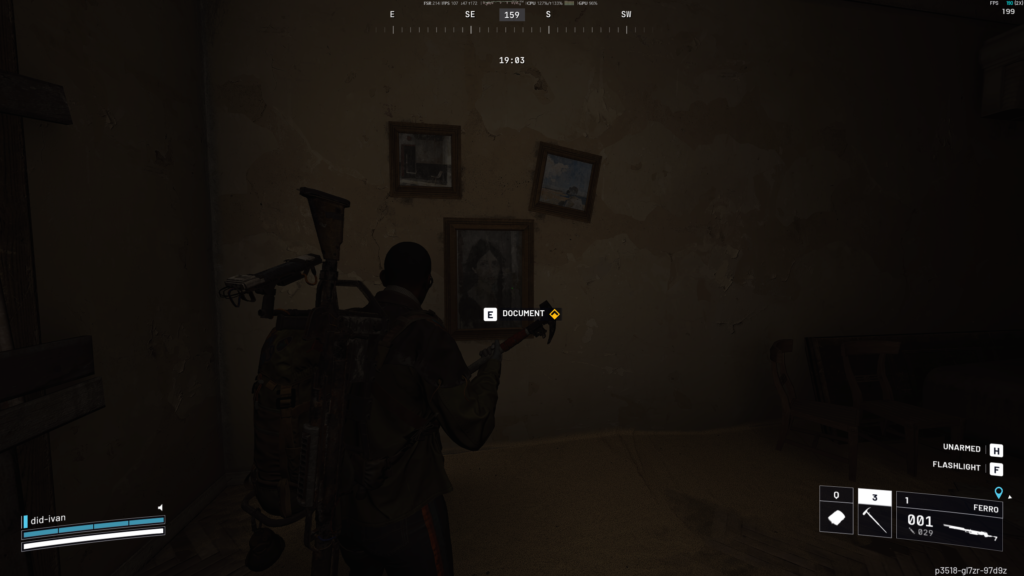
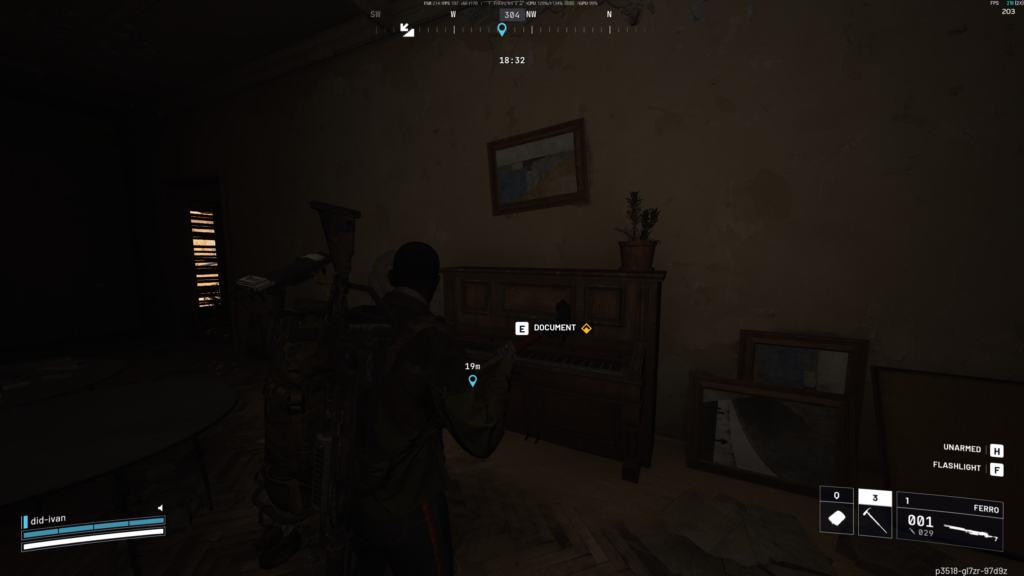
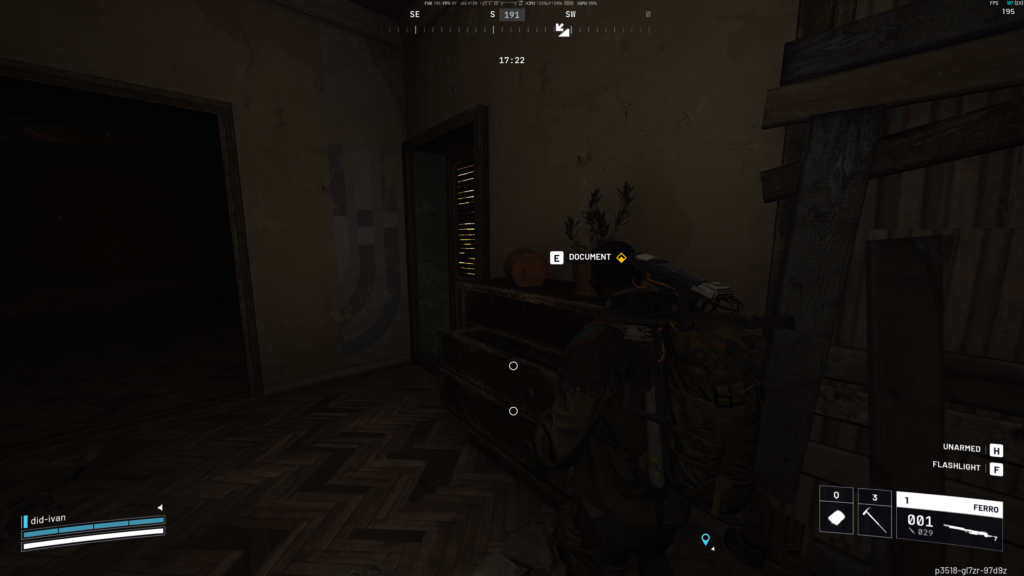
2. Document the pharmacist's hobbies
3. Document the pharmacist's family
4. Document the pharmacist's taste
5. Document the pharmacist's skills
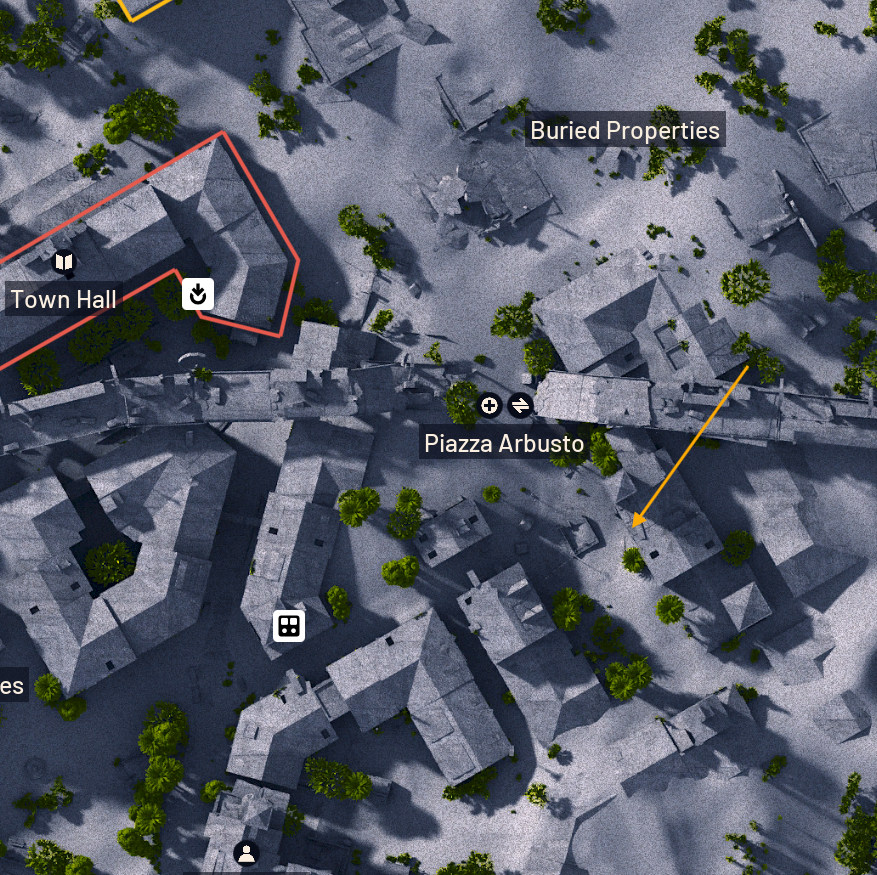
Arbusto Farmacia (Piazza Arbusto)
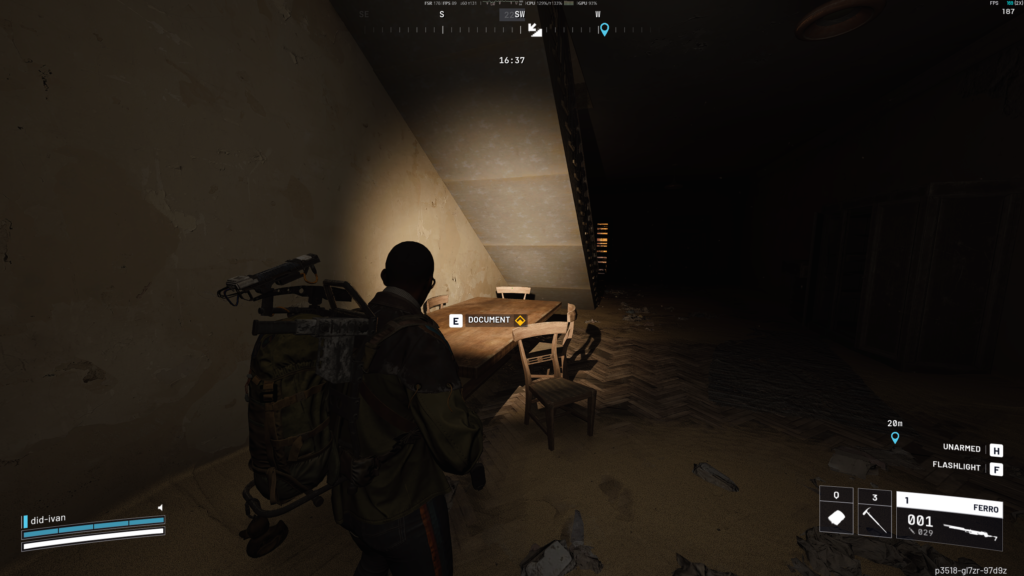
Arc Raiders – A New Type Of Plant Quest Guide
Find toxic plants near Baron Husk’s legs, at Old Battleground.
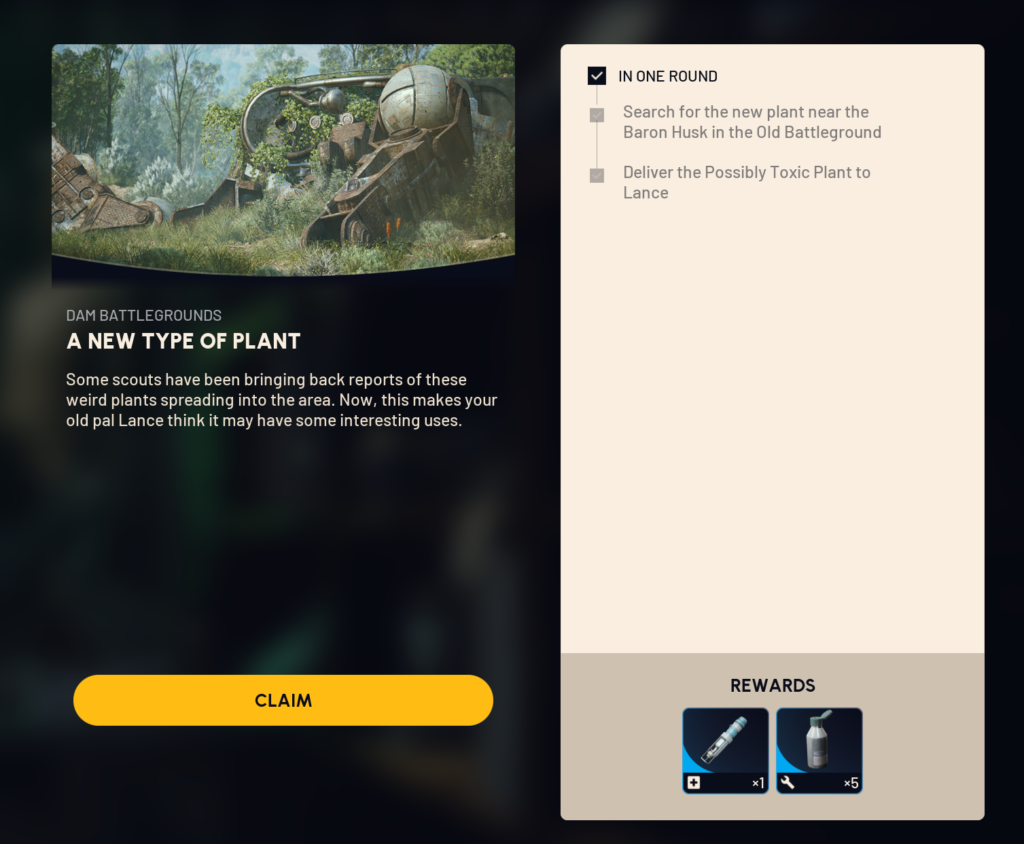
Location: Dam Battlegrounds

Objective: Find toxic plants near Baron Husk legs, at Old Battleground.

Evacuation required: Yes

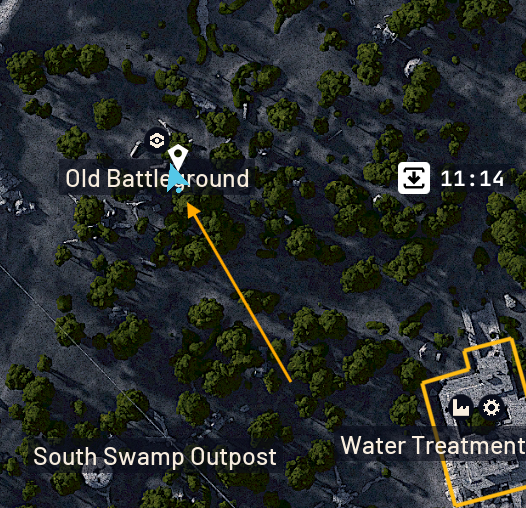
1. Go to Old Battleground location, find Baron Husk.
2. Near Baron Husk legs you can found toxic plants.
3. Take plants and extract with them.
Old Battleground
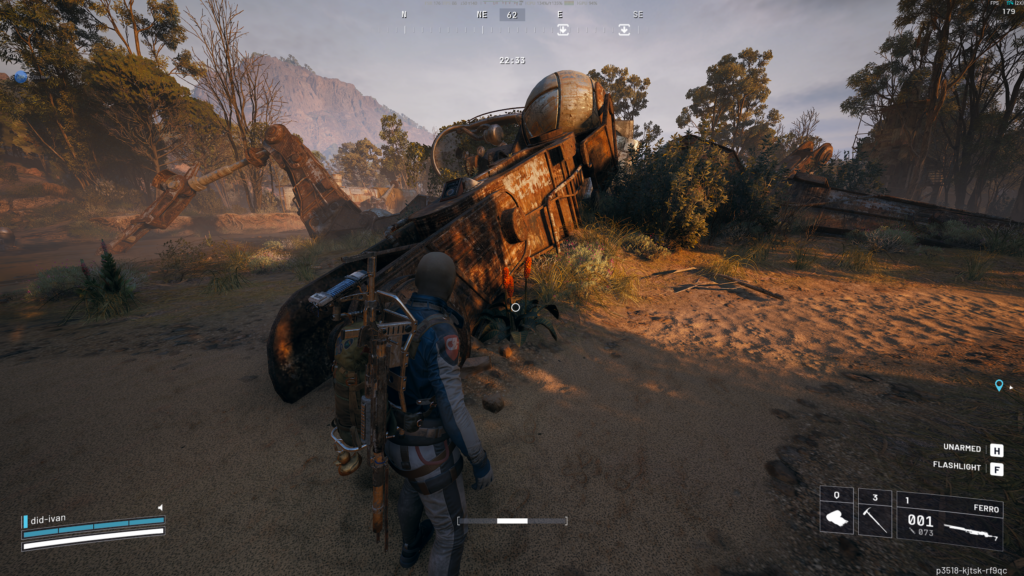
Make sure to add the plant to your inventory and take it back to Speranza.
You’ll be required to extract from the map with the quest to finish A New Type of Plant
Arc Raiders – In My Image
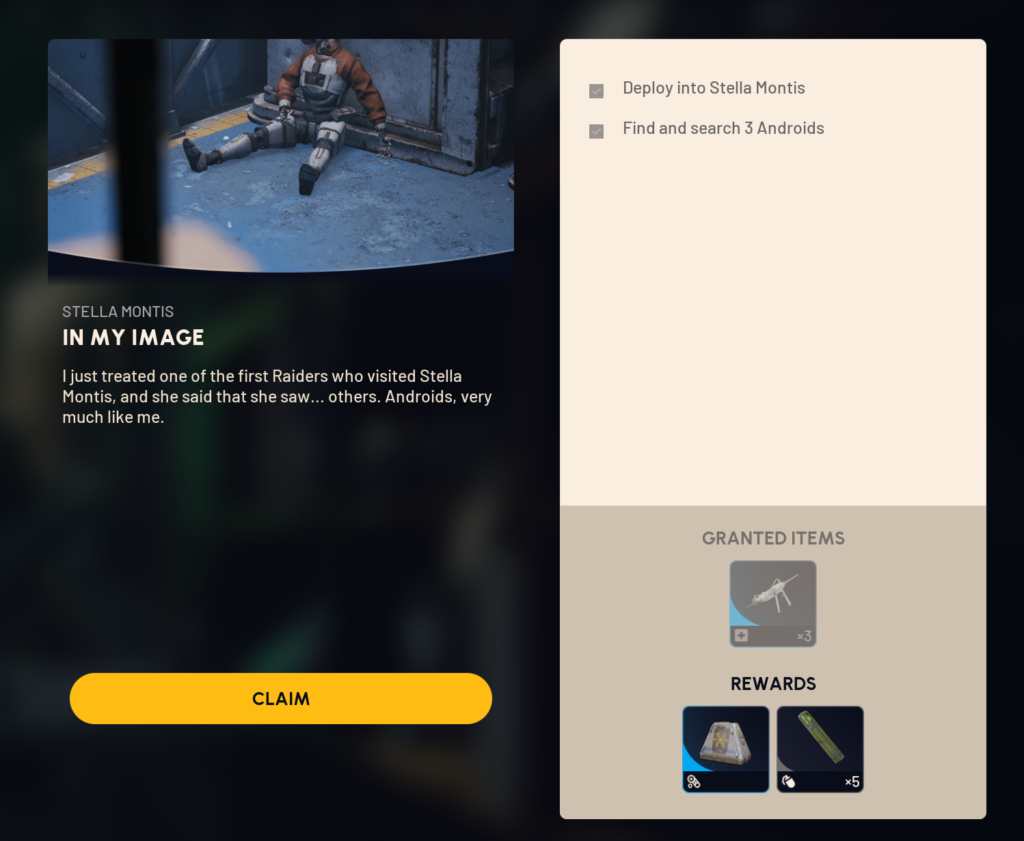
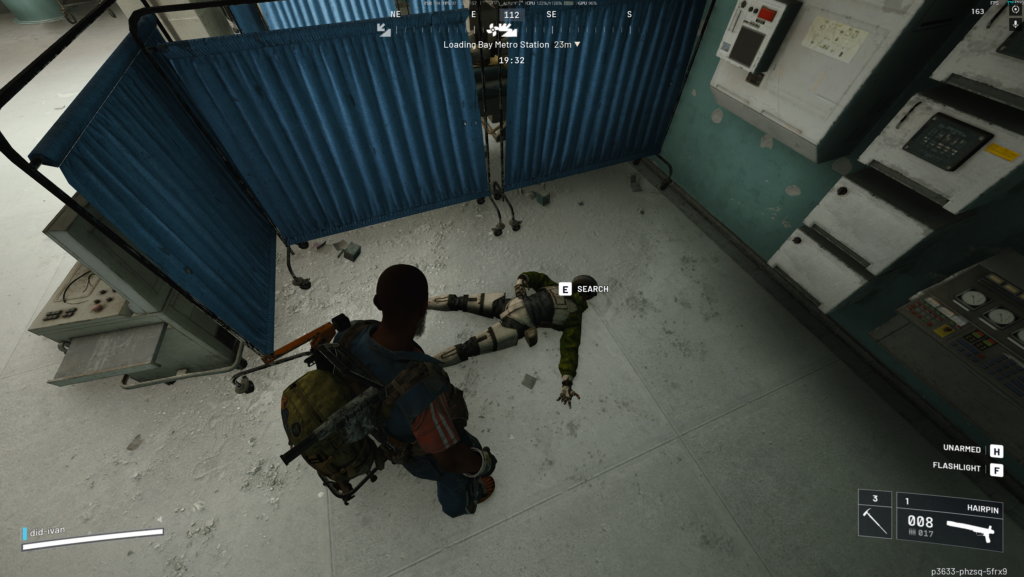
Deploy into Stella Montis and loot 3 Androids that are lying on the ground.
APOLLO
Arc Raiders – A warm place to rest / Место покоя
Goal: Find the abandoned camp on the highway, examine the backpack, follow the red markers, and examine the grave in the Buried City.
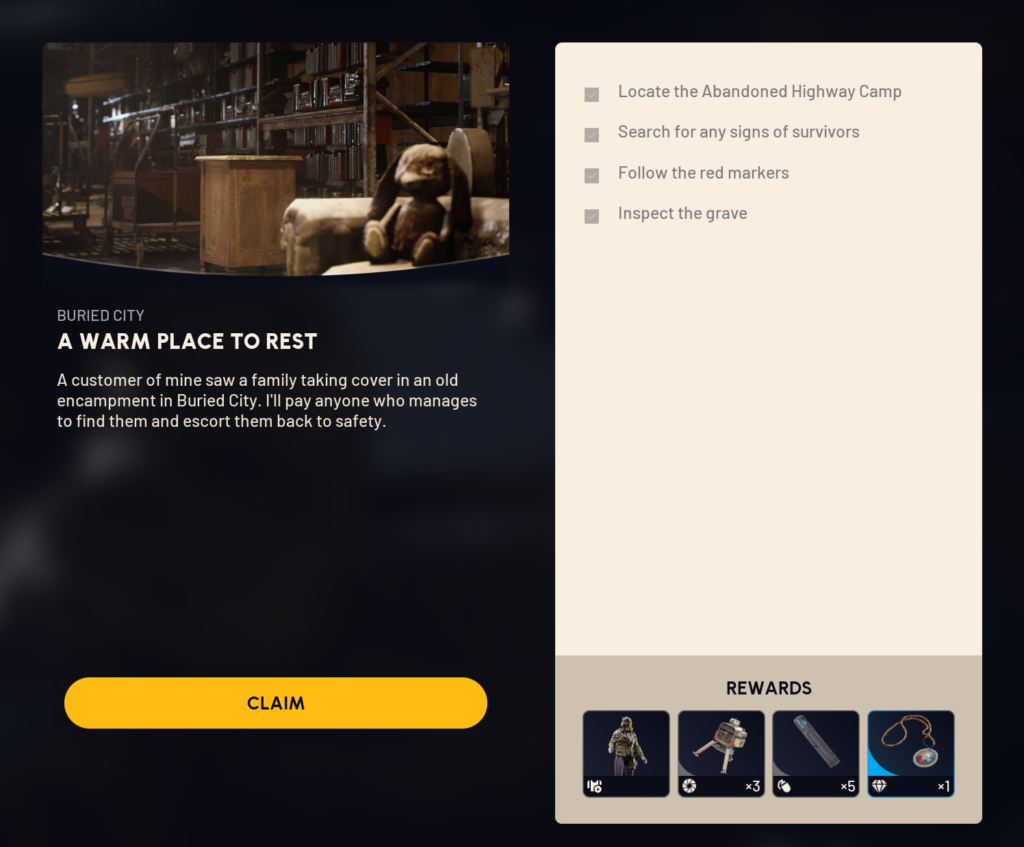
Location: Buried City — Abandoned Camp on the Highway & Buried Buildings Area

Objective: Find the abandoned camp on the highway, examine the backpack, follow the red markers, and examine the grave in the Buried City Find the abandoned camp on the highway, examine the backpack, follow the red markers, and examine the grave in the Buried City

Evacuation required: No

1. On the bridge, find the yellow backpack near the bus and examine it.

2. Next, move on to the second location, which is a grave on the other side of the map. The path to it is marked with red dots across the bridge. Once you reach the grave, examine it and complete the quest.
Search for a camp on the highway
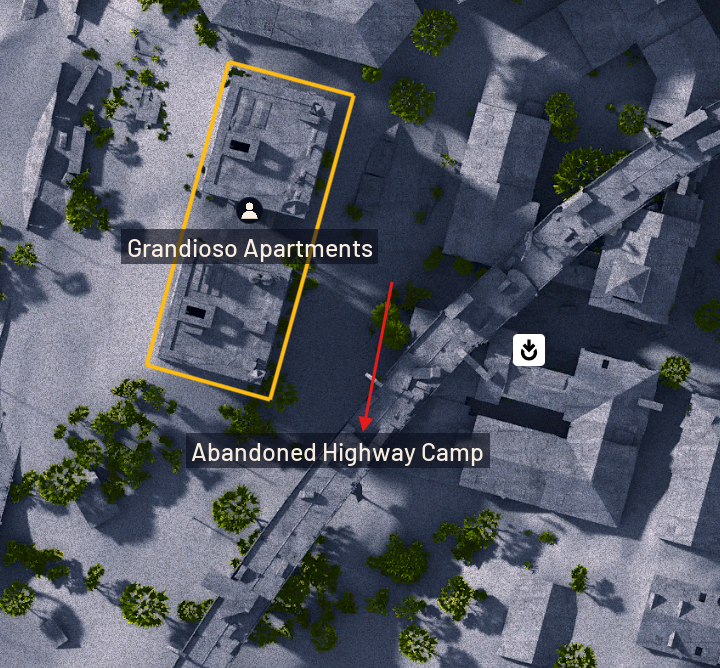
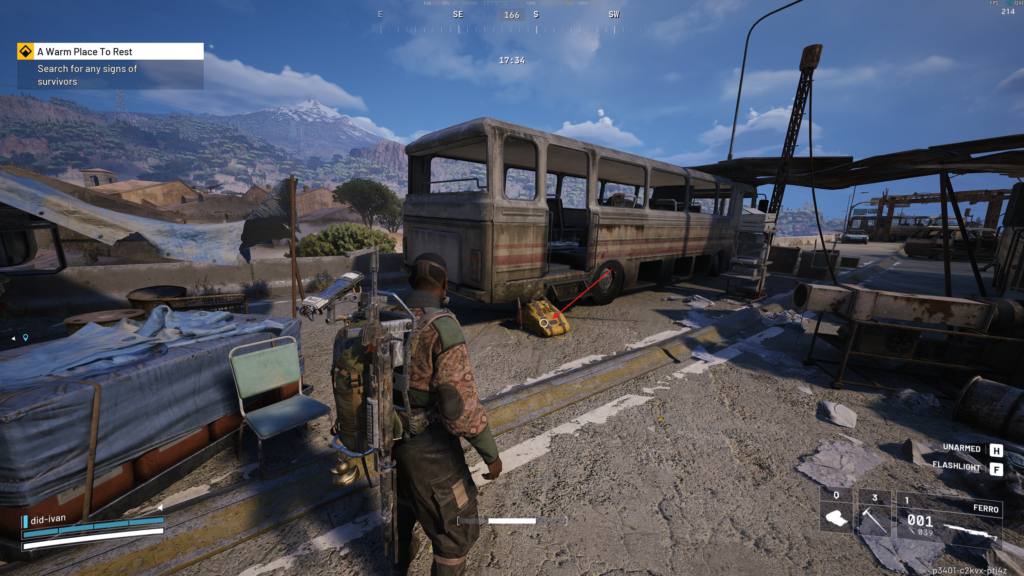
We are looking for a yellow backpack lying on the ground near the bus steps.
Following the red markers and inspecting the grave
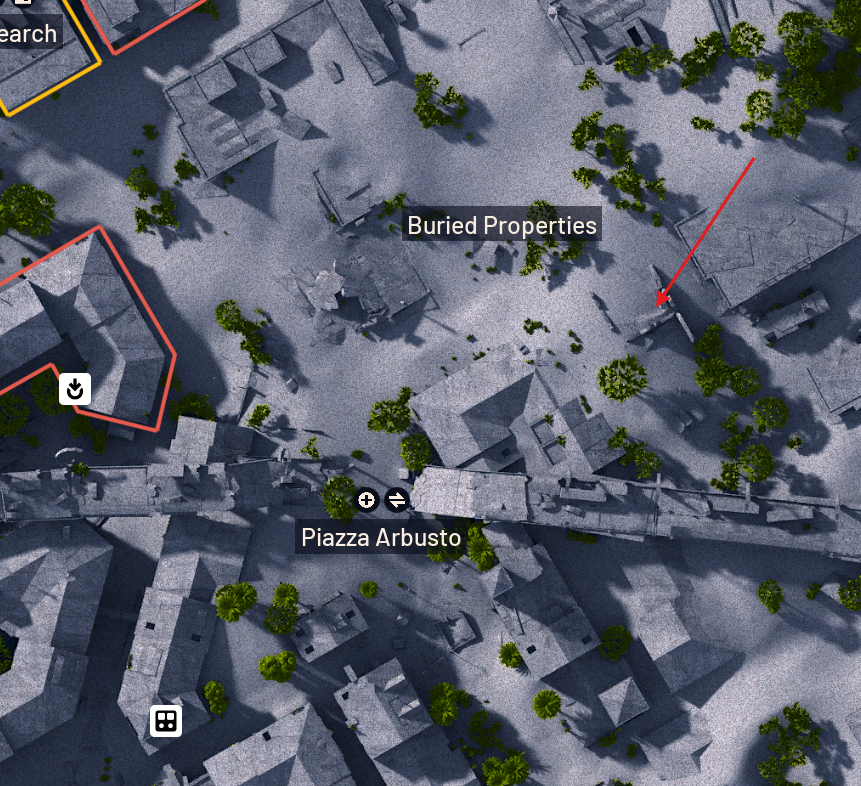
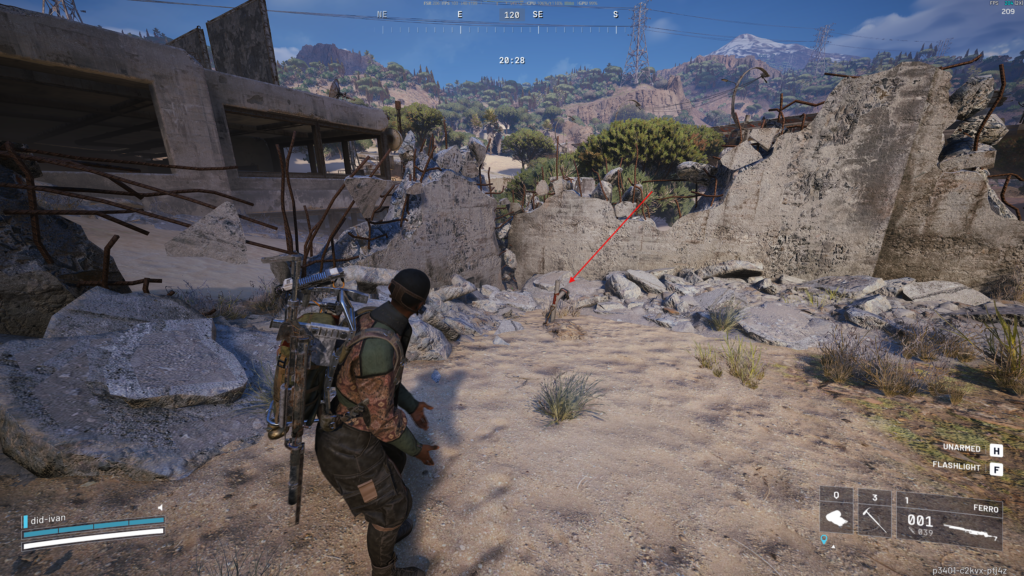
Arc Raiders – Paving the Way / Проложить Путь
Objective: Visit any ENELICA building, locate the bulletin board, find the researcher’s apartment, and examine the data.
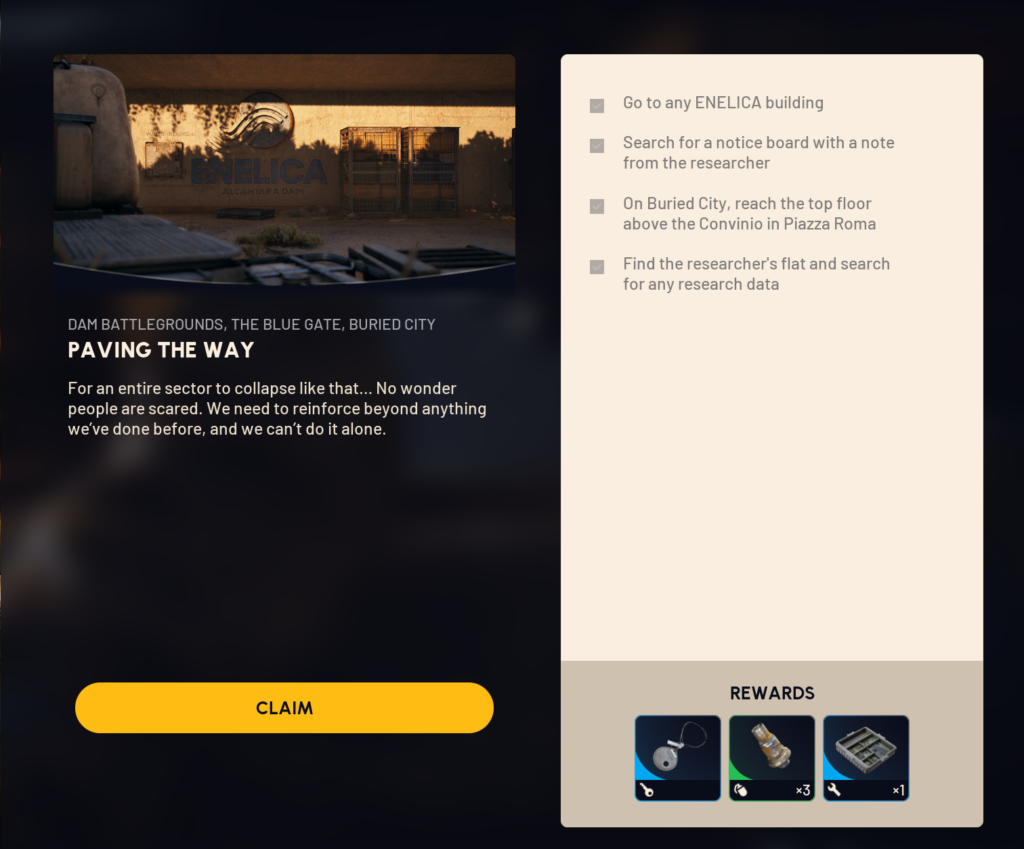
Location: Blue Gate or Dam Battlegrounds and Buried city

Objective: Visit any ENELICA building, locate the bulletin board, find the researcher's apartment, and examine the data.

Evacuation required: No

1. The first stage is to get to the ENELICA building and find the notes we need in one of two locations: Blue Gate or Dam Battlegrounds.
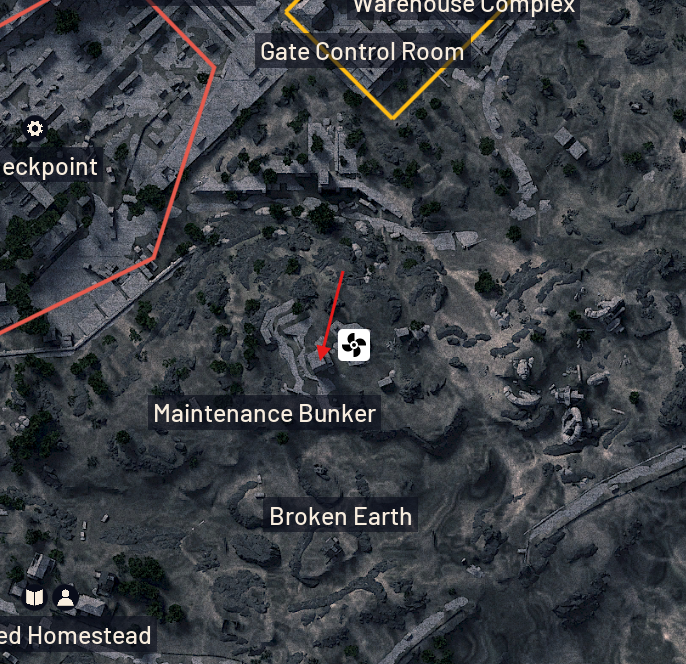
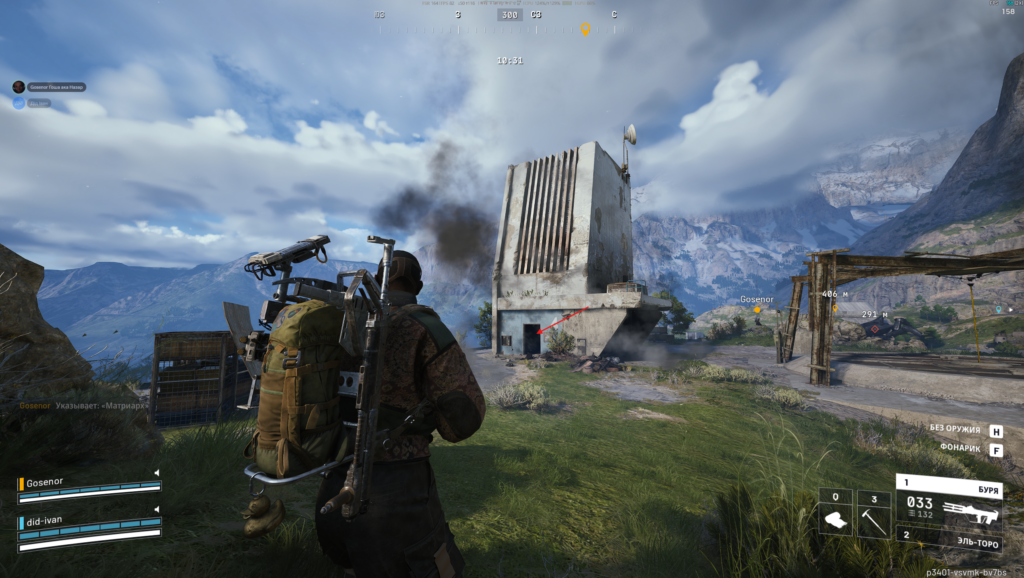
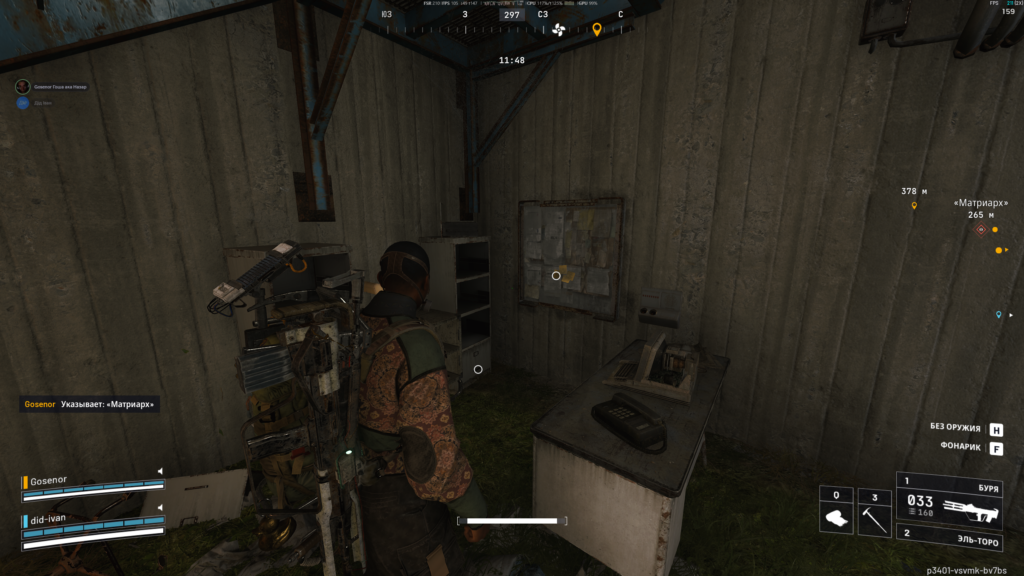
- At Blue Gate, near the evacuation point, go to the first floor and examine the notes on the board.
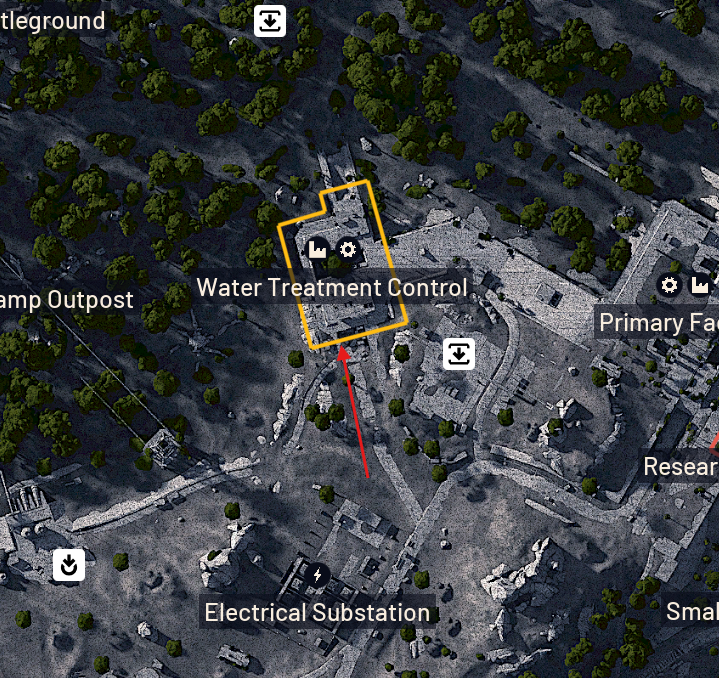
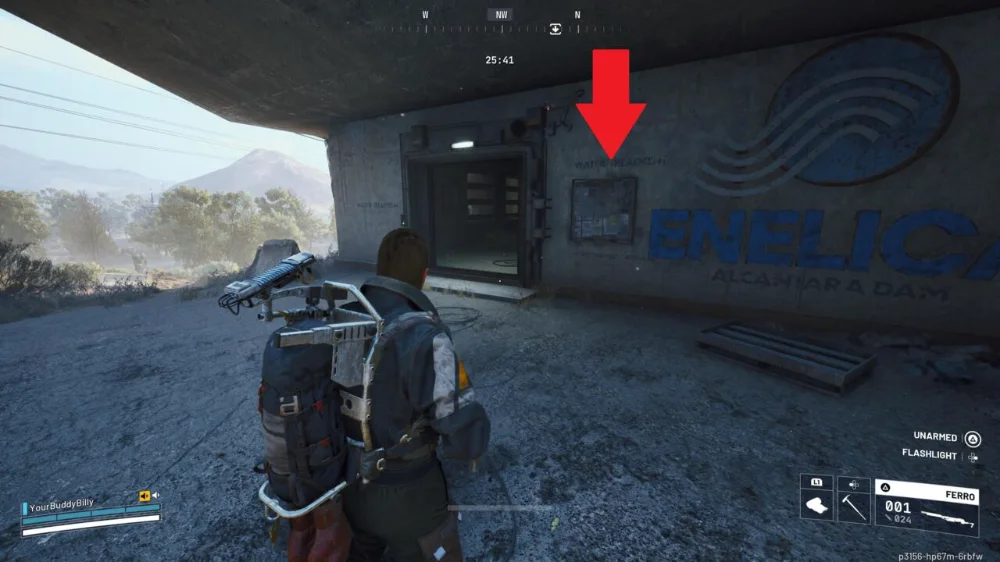
- At Dam Battlegrounds, near the entrance to Water Treatment Control, read the board on the wall.

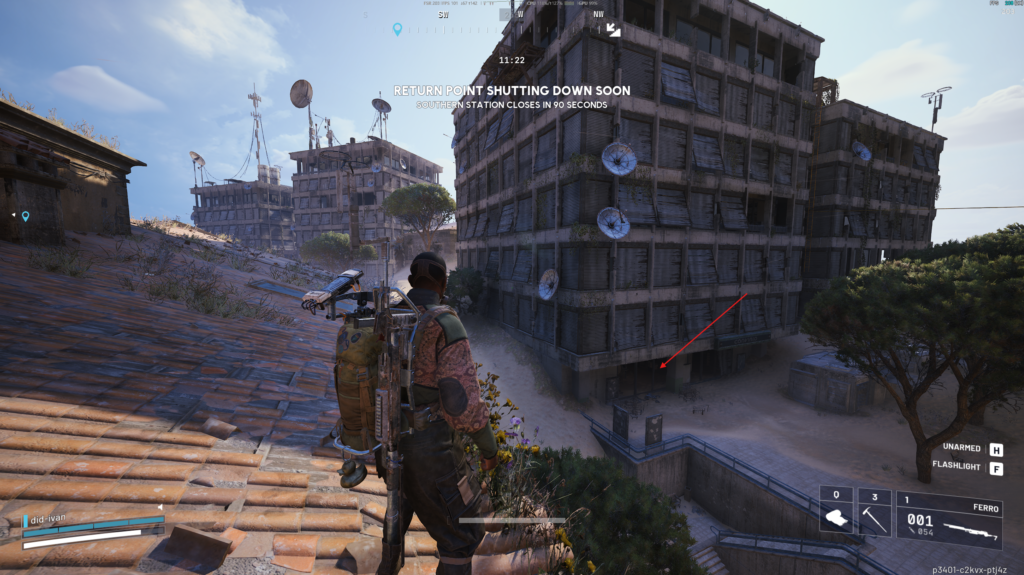
2. Next, go to the Buried City map, find the building near Piazza Roma, and climb onto the roof.

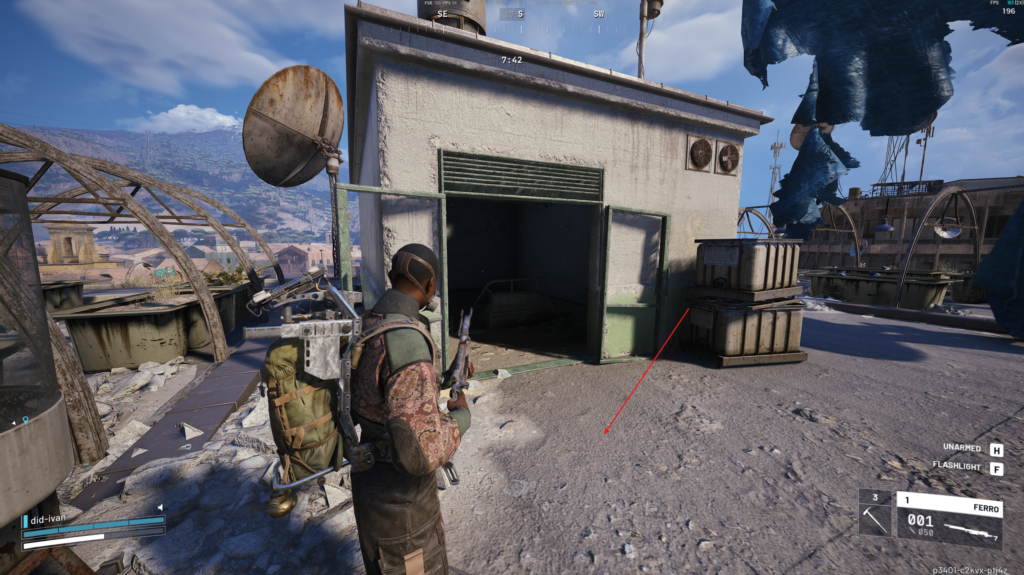
3. Then go down one floor and interact with the control panel in one of the rooms.
Find the bulletin board with the note from the researcher.
Find the researcher’s apartment and examine the data.
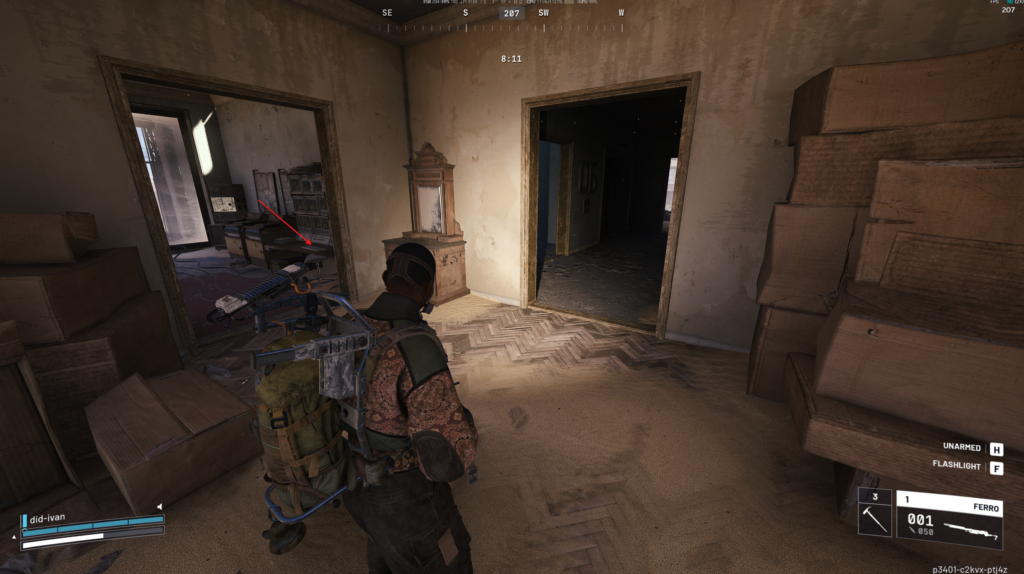
ARC Raiders – Groundbreaking / Заброшенный дом на доске
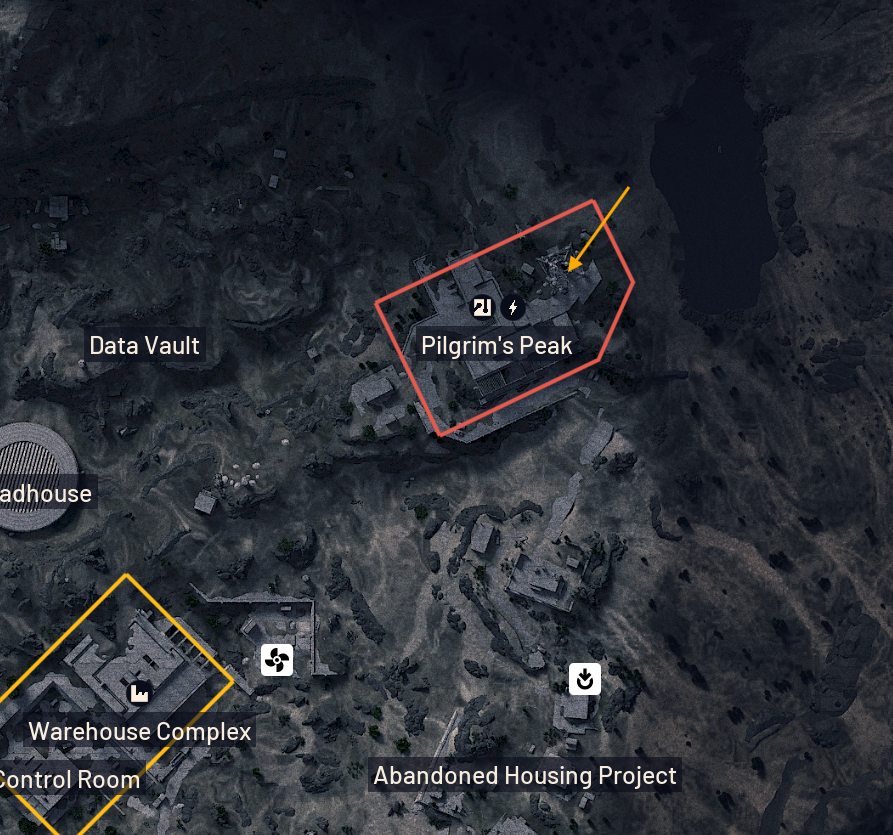
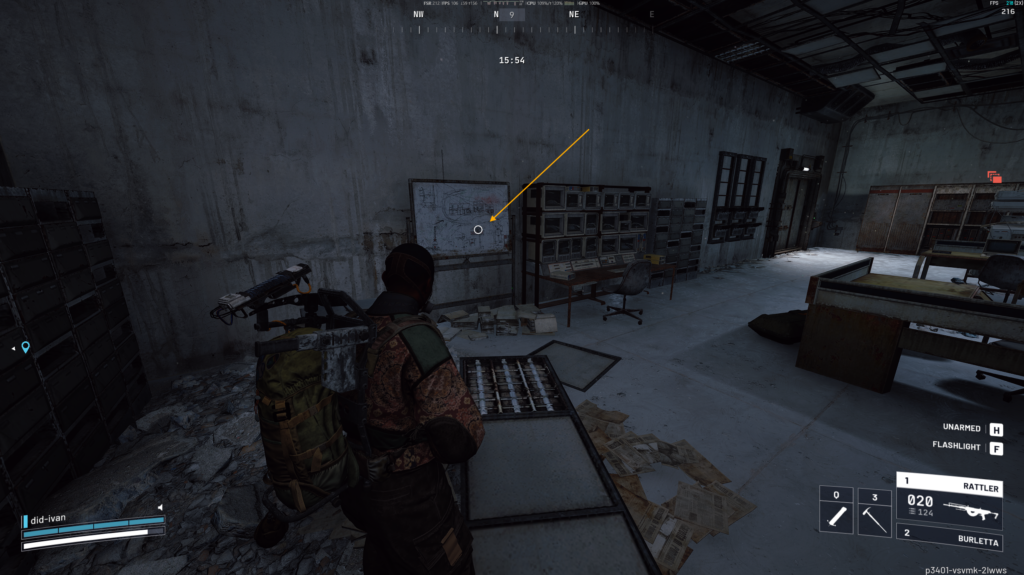
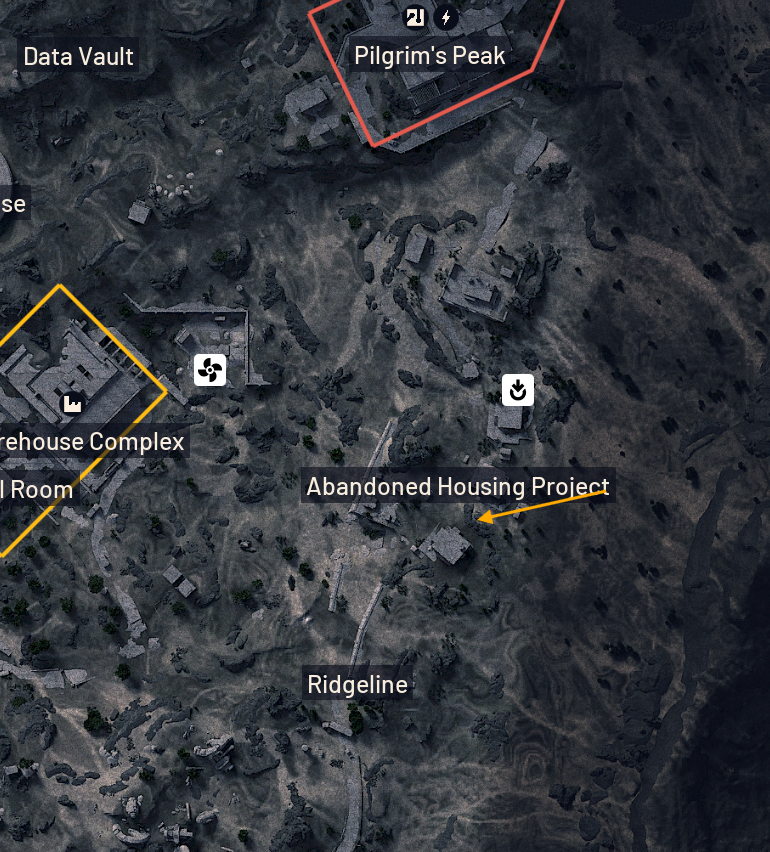
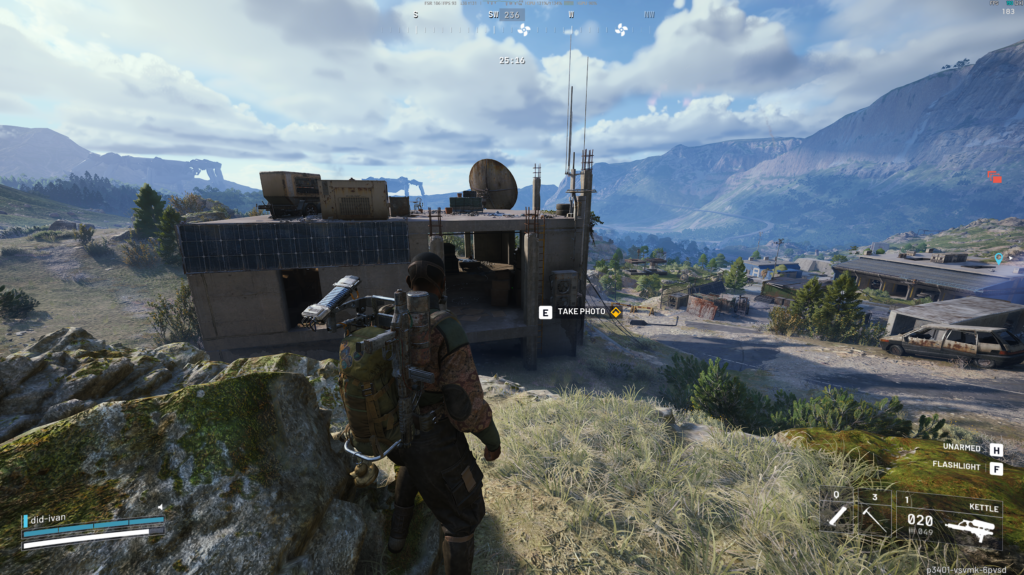
Objective: Visit Pilgrim’s Peaks locked room, check the picture on the whiteboard, and photograph the abandoned housing project.
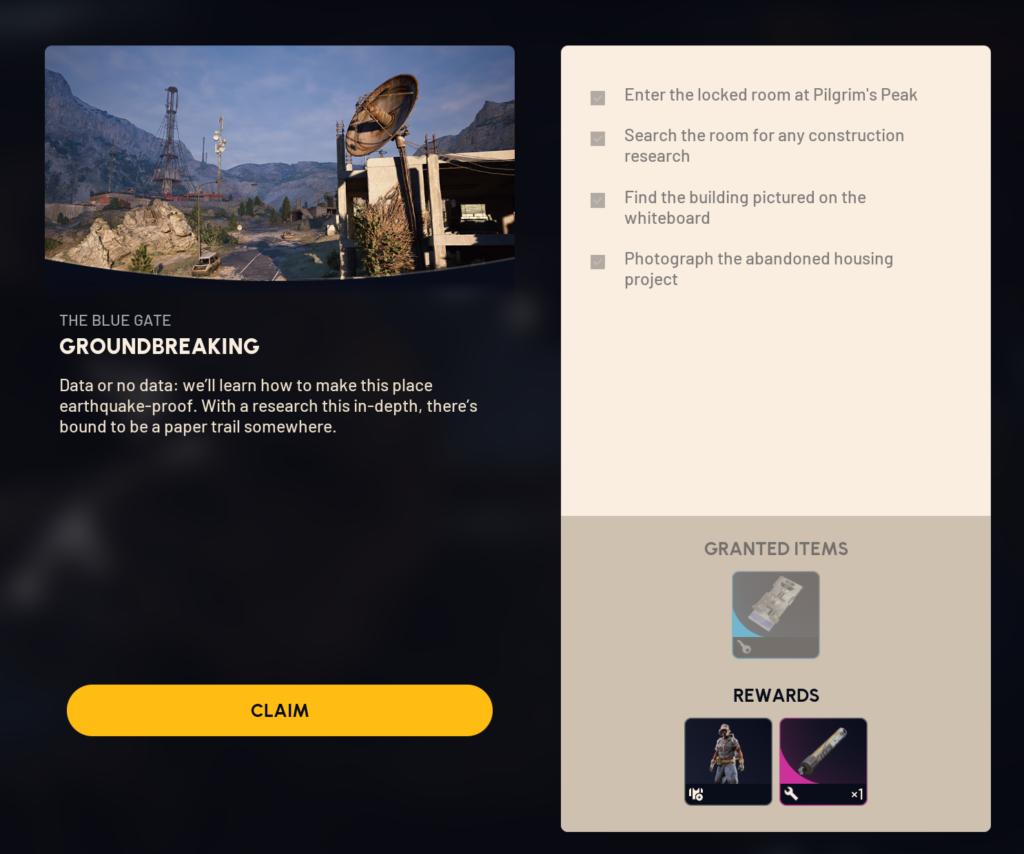
Location: The Blue Gate

Objective: Visit Pilgrim's Peaks locked room, check the picture on the whiteboard, and photograph the abandoned housing project.

Evacuation required: No

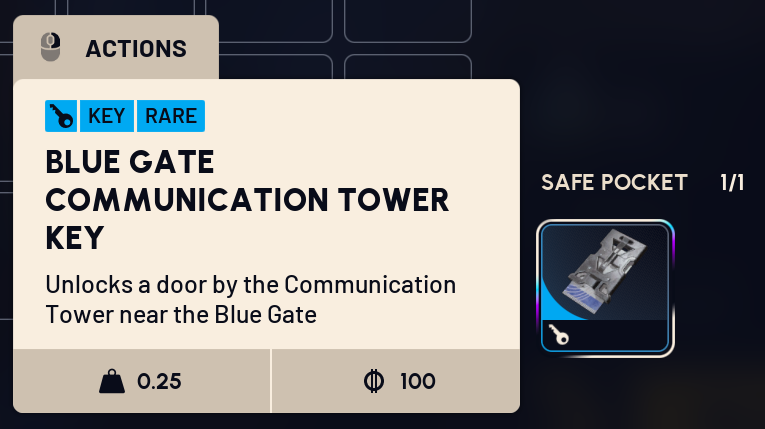
1. Find a spare Blue Gate Communication Tower Key

2. Enter the locked room at Pilgrim's Peak

3. Search the room for any construction research

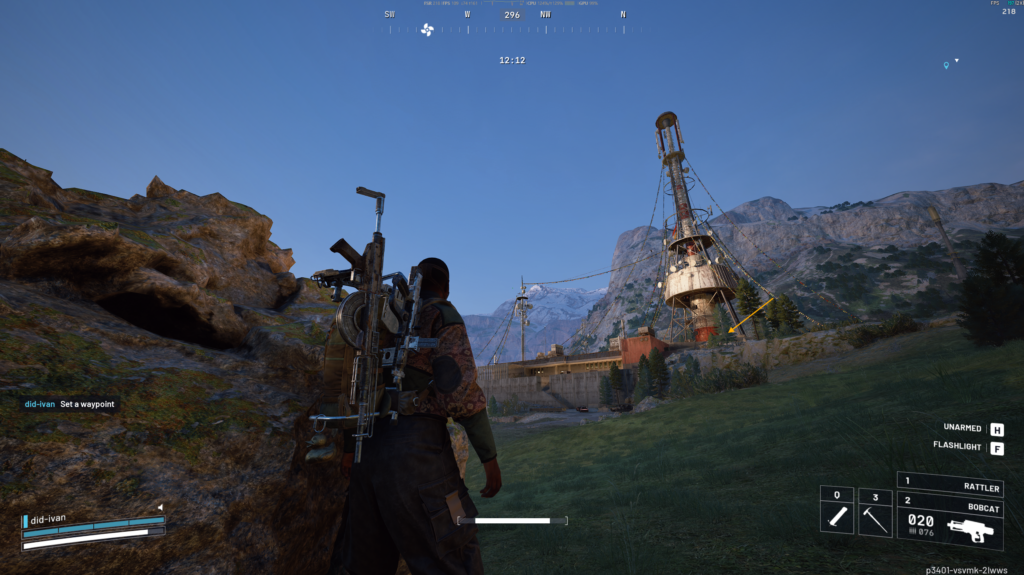
4. Find the building pictured on the whiteboard

5. Photograph the abandoned housing project
Arc Raiders – Espresso / Эспрессо
Even raiders need caffeine to keep them going when they’re topside, you know.
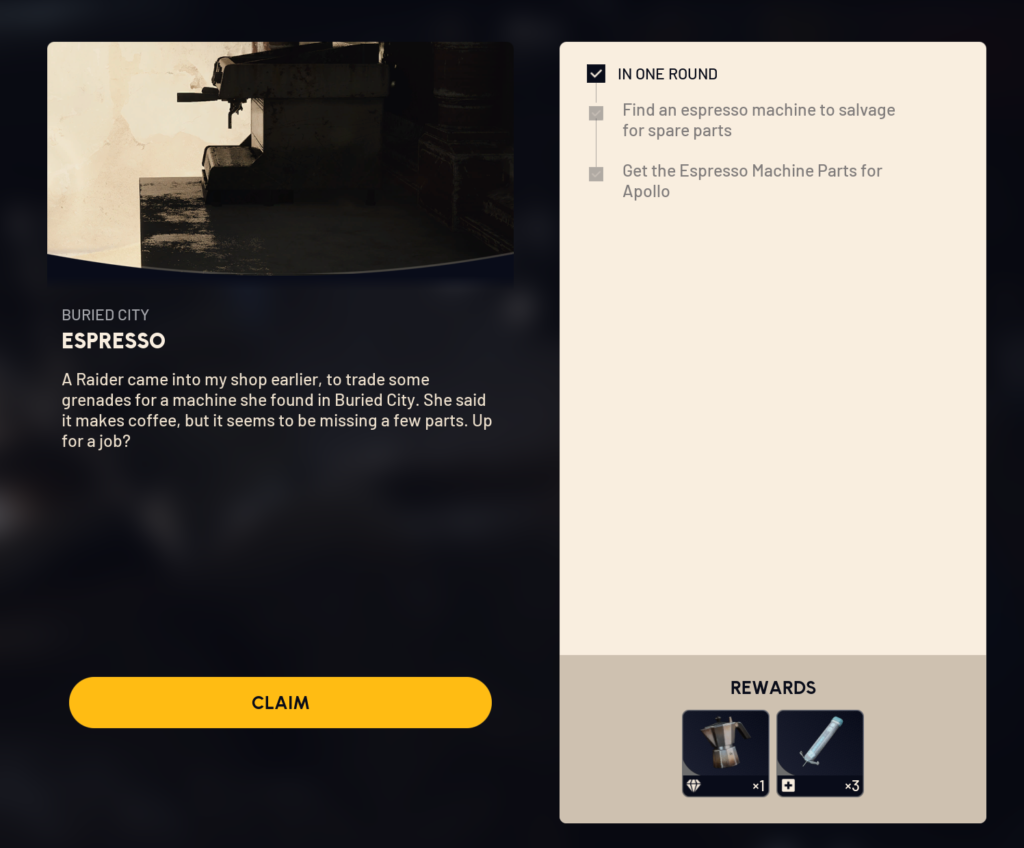
Location: Buried City

Objective: Find an Espresso Machine and extract.

Evacuation required: Yes

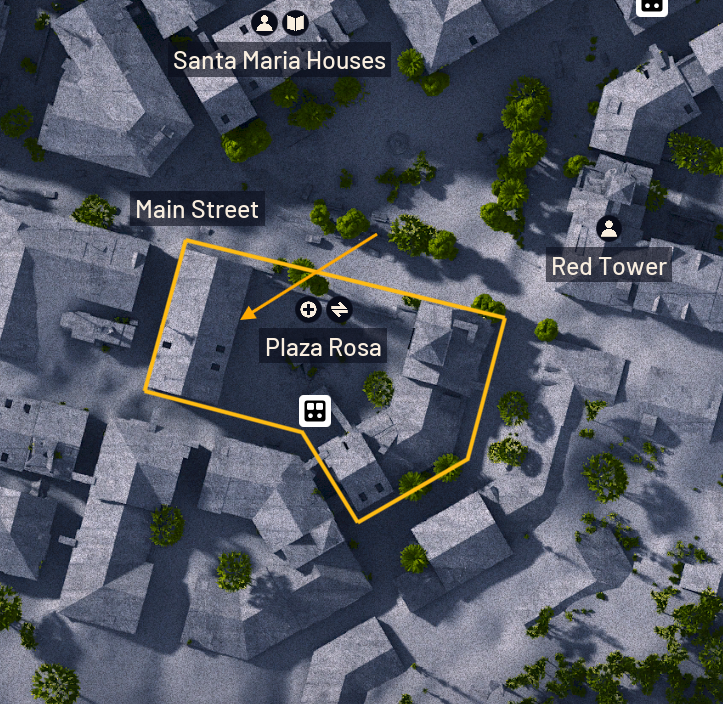
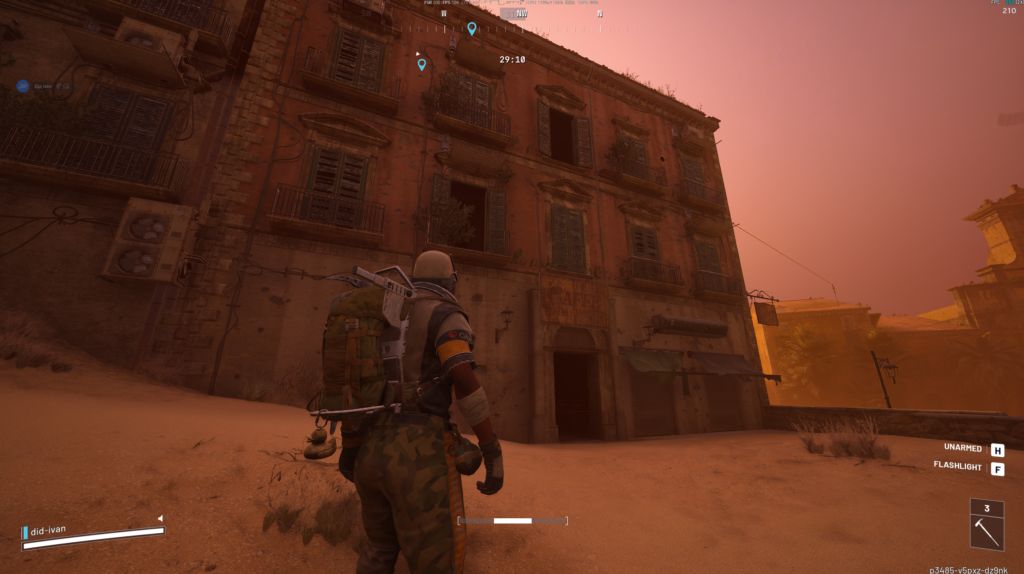
1. Check Cafe at Plaza Rosa

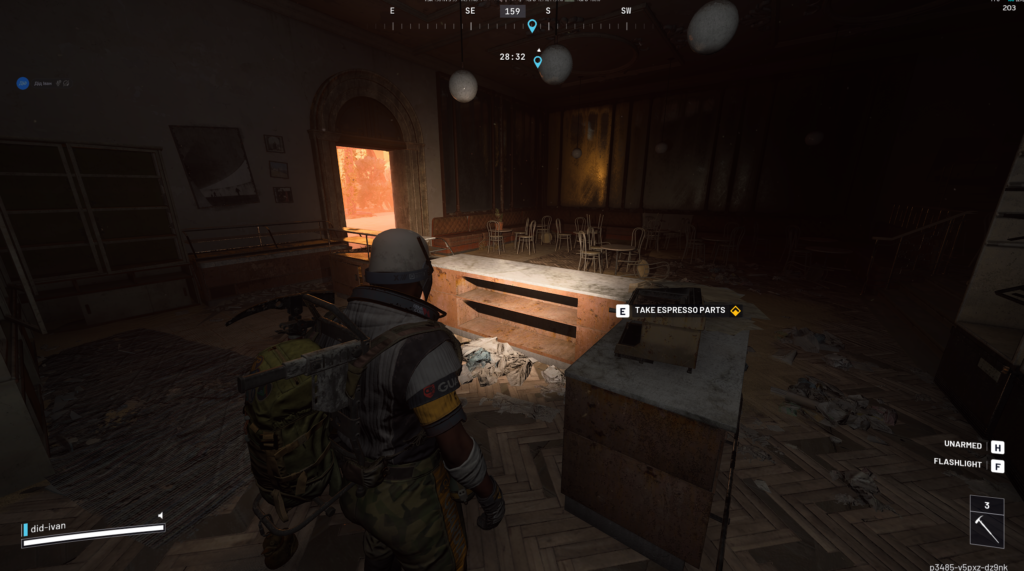
2. Find an Espresso Machine to salvage for spare parts

3. Evacuation required!
Plaza Rosa Cafee
Arc Raiders – Building A Library Quest Guide
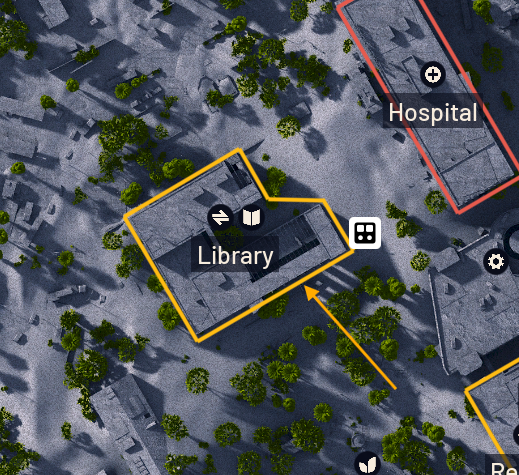
The three books you need to find are located in the Library POI on the Buried City map. You can find this location just above Marano Park in the northern section of the map.
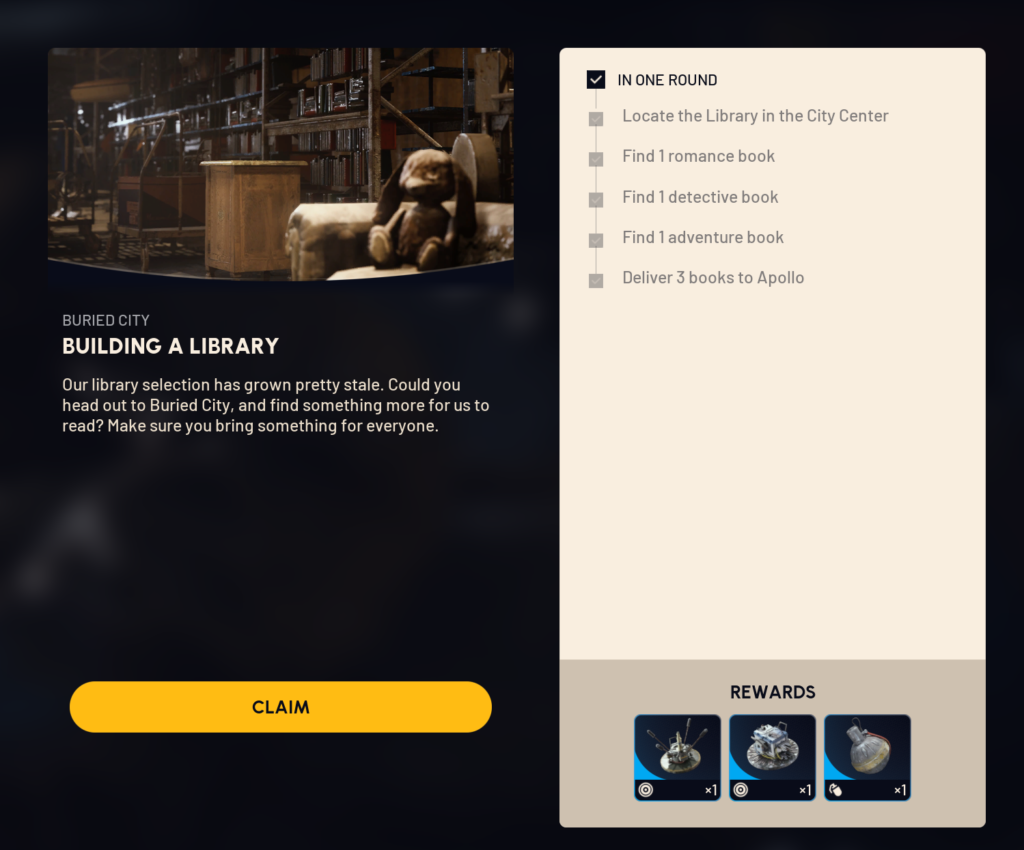
Location: Buried Ciry

Objective: The three books you need to find are located in the Library POI on the Buried City map. You can find this location just above Marano Park in the northern section of the map.

Evacuation required: YES

1. Go to the Library in the City Center of Buried Ciry map and on 1 and 2 flor you will find 3 books.
2. Find 1 romance book
2. Find 1 detective book
3. Find 1 adventure book
4. Extract and Deliver 3 books to Apollo
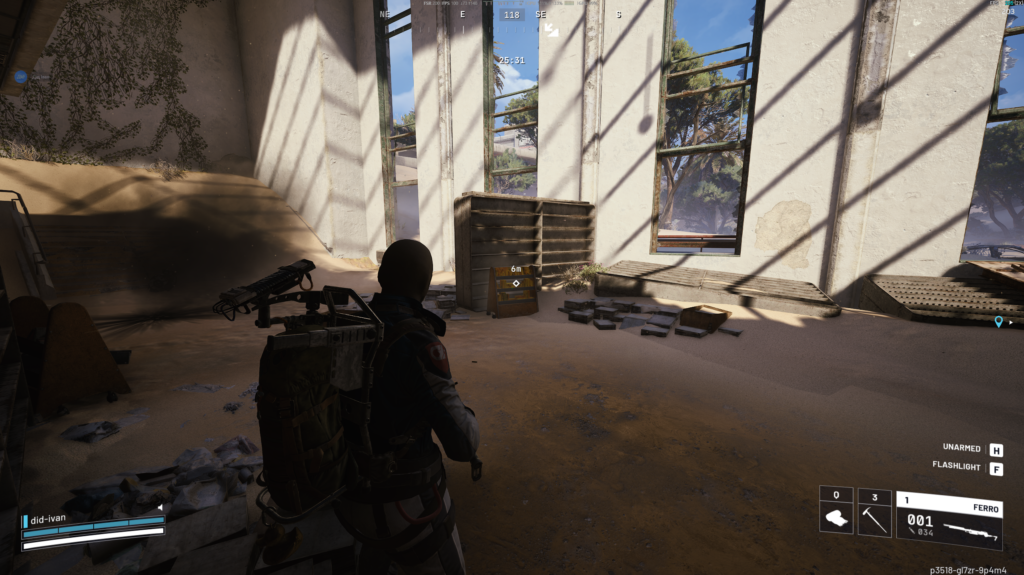
Start on the bottom floor of the library and look for a small book cart in front of some taller shelves. Interact with it, and it will drop the first book. Make sure to pick it up off the ground to add it to your inventory. Then go up the stairs to reach the second floor. You’ll find the second and third books there.
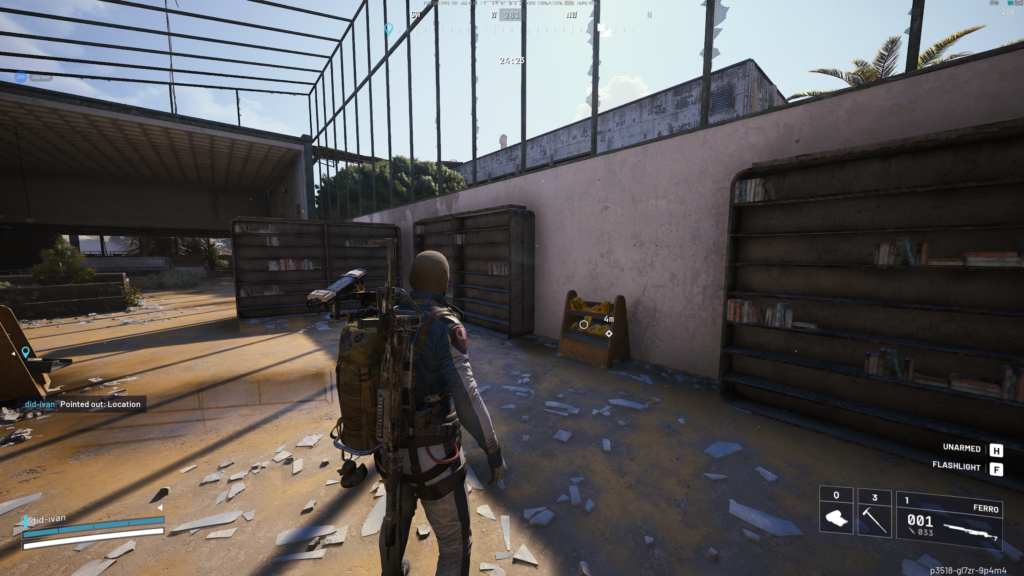
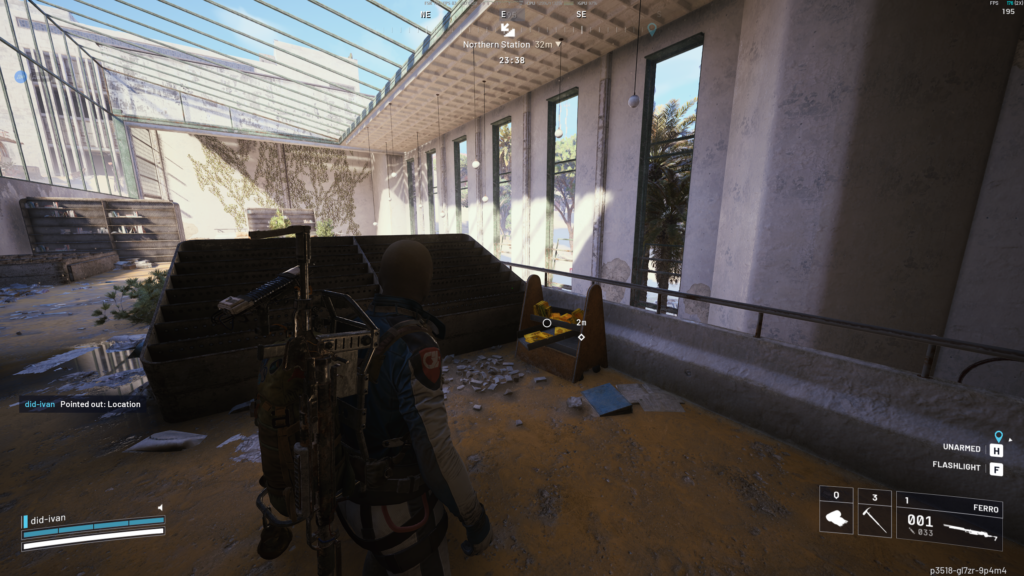
With all of the books obtained, you’ll need to extract with them in your inventory to complete Building a Library.
Arc Raiders – What Goes Around
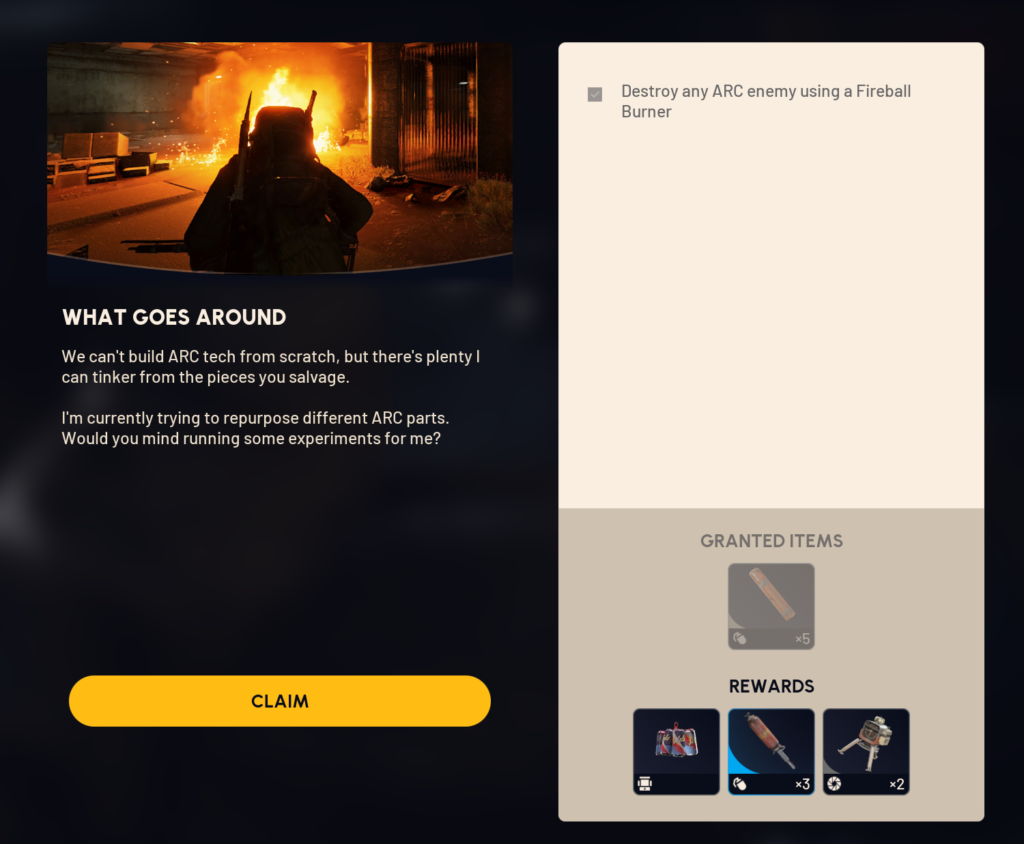
Location: Any map

Objective: Take Fireball Burner from any Pop or Fireball Arc and drop it to any other Arc to kill him. The easiest will be to kill Pop, Fireball, or Tick with it.
Arc Raiders – Sparks Fly
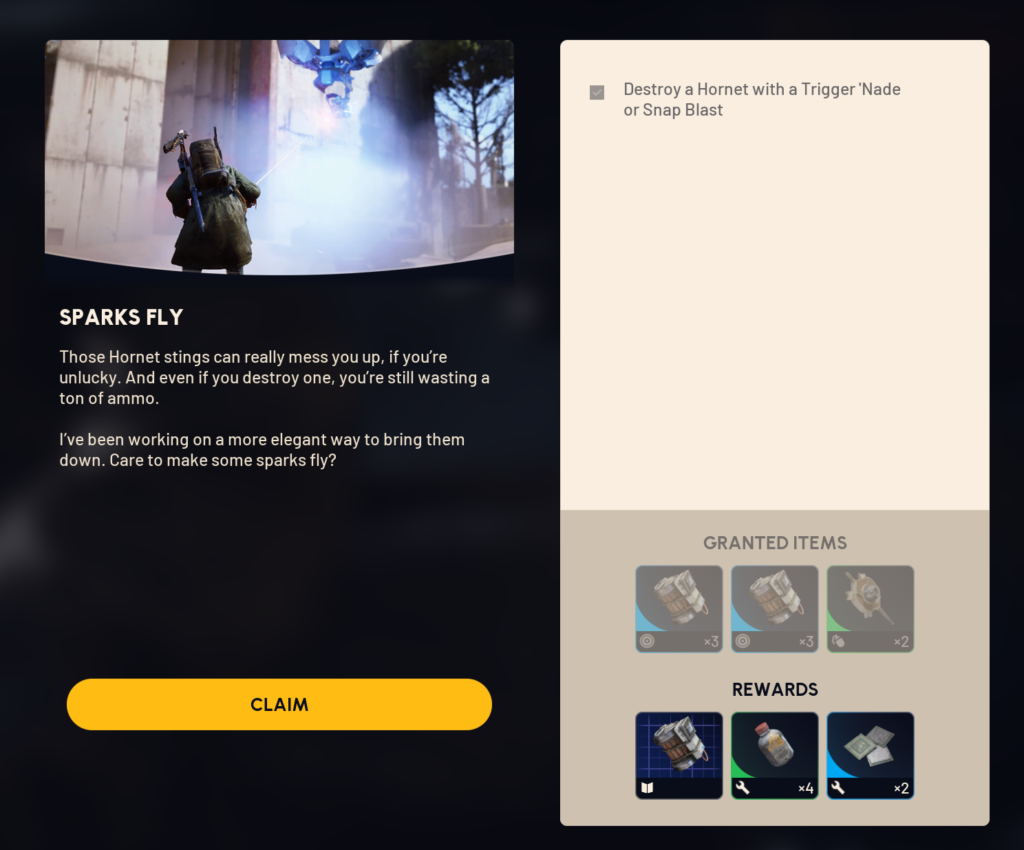
Location: Any map

Objective: Find Hornet Arc and kill him with any of these nade.

Both grenades stick to surfaces, so it's best to throw them at an inactive drone for accuracy when it's not hunting you. Also, keep in mind that one grenade may not be enough, so bring several with you.